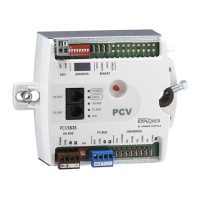
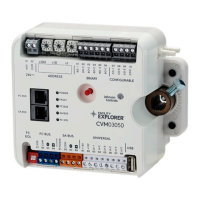
FMS-2000C
LIT-12013508
13
Mounting the remote sensor
The FMS-2000C Critical Environment Controller includes up to four remote sensors to measure the dierential pressure of the controlled
space. Install the remote sensor module in the wall facing the monitored space such as an isolation room. Install the ow tube mounting
plate facing the adjoining reference space such as the corridor or anteroom. With this sensor orientation, a positive pressure value
indicates that the monitored space is positive with respect to the reference space. Choose a location that is away from any moving air
source such as ceiling-mounted air registers. This can cause unstable sensor behavior. See Figure 8 for more information.
Before you begin:
Determine the sensor location and the number of cables that you need. To complete the mounting of the remote pressure sensor for a
remote sensor application, make sure you have the following tools:
• #2 Phillips head screwdriver
• Drywall saw or oscillating tool with a drywall blade
To mount the remote sensor, complete the following steps:
1. Connect a 3-conductor or 22 AWG cable between the remote sensor module and the main controller module for each sensor
included with the unit. The length of the cable should not exceed 1,000 ft.
2. Unscrew the sensor’s louvered cover plate and the sensor’s stainless steel backplate from the orange wall bracket.
3. Cut an opening in the wall of the monitored space for the orange low voltage mounting bracket and for the remote sensor
electronics. Nominal hole dimensions are 3.65 in. (92.71 mm) H x 2.15 in. (54.61 mm) W.
4. Use the rotating clamps to secure the bracket to the wall safely.
5. Drill a 7/16 in. (11.1133 mm) hole through the opposite wall for the ow tube.
6. Pull the 3-conductor signal cable through the cut out.
7. Install the mounting bracket in the drywall opening and pull the 3-conductor signal cable through the mounting bracket.
8. Push a length of the supplied ow tube through the hole and the 7/16 in. (11.1133 mm) hole in the opposite wall.
9. Attach the ow tube to the sensor port. When you install the mounting plate directly opposite the sensor, cut the ow tubing as short
as possible to prevent kinks.
10. Push the ow tube and sensor module into place and secure it with the two #6-32 x 3/4 in. screws supplied.
11. Screw the louvered cover plate to the front.
12. On the opposite side of the monitored space, attach the ow tube to the barbed tting of the ow tube mounting plate. Apply thin
silicone caulking around the tube, between the stainless steel plate and the wall to seal against penetration.
13. Press the mounting plate into place and allow the excess tube length to go into the wall space. Secure the mounting plate with the
screws and anchors.
14. Screw the louvered cover plate to the front.
15. Refer to Wiring the remote sensor and Wiring the analog input to remote pressure sensors for more information wiring the remote
sensor.
 Loading...
