49 / 84
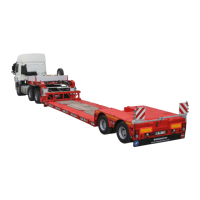
• Trailer is brought back with the help
of truck and crane and the pin area
on the platform is matched with the
pin area on the axle area.
Matching pin regions
• Carefully insert the pins into their
sockets.
• Connect the pin fixing brackets.
Make all the pneumatic, hydraulic
and electrical connections under the
aluminum cover and close the
cover.
• Remove the aluminum supports.
• Remove the crane connections.
• Move the axle area of the vehicle to
the road position with the lowering/
lifting button or lowering/lifting valve
depending on the option on the
vehicle.
3.15. Extension Brackets and Woods
3.15.1. Side Extension Brackets
Optionally, side expansion brackets are
provided according to the customer's
request.
In cases where loads larger than 2550
mm need to be transported in the pool
area of the vehicle, the expansion brack-
ets are opened and the expansion
boards are placed on top of the vehicle
and the vehicle is brought to a width of
3000 mm.
To open the brackets, hold the slot in the
middle, lift them up slightly and turn
them.
Side extension brackets
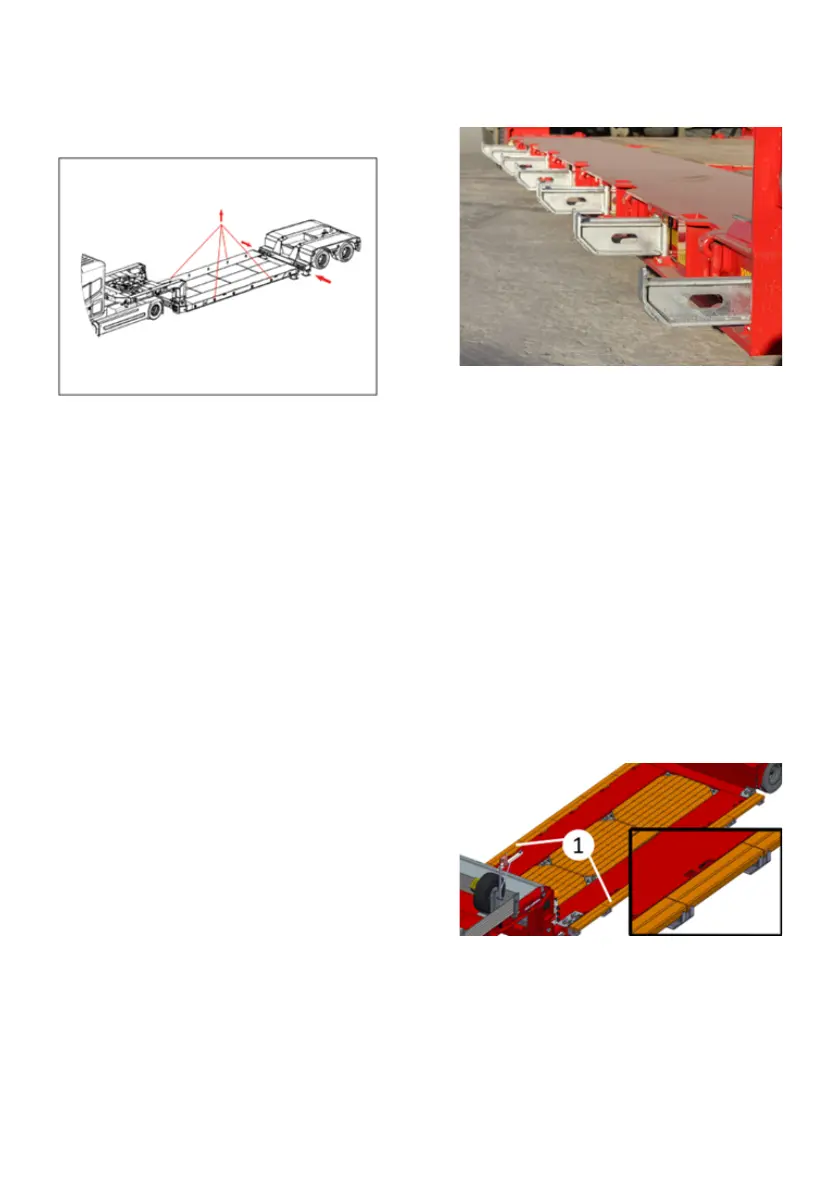
3.15.2. Side Extension Brackets
Side expansion woods (1) are optionally
provided according to the customer's
request.
In cases where loads wider than 2550
mm need to be carried in the pool area
of the vehicle, expansion brackets are
opened and expansion woods are
placed on top of them. There are two-
character codes such as A1, B3 on the
expansion boards. This code specifies
which board to put where. The left of the
vehicle is described as A and the right as
B. Starting from the front of the vehicle,
the first place to put the board continues
as 1, then 2, 3.
Side extension woods