X5 FastMig
Operating manual - EN
2. Fix the cooling unit to the cart with two screws (M5x12) in the front and two screws (M5x12) in the rear.
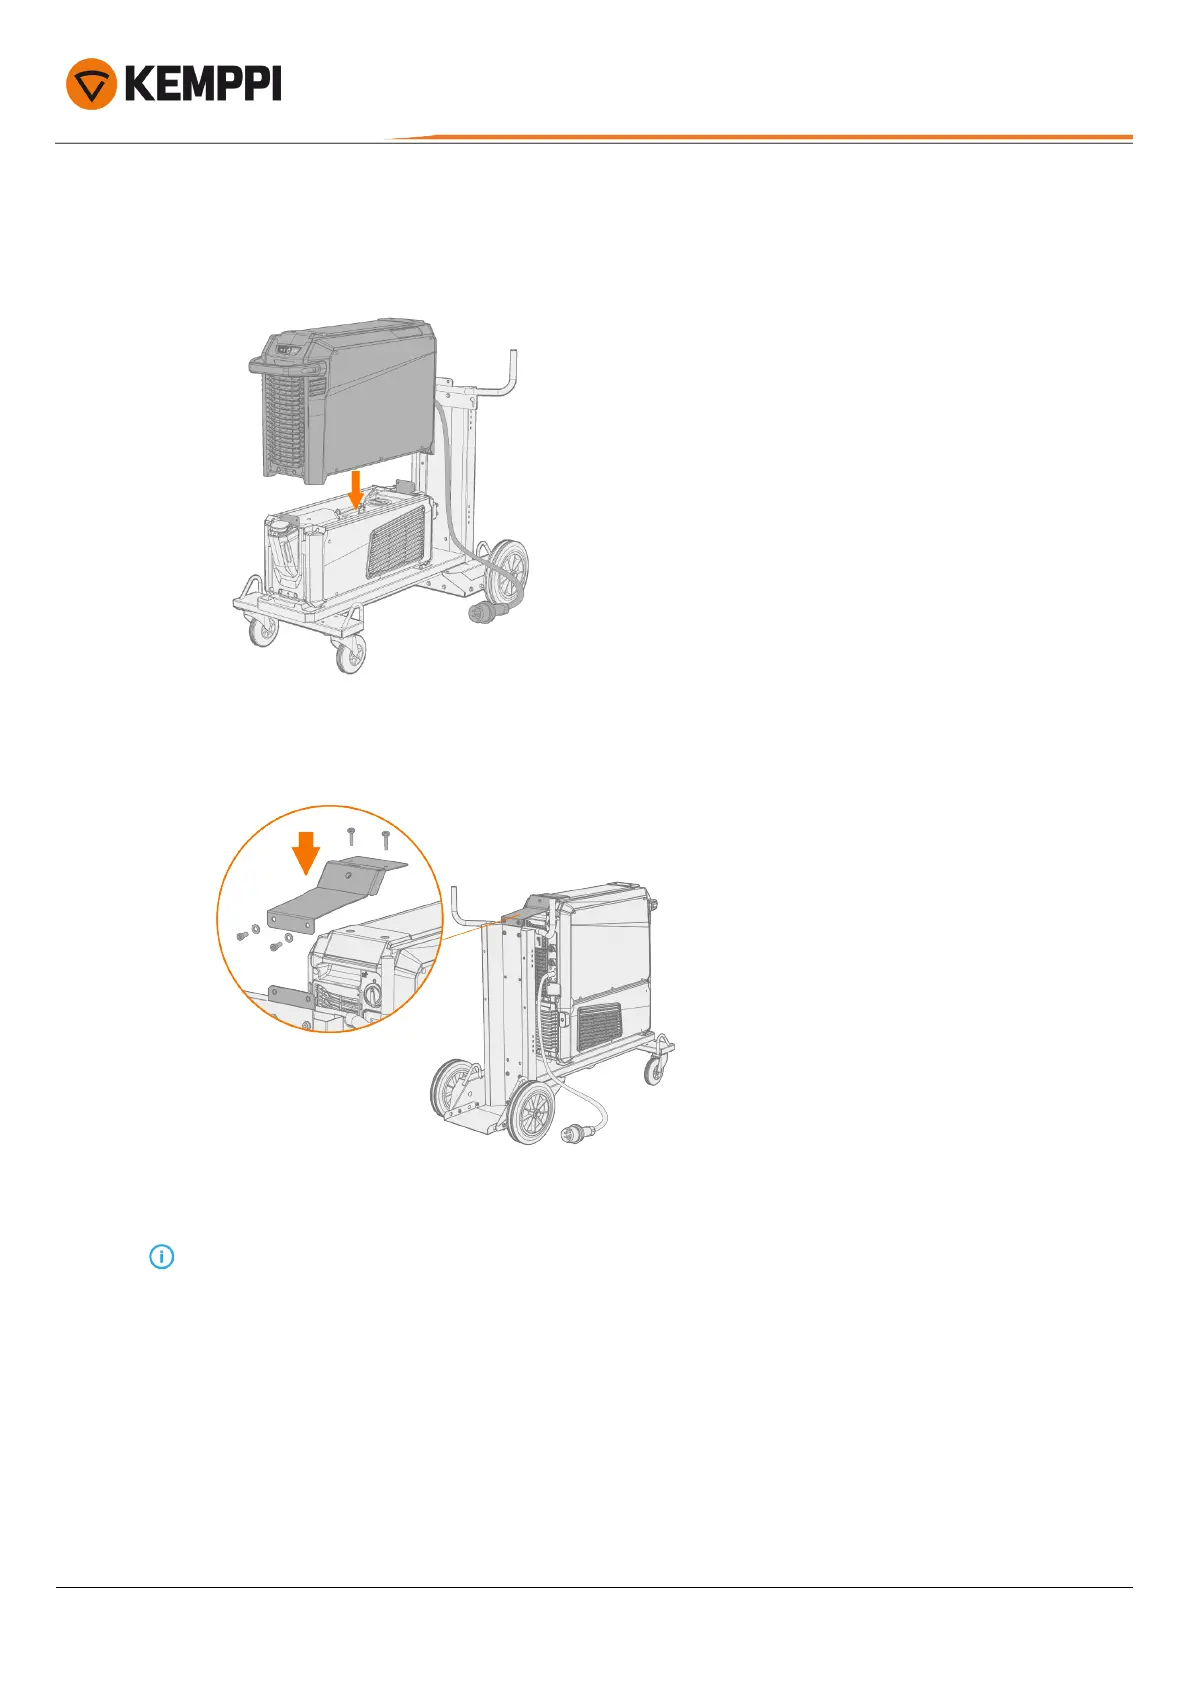
3. Install the power source on top of the cooling unit. Refer to "X5 cooling unit (optional)" on page21 for installation
details.
4. 4-wheel cart:Secure the equipment to the cart with the rear connection bracket (rear fixing plate, long). Rear
screws:M8x16, top screws:M6x30.
5. 2-wheel cart:Secure the equipment to the cart with the two side connection brackets.
The 2-wheel cart's side connection brackets use the X5 power source's side plate top screw holes for securing. Replace
the side plate top screws with the ones delivered with the 2-wheel cart side connection brackets.
© Kemppi
29
1920960 / 2144
 Loading...