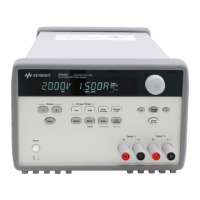
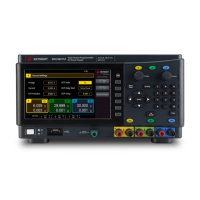
Front-panel Operation
This section describes how to perform the following operations from the instrument's front panel.
Configure the LAN interface
Set voltage and current
Specify 2- or 4-wire measurement
Configure Overcurrent Protection (OCP) and Overvoltage Protection (OVP)
Clear an OCP or OVP event
Clear an overtemperature protection (OTP) event
Lock and unlock the front panel
Save or recall the instrument's state
Configure the Power-on State
Read error codes
Configure the LAN interface
You should generally be able to connect to the LAN by simply connecting the LAN cable and turning the
instrument on. However, you can use the procedure below if you want to specify connections other
than the default values or if you need to see what a given value is. This section provides procedures for
viewing and changing LANsettings.
1. Press [Menu].
2. Turn the knob to I/O Config and press the knob.
3. Turn the knob to LAN and press the knob.
4.
Turn the knob to the desired IP Address to a value of the form xxx.xxx.xxx.xxx, where each xxx rep-
resents a base 10 number from 0 to 255. Press [Voltage/Current] to move between numbers, then
press the knob to finish.
5.
The instrument will briefly display CHANGE SAVED to indicate success.
6.
Turn the knob to the desired Subnet address using the same method with which you set the IP
Address. Then press the knob to select.
7.
The instrument will briefly display CHANGE SAVED to indicate success.
8.
Turn the knob to the desired Gateway address. Then press the knob to select.
9.
The instrument will briefly display CHANGE SAVED to indicate success.
10. Press [Menu] to exit the menu system.
 Loading...
