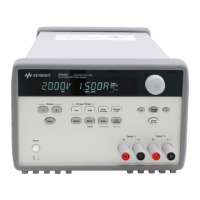
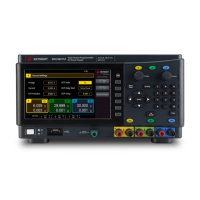
Calibrate voltage
Let the unit sit with output ON for one minute, then connect the DMM voltage input to the power
supply.
Step Front Panel SCPI
1 Turn the knob to ‘Cal Voltage’ and press the knob. CAL:VOLT:LEV MIN
2 Measure the output voltage (low point) with the DMM.
3 Enter the measured value, and press the knob. CAL:VOLT <reading>
CAL:VOLT:LEV MAX
4 Measure the output voltage (high point) with the DMM.
5 Enter the measured value, and press the knob. CAL:VOLT <reading>
6 Read DONE or FAIL on the display. (wait 10 seconds)
SYST:ERR?
Calibrate current
Let the unit sit with output ON for one minute, then connect a current monitoring resistor across the
output terminals to be calibrated and then connect a DMM across the terminals of the monitoring
resistor.
Step Front Panel SCPI
1 Turn the knob to Cal Current and press the knob. CAL:CURR:LEV MIN
2 Measure the low output current with the DMM (DMM reading / shunt resistance).
3 Enter the measured value, and press the knob. CAL:CURR <reading>
CAL:CURR:LEV MAX
4 Measure the high output current with the DMM (DMM reading / shunt resistance).
5 Enter the measured value, and press the knob. CAL:CURR <reading>
6 Read DONE or FAIL on the display.
Calibrate small current
Allow the unit to sit with output ON for one minute before continuing.
Step Front Panel SCPI
1 Turn the knob to Cal Current and press the knob. CAL:CURR:LEV:LOW MIN
2 Wait approximately 40 seconds for the ‘Cal in Prog’ message to leave the display.
 Loading...
