32 Getting Started Guide
Quick Start
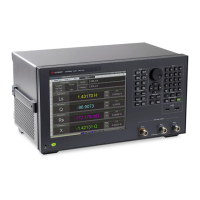
Turning On the Test Platform the First Time
Turning On the Test Platform the First Time
DO NOT remove the AC power during boot-up/shutdown of the operating
system or during the process of initializing the software. This can cause
damage to the system files and prevent proper operation of the instrument.
Before switching on this instrument, make sure the supply voltage is in the
specified range.
Step Action Notes
1. Connect power
cable
Install the instrument so that the
detachable power cord is easily
reached by the operator.
Ensure power outlet is provided with a protective
ground as specified.
2. Connect the
mouse and the
keyboard
(Optional).
Connect the mouse and the keyboard
to the test platform’s USB ports.
3. Power on the test
platform
Position the test platform so you have
easy access to the power cord and plug
it in.
Select the On position for the
rear-panel AC line power switch.
Press the power button (bottom right of
instrument front panel) when the LED
above the power button illuminates in
yellow. (It is best to wait at least 3
seconds after the LED is yellow before
pressing the power button.)
See
“Instrument Location and Rack
Mounting Requirements” on page 30
and
“Power Requirements” on page 19.
Front-panel power button:
 Loading...