2-1
INSTALLATION INFORMATION
INSTALLATION REQUIREMENTS
TOOLS AND PARTS
Assemble the required tools and parts before
starting installation. Read and follow the safety
instructions provided with any tools listed here.
Tools Needed
• Tape measure
• Flat-blade screwdriver
• Level
• Hammer
• Hand or electric drill
• Channel lock pliers
• Marker or pencil
• Masking tape
• 3/8″ drive rachet
• 1/4″ nut driver
• 5/16″ nut driver
• 1/8″ (3.2 mm) drill bit (for wood floors)
• 3/16″ (4.8 mm) carbide-tipped masonry drill
bit (for concrete/ceramic floors)
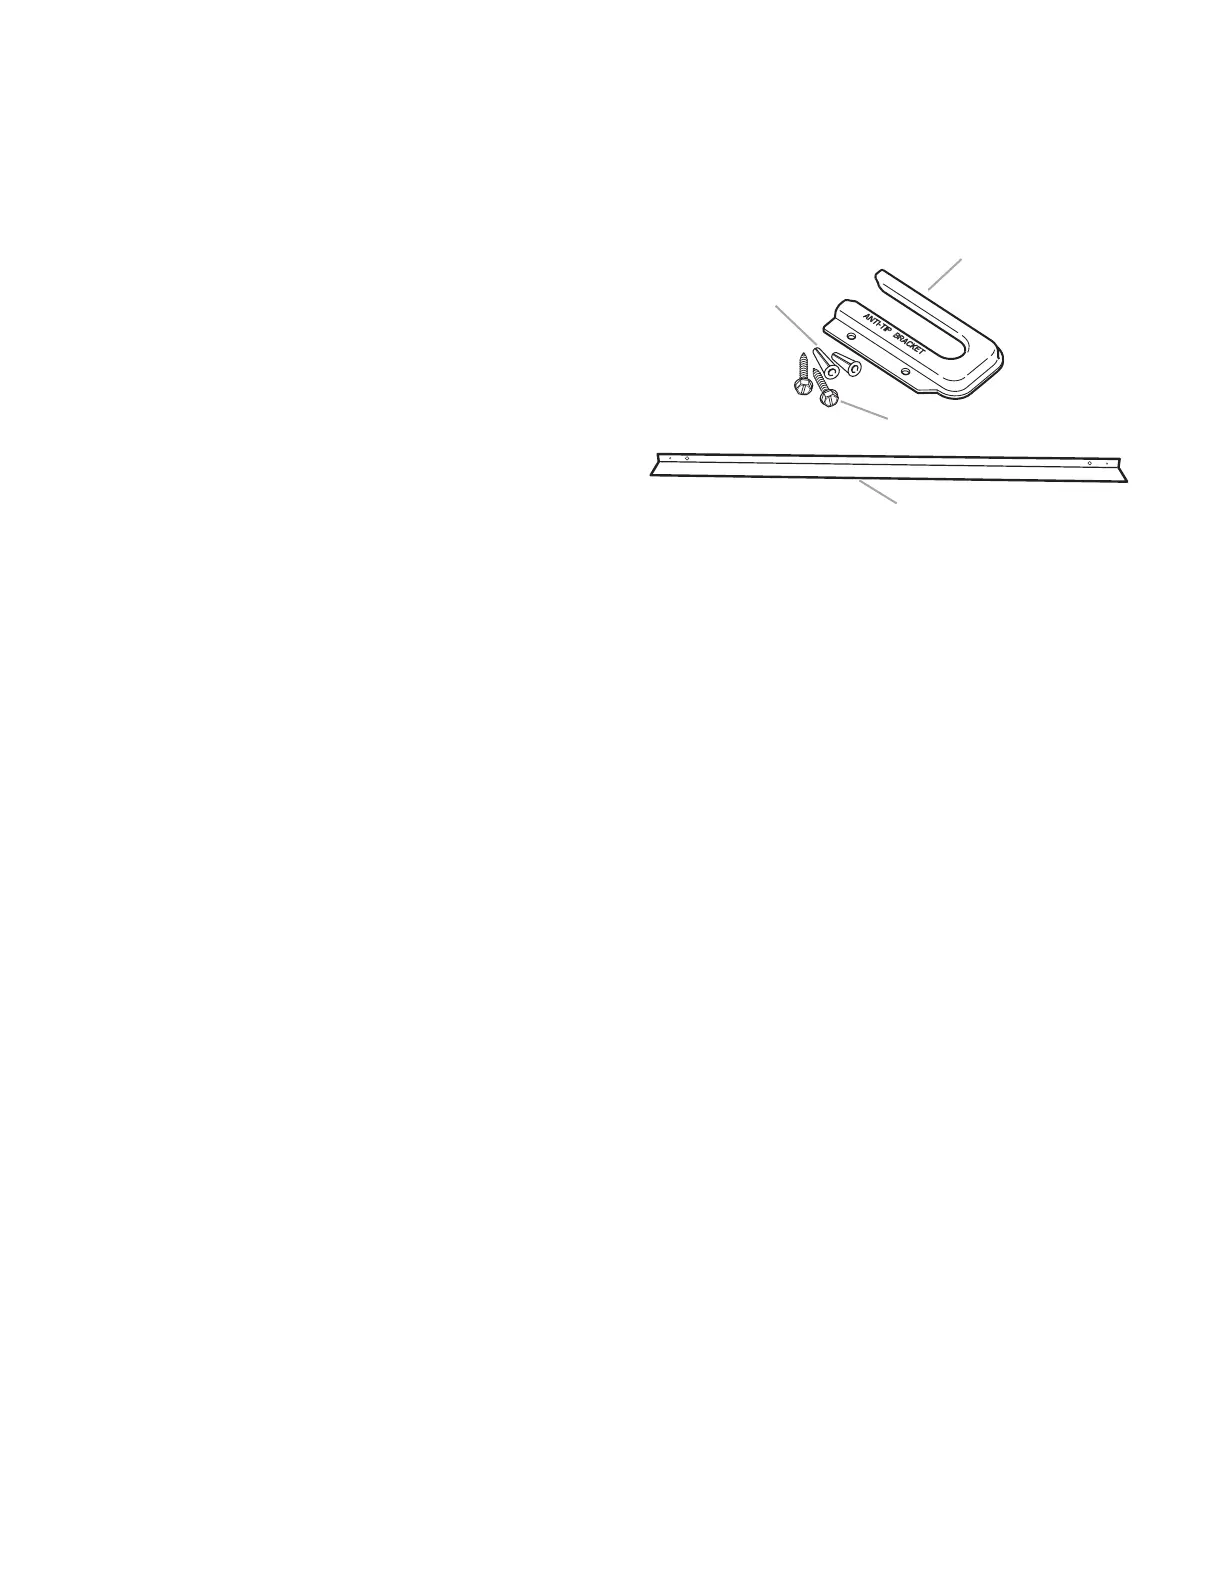
Parts Supplied
Check that all parts are included.
• Brackets must be securely mounted to
subfloor. Thickness of flooring may require
longer screws to anchor bracket to subfloor.
Longer screws are available from your local
hardware store.
Parts Needed
Check local codes. Check existing electrical
supply (see “Electrical Requirements” on page
2-5).
All electrical connections should be made by a
licensed, qualified electrical installer.
A. Anti-tip bracket
B. Plastic anchors (2)
C. #10 x 1/2″ screws (2)
D. Rear spacer cover for slide-in models
(supplied on some models)*
A
B
C
D
* To order, contact your dealer or refer to the “Assis-
tance or Service” section of the Use and Care Guide.
Request Part #9757784WH (White), #9757784BT
(Biscuit), #9757784BL (Black), #9757784MT (Mete-
orite), or #9757784SS (Stainless Steel).