4-2
REMOVING THE EOC ASSEMBLY ON SLIDE-IN &
FREESTANDING MODELS, AND THE USER INTERFACE
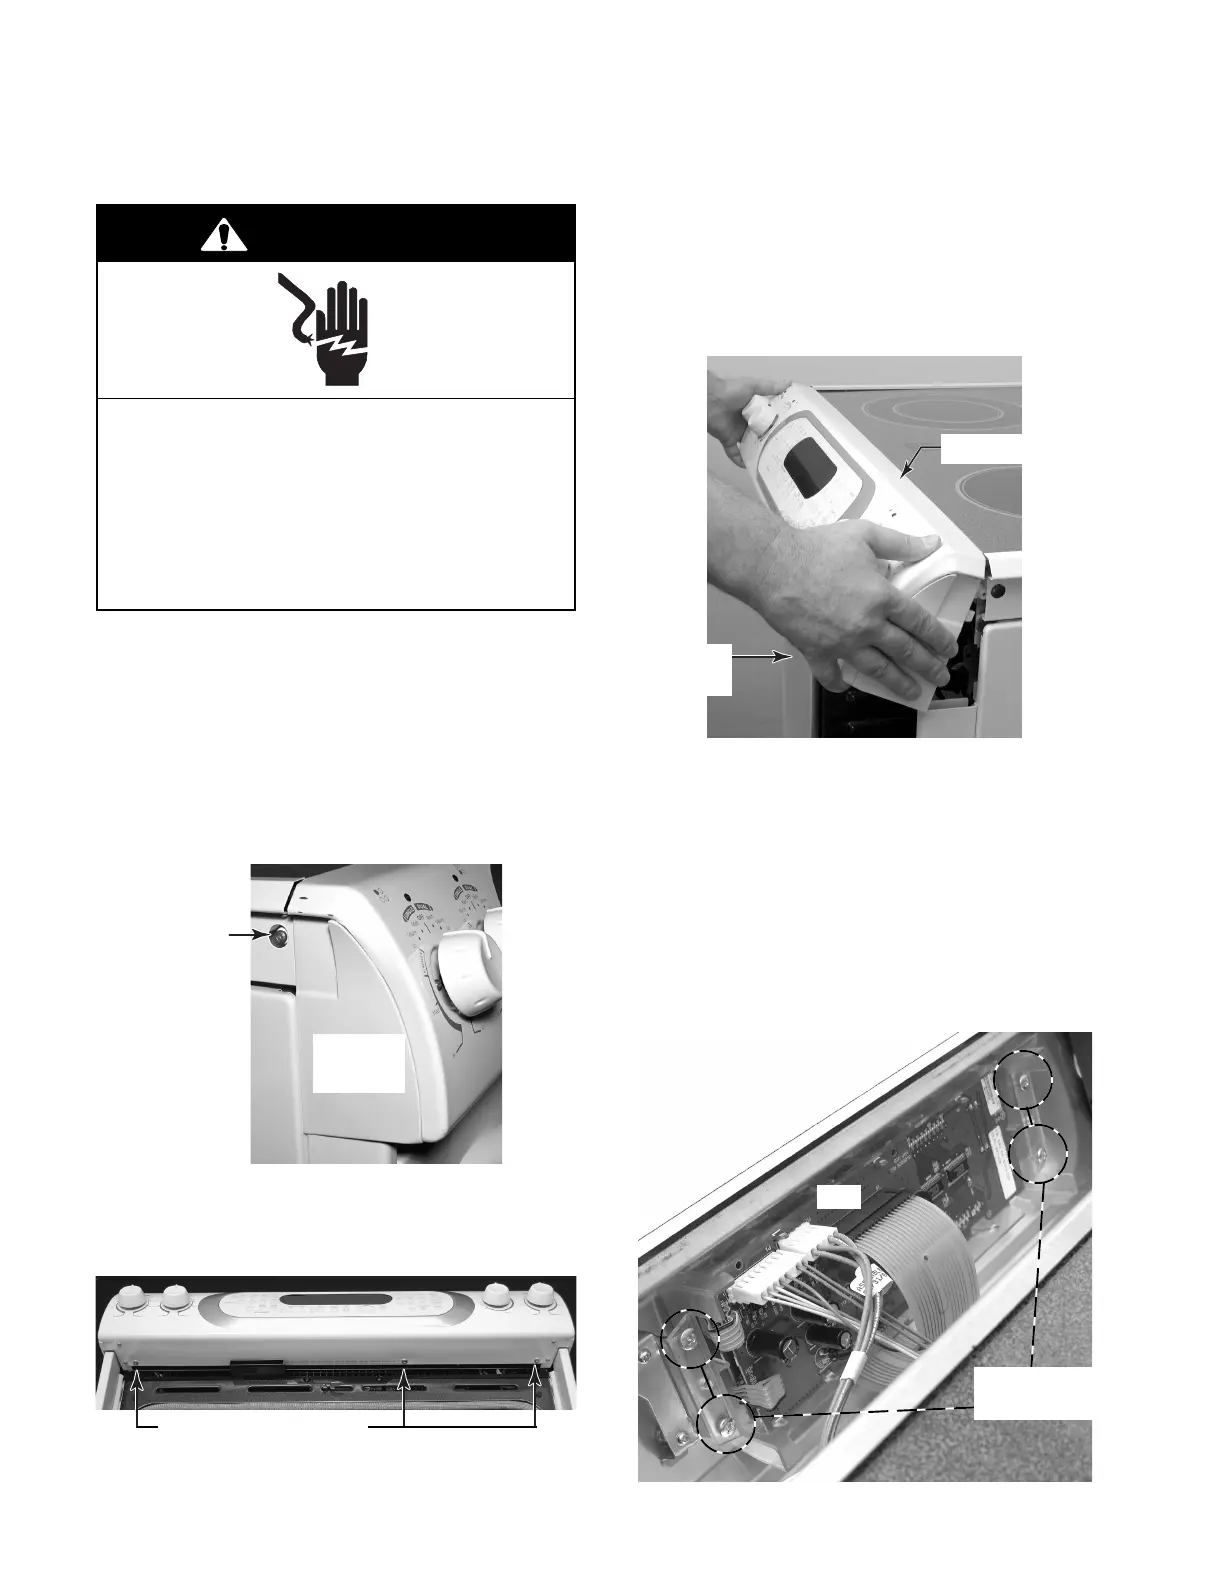
c) Pull out on the bottom of the control
panel, unclip the top edge from the
bracket, and rotate the control panel
forward so you can access the compo-
nents.
b) Open the oven door and remove the
indicated screws from the bottom of the
control panel.
1. Unplug range or disconnect power.
2. Pull the range forward so you can access
the two end cap screws.
3. To remove the electronic oven control
(EOC) assembly on slide-in models:
a) Remove the two screws from the sides
of the left and right end caps.
Electrical Shock Hazard
Disconnect power before servicing.
Replace all parts and panels before
operating.
Failure to do so can result in death or
electrical shock.
WARNING
Screw
Left
End Cap
Control Panel Screws
d) Disconnect the wire connectors from
the electronic oven control board at P1
and P2, and the ribbon cable connector
at P40.
e) Remove the four screws from the elec-
tronic oven control housing, and re-
move the assembly from the control
panel. NOTE: The EOC boards and the
housing are replaced as an assembly.
Control Panel
Pull Out
At Bottom
P1
P2
P40
EOC Housing
Screws