53
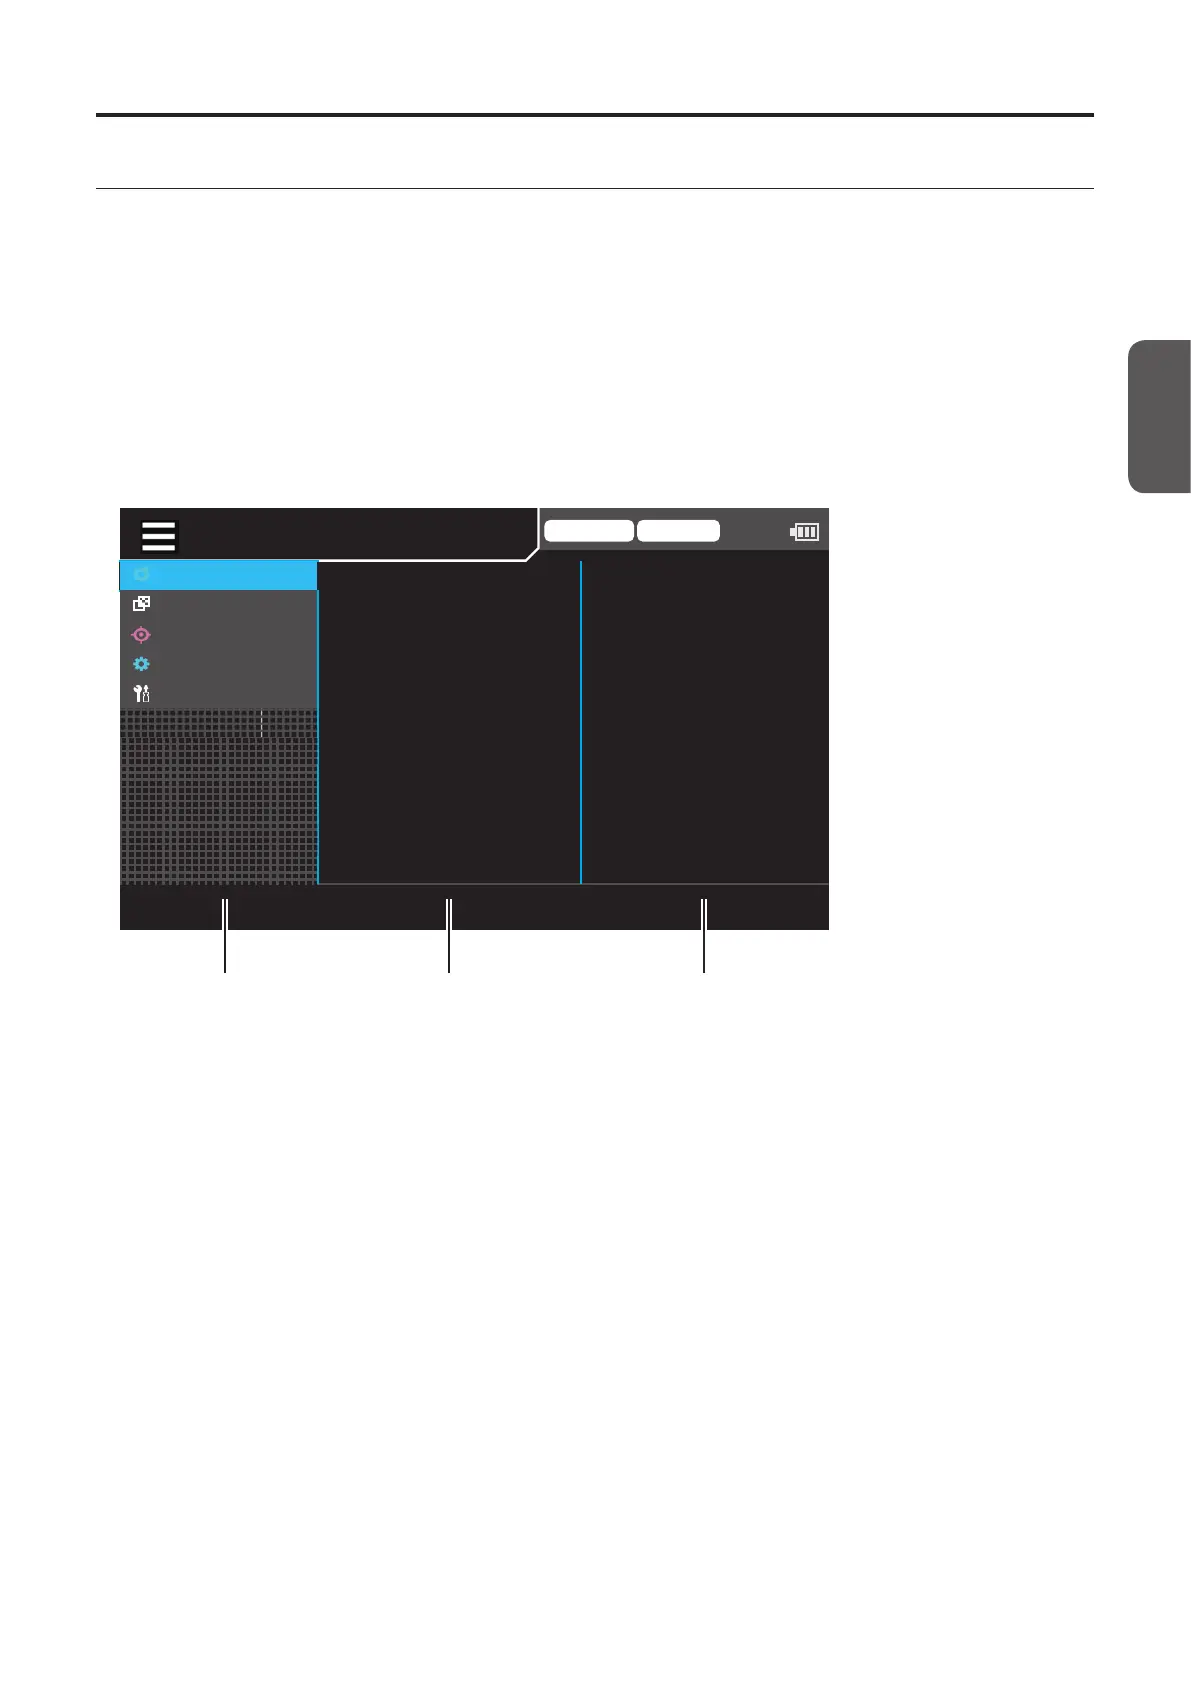
6. Menu screen
Press the [MENU] key to change probe or data processor settings.
The menu screen includes areas 1 to 3, and options for the item selected in area 1 are displayed in area 2, and options or
settings for the item selected in area 2 are displayed in area 3.
• Select an item in area 2 after selecting an item in area 1 using the [UP]/[DOWN] keys and pressing the [RIGHT] or
[ENTER] key.
• After selecting an item in area 2 using the [UP]/[DOWN] keys and pressing the [RIGHT] or [ENTER] key, the settings are
displayed or an item in area 3 can be selected. Pressing the [LEFT] or [ESC] key returns to item selection in area 1.
• After selecting an item in area 3 using the [UP] or [DOWN] key and pressing the [RIGHT] or [ENTER] key, the setting
screen for the item is displayed. Pressing the [LEFT] or [ESC] key returns to item selection in area 2.
* For items to set, refer to the Settings section.
Trigger mode 0-cal AUTO
MeasCond
UserCalib
Target
Option
System
NTSC
AUTO
OFF
OFF
OFF
0.07 Hz
SyncMode
MeasSpeed
TriggerMode
IntervalMeas
IntervalAlert
JEITAfreqresolution
Menu area 1 Menu area 2 Menu area 3
CA-DP40