90
Performing User Calibration
4. By inputting correction coecients
Operating Procedure
1
While the measurement screen is
displayed, press the [MENU] key.
The setting screen is displayed on the LCD screen.
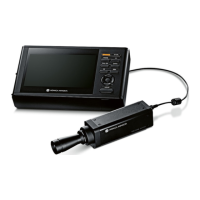
2
Press the [UP] or [DOWN] key to select
[User Calib], and then press the [RIGHT]
or [ENTER] key.
Trigger mode 0-cal AUTO
MeasCond
UserCalib
Target
Option
System
MeasureandRegister
CopyandRegister
EditCorrectionCoef
Set ID
DeleteCalibData
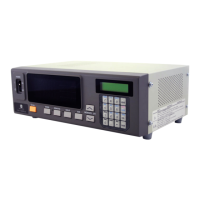
3
Press the [UP] or [DOWN] key to select
[Edit Correction Coef], and then press
the [RIGHT] or [ENTER] key.
Trigger mode 0-cal AUTO
MeasCond
UserCalib
Target
Option
System
MeasureandRegister
CopyandRegister
EditCorrectionCoef
Set ID
DeleteCalibData
4
The screen for selecting a probe is
displayed. Press the [UP] or [DOWN] key
to select the probe to register, and then
press the [RIGHT] or [ENTER] key.
MENU
Trigger mode 0-cal AUTO
MeasCond
UserCalib
Target
Option
System
10
09
08
07
06
05
04
03
02
01
▶
MeasureandRegister
CopyandRegister
EditCorrectionCoef
Set ID
DeleteCalibData
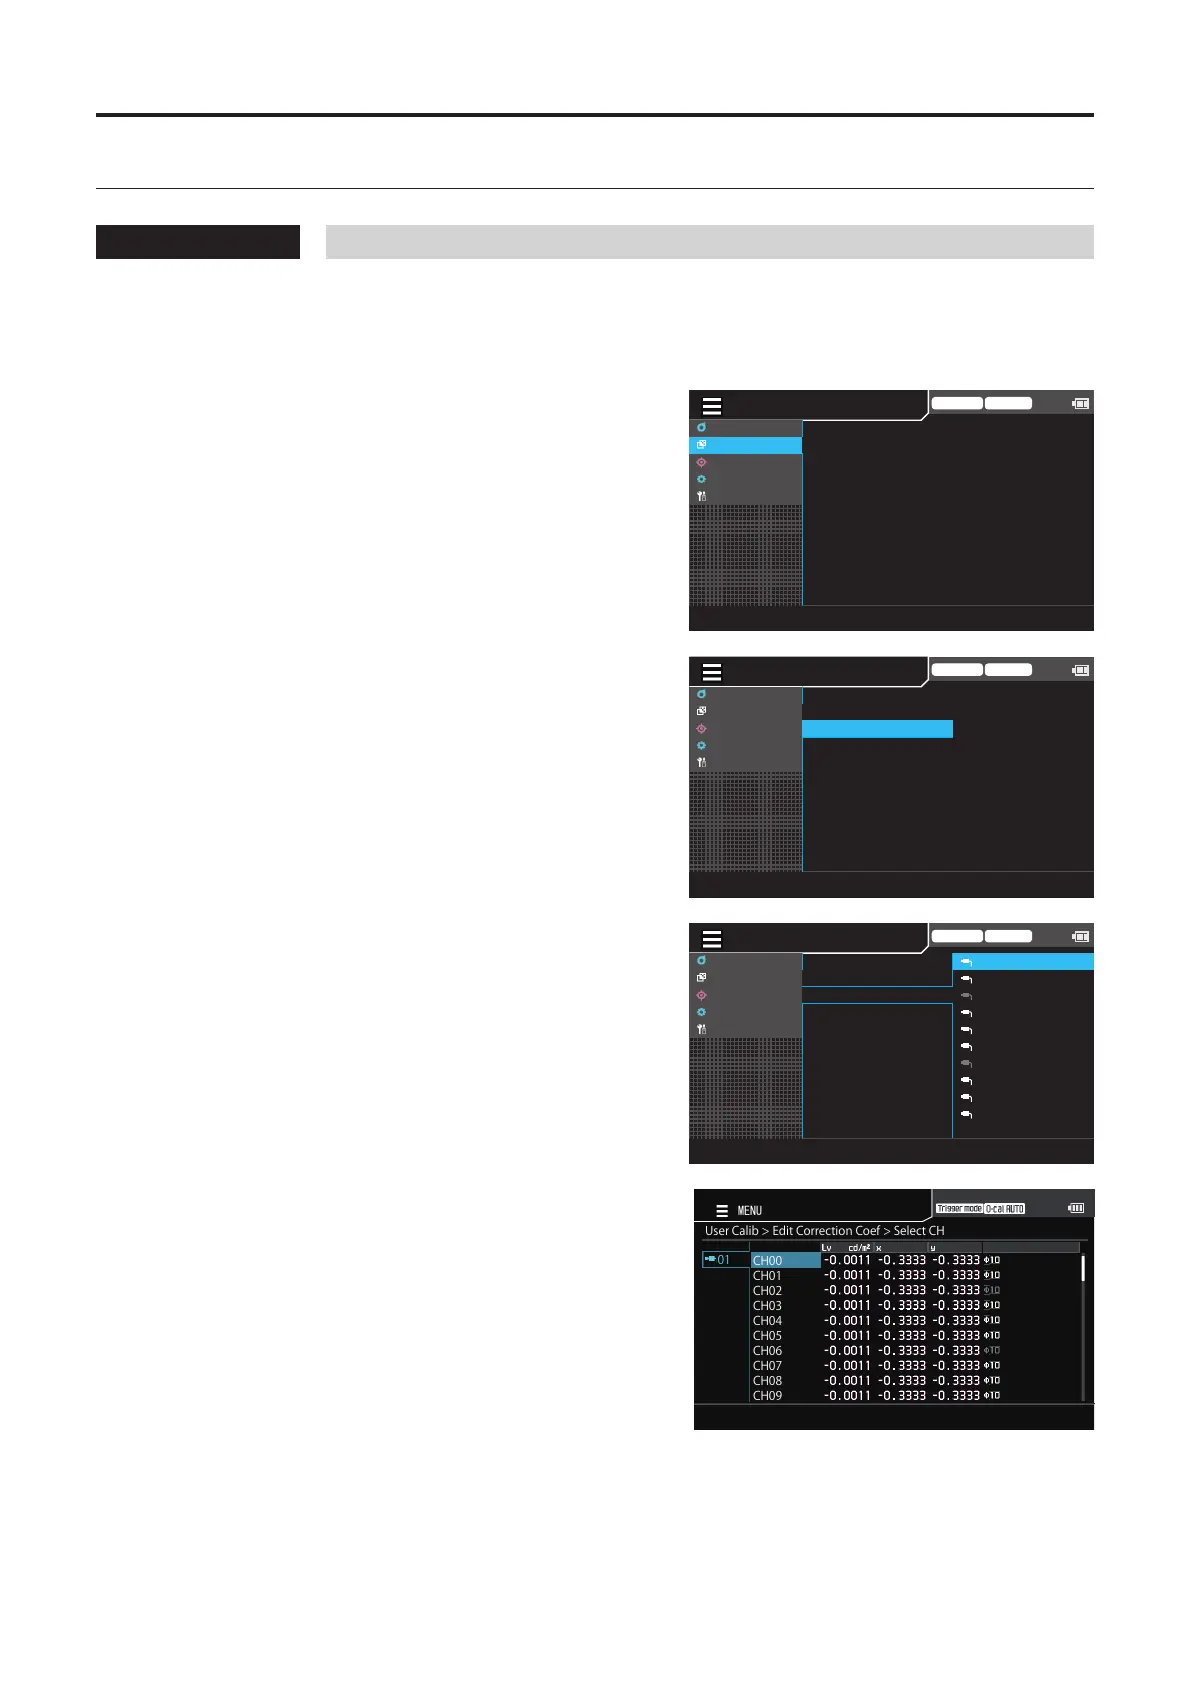
5
The screen for selecting a calibration
channel is displayed. Press the [UP] or
[DOWN] key to select the channel to
register.
This screen allows the current data to be checked.
UserCalib>EditCorrectionCoef>SelectCH
CH00
CH01
CH02
CH03
CH04
CH05
CH06
CH07
CH08
CH09
01
MENU
6
Press the [ENTER] key.
The screen for inputting correction coecients is
displayed.