69
4
-1-2
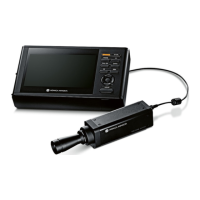
Press the [UP] or [DOWN] key and the
[RIGHT]/[LEFT] keys to set a
synchronization frequency, move to
[Complete], and then press the [ENTER]
key.
To cancel entry, press the [ESC] key to return to the
previous screen and reset the value. If the entered
value is out of the available range, an alert screen is
displayed. Press the [ENTER] key to return to the
previous screen and reset the value.
Trigger mode 0-cal AUTO
MeasCond
UserCalib
Target
Option
System
○
NTSC
○
PAL
○
UNIV
◉
INT[400.00 Hz]
○
EXT
○
MANU[1000.0 ms]
SyncMode
MeasSpeed
TriggerMode
IntervalMeas
IntervalAlert
JEITAfreqresolution
INT:Frequency
Set the frequency
Complete
400.0 Hz
Input Error
The input data is incorrect
Input correct value
OK
4
-2-1
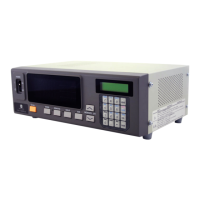
When selecting [MANU], press the
[ENTER] key to display the screen for
setting the integration time.
Trigger mode 0-cal AUTO
MeasCond
UserCalib
Target
Option
System
◉
NTSC
○
PAL
○
UNIV
○
INT[400.00 Hz]
○
EXT
○
MANU[1000.0 ms]
SyncMode
MeasSpeed
TriggerMode
IntervalMeas
IntervalAlert
JEITAfreqresolution
MENU
Trigger mode 0-cal AUTO
MeasCond
UserCalib
Target
Option
System
○
NTSC
○
PAL
○
UNIV
◉
INT[400.00 Hz]
○
EXT
○
MANU[1000.0 ms]
SyncMode
MeasSpeed
TriggerMode
IntervalMeas
IntervalAlert
JEITAfreqresolution
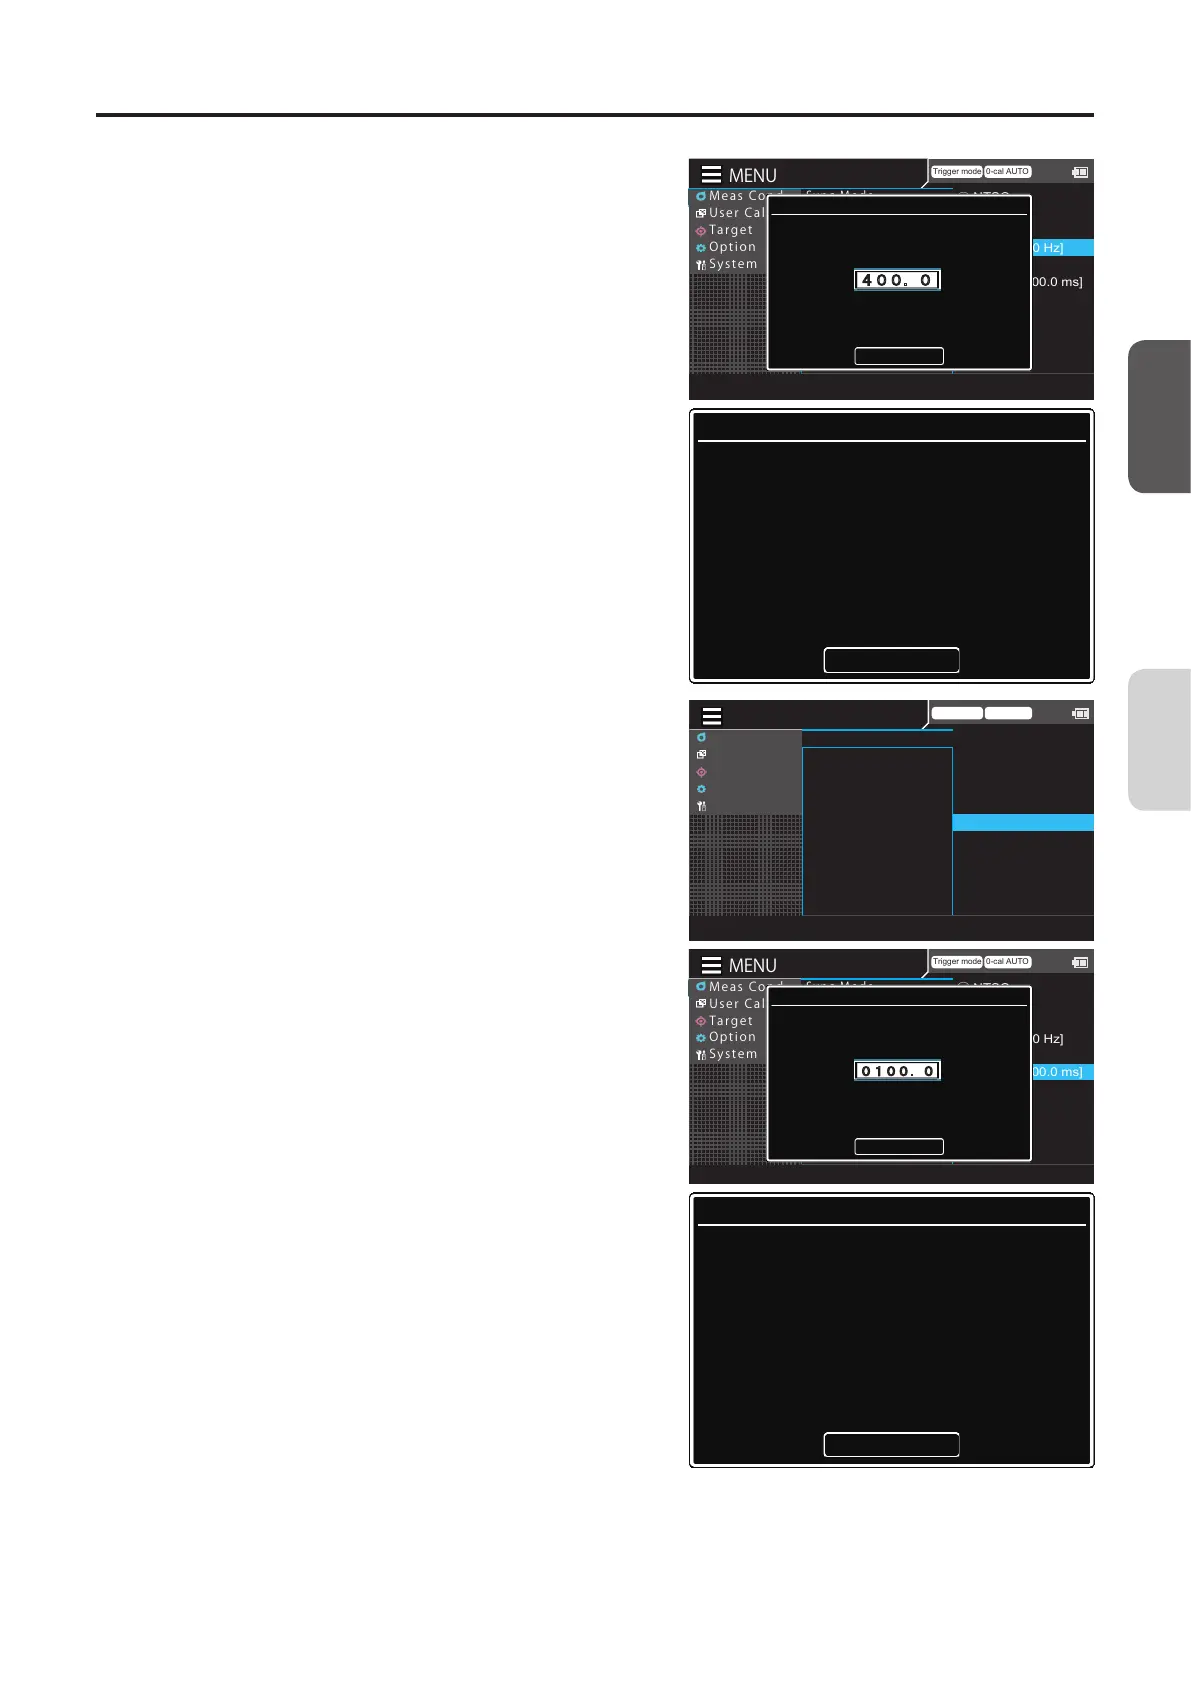
MANU:Integration time
Set the integration time
Complete
0100.0
msec
Input Error
The input data is incorrect
Input correct value
OK
4
-2-2
Press the [UP] or [DOWN] key and the
[RIGHT]/[LEFT] keys to set an
integration time, move to [Complete],
and then press the [ENTER] key.
To cancel entry, press the [ESC] key to return to the
previous screen and reset the value. If the entered
value is out of the available range, an alert screen is
displayed. Press the [ENTER] key to return to the
previous screen and reset the value.
5
Press the [ESC] key twice.
The measurement screen is displayed on the LCD
screen.
The Sync mode setting will be kept even if the
POWER switch is set to OFF ().
CA-DP40
Measurement
Preparation
 Loading...