97
5
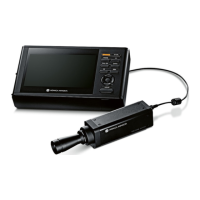
The screen for selecting a calibration
channel is displayed. Press the [UP] or
[DOWN] key to select the channel to
register. This screen allows the current
data to be checked.
Target>SelectCH
CH00
CH01
CH02
CH03
CH04
CH05
CH06
CH07
CH08
CH09
01
MENU
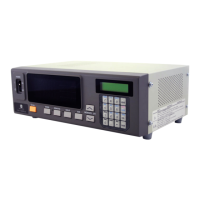
6
Press the [ENTER] key.
The pop-up screen for target value measurement is
displayed with the “MEAS” button on it. Press the
[ENTER] key again to perform measurement.
Target>SelectCH
CH00
CH01
CH02
CH03
CH04
CH05
CH06
CH07
CH08
CH09
01
MENU
Target
Startmeasurement
Meas
MeasuredValue
TargetValue
Lvxy
7
When an appropriate target value is
obtained, press the [ENTER] key to hold
the value.
Target>SelectCH
CH00
CH01
CH02
CH03
CH04
CH05
CH06
CH07
CH08
CH09
01
MENU
Target
Stopmeasurement
Stop
MeasuredValue
TargetValue
Lvxy
160.2 0.3132 0.3257
8
Press the [UP] or [DOWN] key and the
[RIGHT]/[LEFT] keys to select the field of
a target, and then press the [ENTER] key.
9
Press the [UP] or [DOWN] key and the
[RIGHT]/[LEFT] keys to set a target
value, and then press the [ENTER] key.
(Press the [ESC] key to cancel configuration of the
setting and restore the original value.)
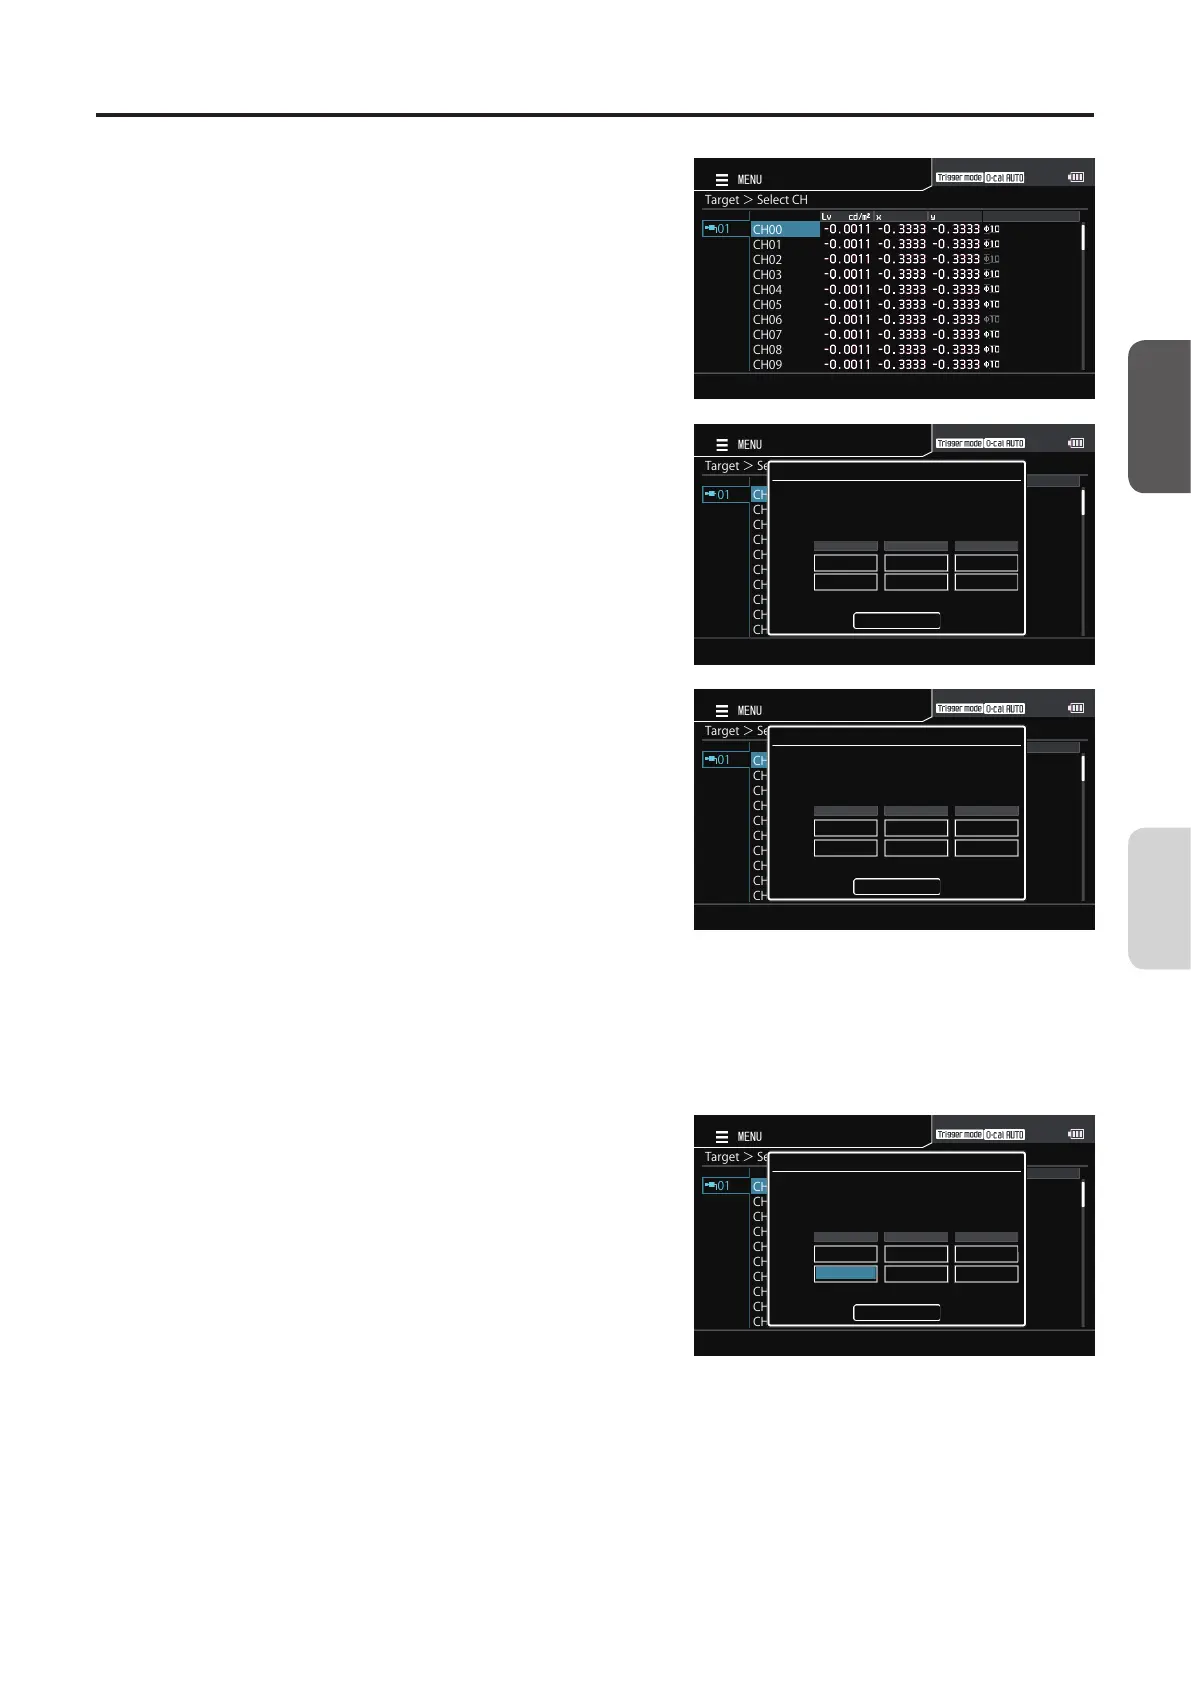
10
Repeat steps 8 and 9 to set target values,
move to [Complete], and then press the
[ENTER] key to confirm your entry.
(If the entered value is out of the available setting
range, the screen returns to the value entry screen.
Enter another value.)
Target>SelectCH
CH00
CH01
CH02
CH03
CH04
CH05
CH06
CH07
CH08
CH09
01
MENU
Target
EditValue
ToconfirmbypressingtheENTERbutton
Complete
MeasuredValue
TargetValue
Lvxy
160.2 0.3132 0.3257
11
Press the [ESC] key.
The measurement screen is displayed on the LCD
screen. The specified values will be kept even if the
POWER switch is set to OFF ().
CA-DP40
Calibration/
Settings