63
5. Measuring Light Sources [Measurement Screen]
5.
Touch the [OK] button.
Conrms and returns to the Measurement screen.
To return to the Measurement screen without conrming, touch the Cancel button.
NOTE
posure Time can also be set in the Tool o.
¨
P101)
6.
Conrm the light measuring range.
When you return to the Measurement screen, mae
sure to select Range L ( ).
7.
Press the Measuring Button 5.
Measurement will be taken and the light source
values will be displayed.
While the button is held, the meter measures
continuously.
When the button is released, the measurements
will stop and the light source value at the time of
release will be displayed.
NOTE
●
[Over] or [Under] will be displayed if the light source illumination is too bright
or not bright enough, or if the color temperature is out of the measurement
range, when the Measuring utton is pressed. When the color temperature
is outside the calculation range, --- is displayed.
In this case, adust the brightness or color temperature of light source.
●
Measurement and display will take longer in light levels below 30lx. The
LC illumination will normally switch off during measurement to avoid
inuence to measurement.
Measurement in Ambient Light Mode is complete.
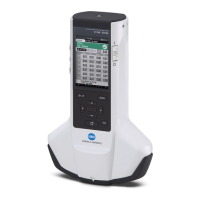
Light Selection Ring
2
Measuring utton
5
Range L
Measurement Screen
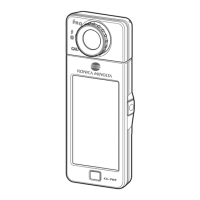
Tool o utton
The selected
exposure time
is displayed
on the
Measurement
screen.
Tool Box Screen
 Loading...