23
Automatic Agitation and Low Ice Alarm Control
LED DESCRIPTION
D7 This light ashes when there is no ice between the sensors in the ice bin. If the bin is empty and the light is not
ashing, check all wiring harnesses.
D8 This light is on when the solenoid is activated. When the chute is depressed, this light should turn on. If it does
not, check to see if the solenoid leads are connected to the PC board or damaged, check continuity of solenoid.
Replace if defective.
D9 This light is on when the motor is activated. When the chute is depressed, this light should turn on. If it does not,
check to see if the motor harness is connected to the PC board or damaged, check continuity of motor harness
and motor. Replace if defective.
Refer to Automatic Agitation Warning on page 4.
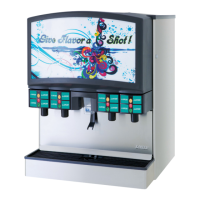
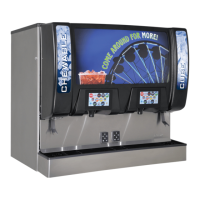
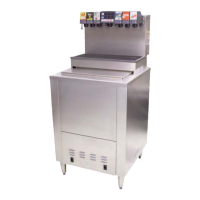
Each Series 4500 ice beverage dispenser is equipped with automatic agitation for the ice bin. The unit is shipped with
timing set at two (2) seconds ON every 60 minutes. Referring to the tables on the wiring diagram included in this
manual(alsoaxedtotheelectricalboxcover),theautomaticagitationtimingcanbechangedasfollows.AsetofDIP
switches is provided to control the timing and low ice control. Dispensers using pellet ice must have the automatic
agitation settings adjusted to four (4) seconds ON every 150 minutes. See Section 6.11.
NOTE
NOTE
DIP# DESCRIPTION
DIP#1 This switch controls the low ice indicator light. With the switch in the ON position, the light operates when a low
ice condition exists. In the OFF position, the light is turned o. The unit is shipped with the light switch in the ON
position.
DIP#2 This switch controls the low ice audible alarm. With the switch in the ON position, the alarm operates when a low
ice condition exists. In the OFF position, the alarm is turned o. The unit is shipped with the alarm switch in the
OFF position.
DIP#3 and
DIP#4
These switches control the ON time for automatic agitation. By referring to the table and setting the switches as
shown, ON times from one (1) second to four (4) seconds [in one (1) second increments] can be obtained.
EXAMPLE: For three (3) seconds ON time, switch 3 should be in the ON position, and switch 4 should be in the
OFF position. The unit is shipped with two (2) seconds ON time.
DIP#5 - #8 1. These switches control the OFF time for automatic agitation. By referring to the table and setting the
switches as shown, OFF times from 10 minutes to 150 minutes (in 10 minute increments) can be obtained.
EXAMPLE: For 40 minute OFF time, switch 5 should be in the OFF position, switch 6 should be in the ON
position, switch 7should be in the OFF position, and switch 8 should be in the OFF position. The unit is
shipped with 60 minute OFF time.
2. To turn the agitation completely o, set switches 5 through 8 all OFF.
To prevent possible harm to the environment from improper disposal, recycle the unit
by locating an authorized recycler or contact the retailer where the product was purchased.
Comply with local regulations regarding disposal of the refrigerant and insulation.
Dispenser Disposal