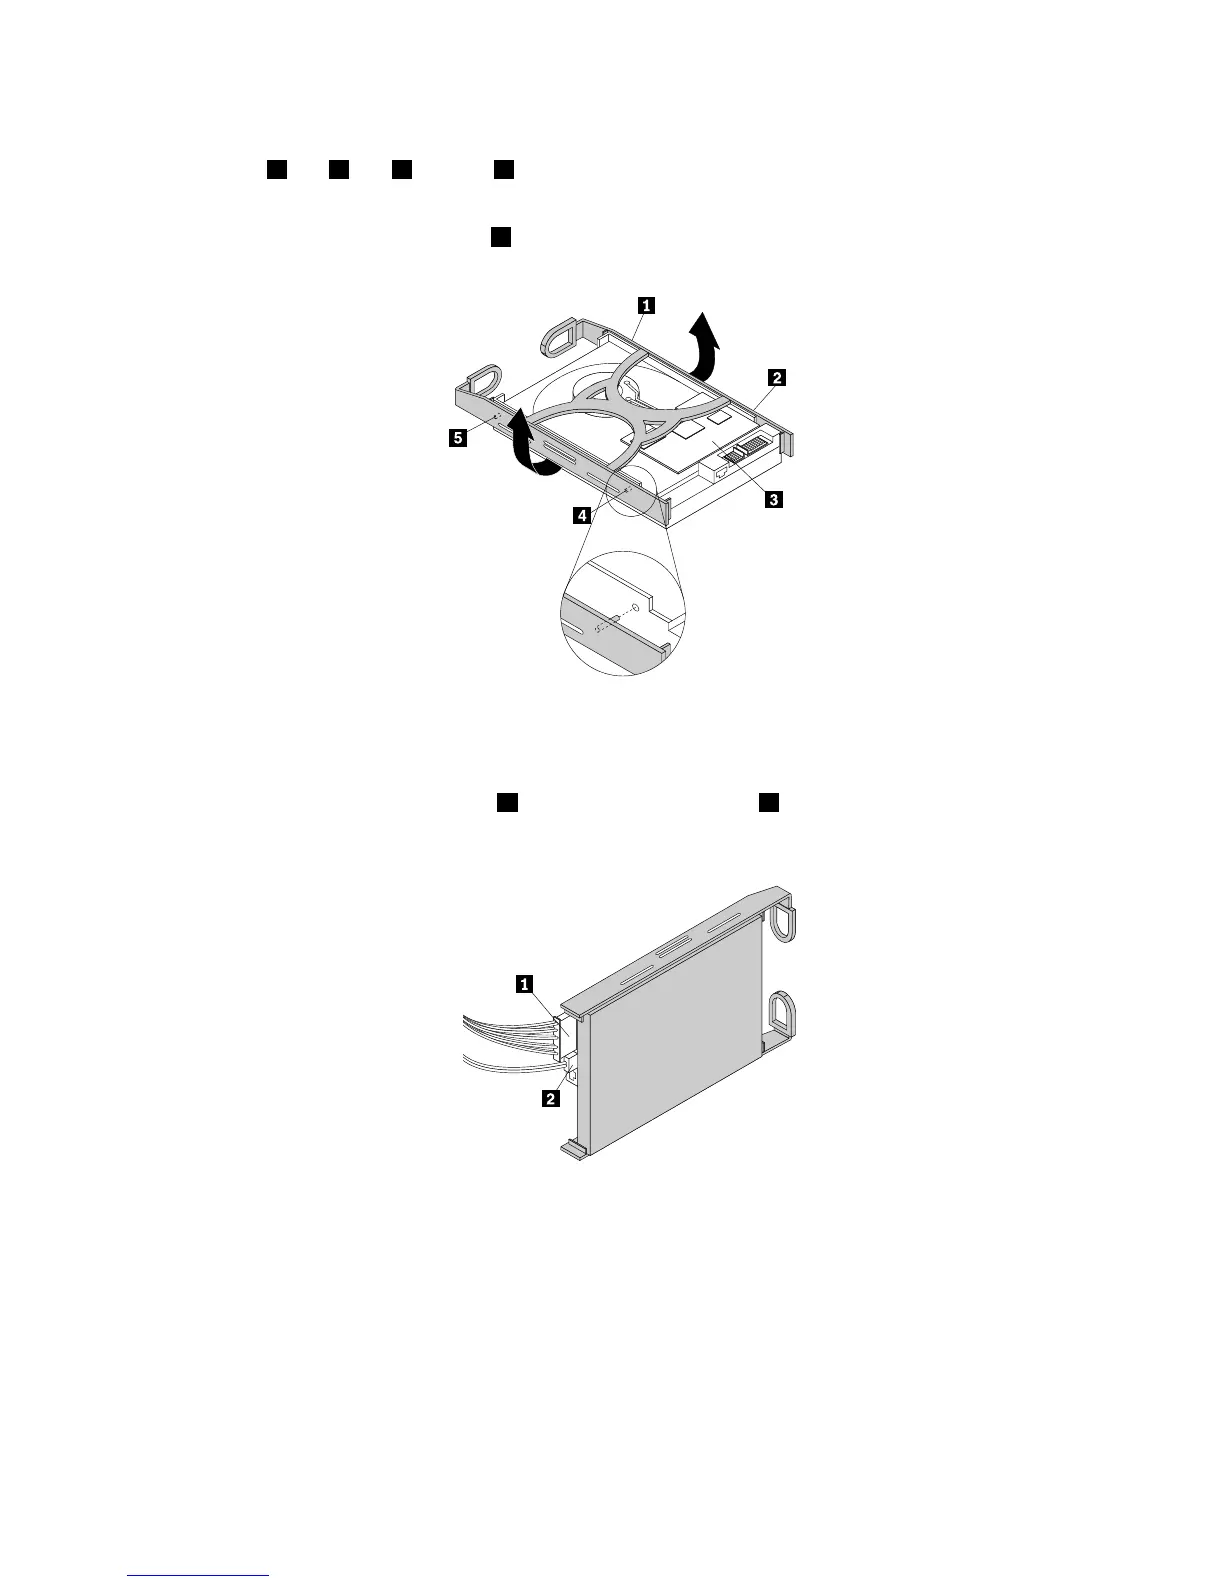
8.Installthenewnon-hot-swapharddiskdriveintoabluebracketbyflexingthesidesofthebracketand
aligningpin
1,pin2,pin4,andpin5onthebracketwiththecorrespondingholesintheharddisk
drivesothattheharddiskdrivecanbeseatedinthebracket.
Note:Donottouchthecircuitboard3onthebottomoftheharddiskdrive.
Figure75.Installingthenon-hot-swapharddiskdriveintothebracket
9.Slidethenewnon-hot-swapharddiskdrivewithbracketintothedrivebayuntilitsnapsintoposition.
10.Connecttheappropriatepowercable1andtheSATAsignalcable2totherearofthenon-hot-swap
harddiskdrive.See“Connectingthecables”onpage43.
Figure76.Connectingcablestotherearofthenon-hot-swapharddiskdrive
11.ConnecttheotherendoftheSATAsignalcabletotheappropriateSATAconnectoronthesystemboard.
See“Systemboardcomponents”onpage48and“Connectingthecables”onpage43.
12.Reinstallthefrontsystemfan1.See“Replacingthefrontsystemfan1”onpage183.
138ThinkServerTD340UserGuideandHardwareMaintenanceManual