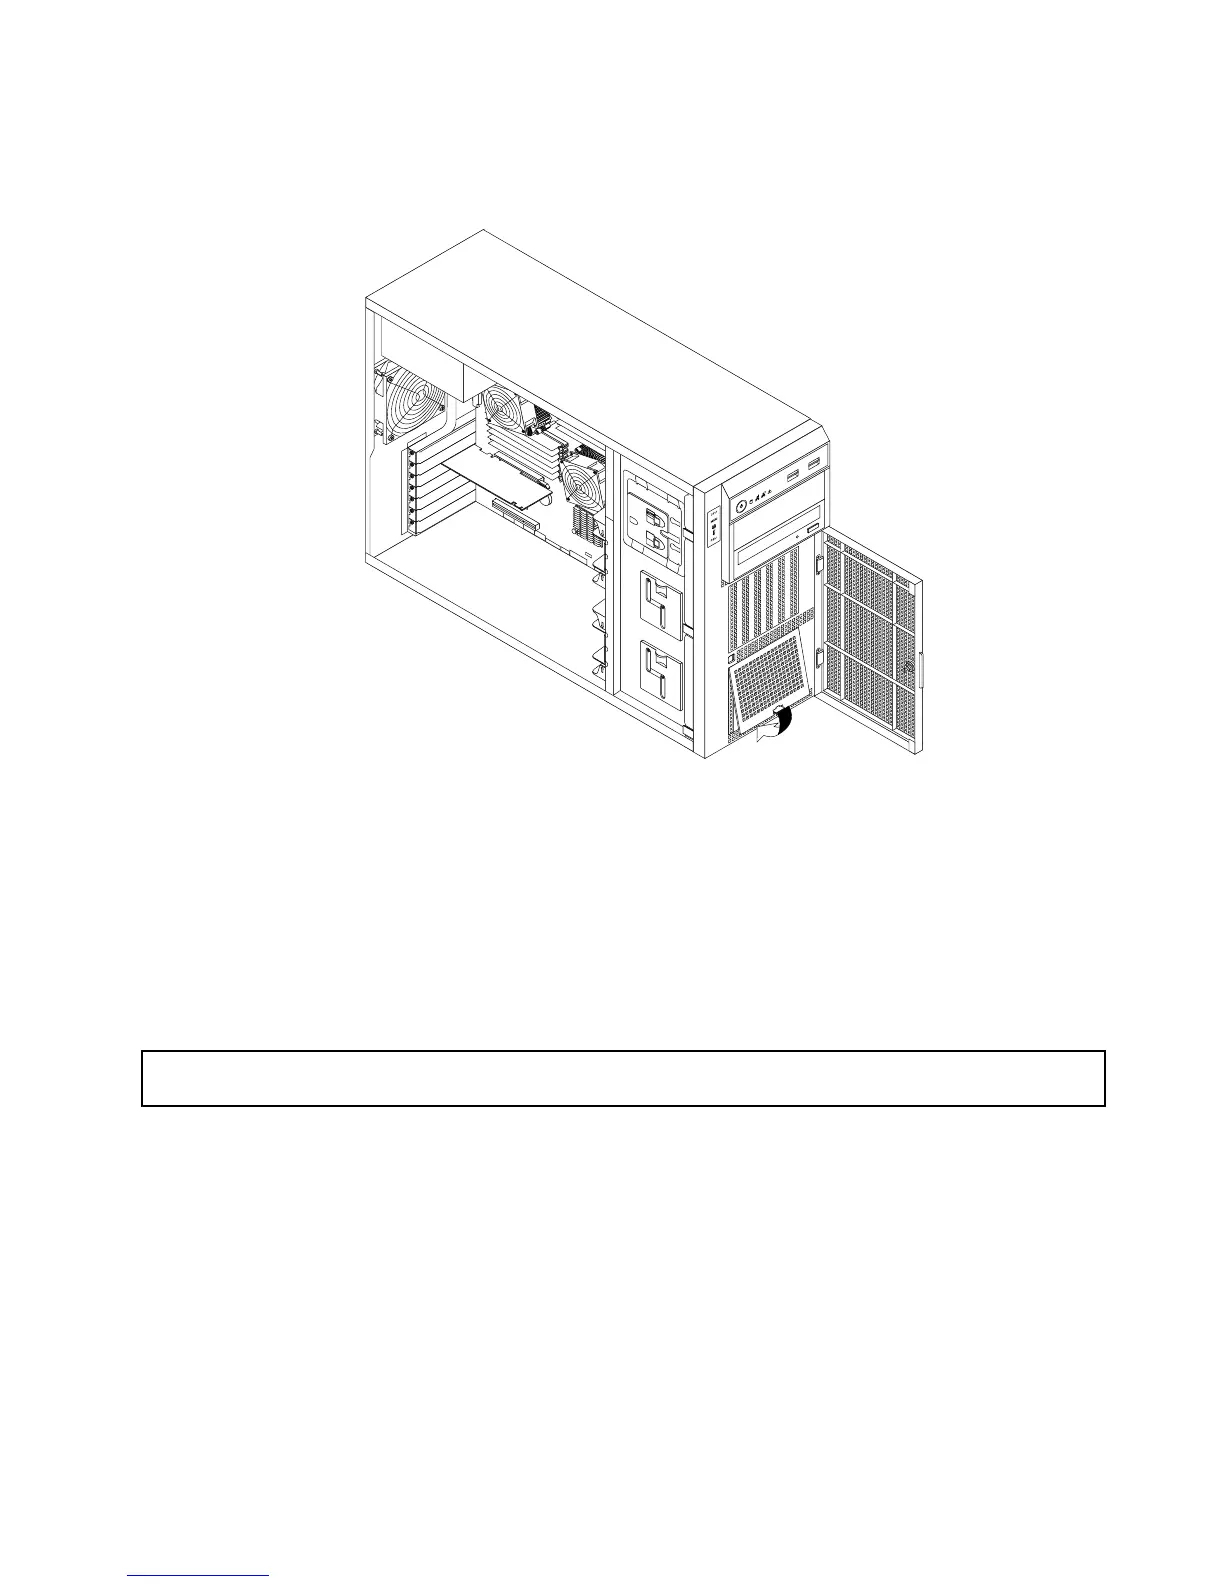
13.AlignthetopedgeoftheEMI-protectivepanelwiththetopsideofthehard-disk-drivecage,andthen
pivottheEMI-protectivepaneldownuntilitsnapsintoposition.
Figure77.InstallingtheEMI-protectivepanel
14.Closeandlockthefrontdoor.
Whattodonext:
•Toworkwithanotherpieceofhardware,gototheappropriatesection.
•Tocompletetheinstallation,goto“Completingthepartsreplacement”onpage200.Then,youmight
needtoreconfigureRAIDforyourserver.See“ConfiguringRAID”onpage72
.
Removinganon-hot-swapharddiskdrive
Attention:Donotopenyourserverorattemptanyrepairbeforereadingandunderstanding“Safetyinformation”
onpageiii
and“Guidelines”onpage83.
Thistopicprovidesinstructionsonhowtoremoveanon-hot-swapharddiskdrive.
Thistopicappliesonlytoservermodelsthathavenon-hot-swapharddiskdrivesinstalled.See“Features”
onpage7formoreinformationaboutthesupportednon-hot-swapharddiskdrives.
Beforeyoubegin,considerthefollowingharddiskdriveinstallationrules:
•Followtheorderoftheharddiskdrivebayswheninstallingaharddiskdrive.See“Servercomponents”
onpage28
tolocatetheharddiskdrivebaysinyourserver.
•ForRAIDconfiguration,theharddiskdrivesmustbethesametypewiththesamecapacityiftheyare
withinasingleRAIDarray.Formoreinformation,see“ConfiguringRAID”onpage72
.
•Forharddiskdriveswithdifferentcapacities,installtheharddiskdrivebyfollowingtheorderofthehard
diskdrivebaysaswellastheorderfromthelowestcapacitytothehighestcapacity.
Chapter6.Installing,removing,orreplacinghardware139