3.Laytheserveronitssideforeasieroperation.
4.Removethefrontsystemfans.See“Replacingthefrontsystemfan1”onpage183.
5.Recordthecableroutingandconnection.Then,disconnectthepowersupplyassemblycablesfrom
thesystemboardandalldrives.Forservermodelswithhot-swapharddiskdrives,youalsoneedto
disconnectthepowercablesfromthehot-swaphard-disk-drivebackplanes.
6.Releasethepowersupplyassemblycablesfromthecableclipsandtiesinthechassis.
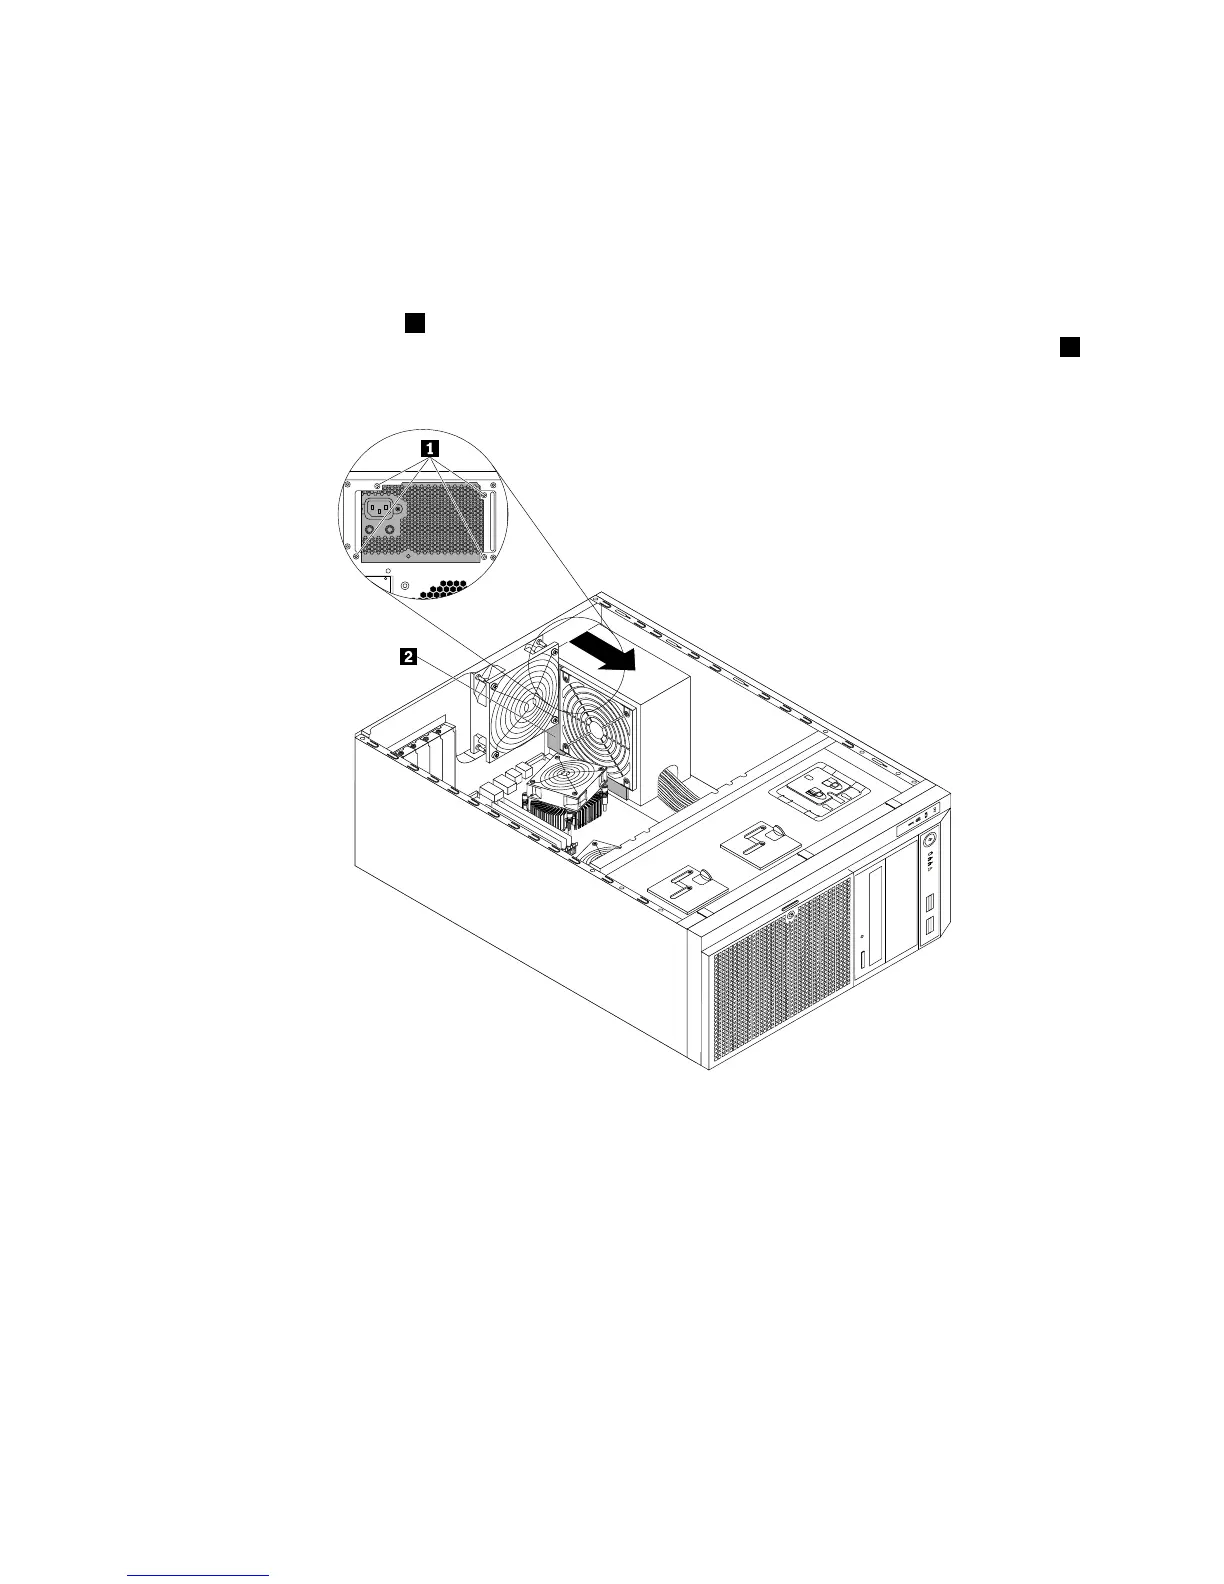
7.Removethefourscrews1attherearofthechassisthatsecurethepowersupplyassembly,and
thenpushthepowersupplyassemblyfromtherearuntilitisreleasedfromthemetalretainingtab
2.
Then,carefullyliftitoutofthechassis.
Figure111.Removingthenon-hot-swappowersupplyassembly
8.Touchthestatic-protectivepackagethatcontainsthenewpowersupplyassemblytoanyunpainted
surfaceontheoutsideoftheserver.Then,removethenewpowersupplyassemblyfromthepackage
andensurethatthenewpowersupplyassemblyisthecorrectreplacement.See“Features”onpage7
forinformationaboutthesupportedpowersupplyassembly.
Chapter6.Installing,removing,orreplacinghardware171