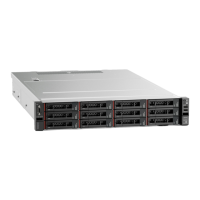
Before removing a simple-swap drive:
1. Ensure that you have back up data on your drive.
2. Remove the security bezel. See “Remove the security bezel” on page 62.
Attention:
• To ensure that there is adequate system cooling, do not operate the server for more than two minutes
without either a drive or a drive filler installed in each bay.
• Before you remove any component of a RAID array, back up all RAID configuration information.
To remove a simple-swap drive, complete the following steps:
Watch the procedure
A video of this procedure is available at
https://www.youtube.com/playlist?list=PLYV5R7hVcs-
C9jFjZnXQ6AmTXaIdX6_HJ
.
Step 1. Use a screwdriver to turn the handle lock
1 to the unlocked position. The handle opens
automatically.
Figure 56. Opening the handle of a 3.5-inch simple-swap drive
Step 2. Pull the handle and carefully slide the simple-swap drive or the drive filler out of the front of the
chassis.
Figure 57. 3.5-inch simple-swap drive removal
After removing the simple-swap drive:
80
ThinkSystem SR550 Maintenance Manual

 Loading...


