Watch the procedure
A video of this procedure is available at
https://www.youtube.com/playlist?list=PLYV5R7hVcs-
C9jFjZnXQ6AmTXaIdX6_HJ
.
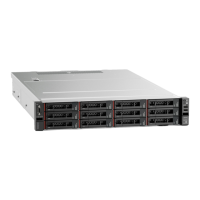
Figure 59. Simple-swap drive installation
Step 1. Ensure that the drive handle is in the open position. Slide the drive into the drive bay until it snaps
into position.
Step 2. Rotate the tray handle to the closed position.
Complete the parts replacement. See “Complete the parts replacement” on page 164.
Backplane replacement
Use this information to remove and install the backplane.
Remove the 3.5-inch-drive backplane
Use this information to remove the 3.5-inch-drive backplane.
“Read the
installation
Guidelines” on
page 53
“Power off
the server
for this task”
on page 13
“ATTENTION:
Static Sensitive Device
Ground package before opening”
on page 56
Before removing the backplane:
1. Remove the top cover. See “Remove the top cover” on page 56.
2. Remove all the installed drives and drive fillers (if any) from the drive bays. See “Remove a hot-swap
drive” on page 74.
To remove the backplane, complete the following steps:
Watch the procedure
82
ThinkSystem SR550 Maintenance Manual

 Loading...


