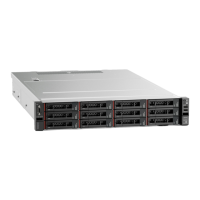
1. Install the drive filler or a new simple-swap drive.
2. If you are instructed to return the old simple-swap drive, follow all packaging instructions and use any
packaging materials that are provided.
Install a simple-swap drive
Use this information to install a simple-swap drive.
“Read the
installation
Guidelines” on
page 53
“Power off
the server
for this task”
on page 13
“ATTENTION:
Static Sensitive Device
Ground package before opening”
on page 56
The following notes describe the type of drives that your server supports and other information that you must
consider when you install a drive.
• For a list of supported drives, see
https://static.lenovo.com/us/en/serverproven/index.shtml.
• The drive bays are numbered to indicate the installation order (starting from number “0”). Follow the
installation order when you install a drive. See “Front view” on page 15.
• You can mix drives of different types and different capacities in one system, but not in one RAID array.
The following order is recommended when installing the drives:
– Drive type priority: solid-state drive, SATA hard disk drive
– Drive capacity priority: the lowest capacity first
• The drives in a single RAID array must be the same type, same size, and with the same capacity.
Before installing a simple-swap drive:
1. Press the two tabs toward each other to remove the drive filler. Keep the drive filler in a safe place.
Figure 58. Drive filler removal
2. Touch the static-protective package that contains the new drive to any unpainted surface on the outside
of the server. Then, take the new drive out of the package and place it on a static-protective surface.
To install a simple-swap drive, complete the following steps:
Chapter 3. Hardware replacement procedures 81

 Loading...


