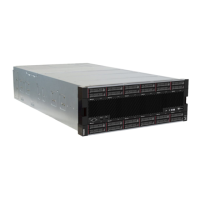
Complete the following steps to install a hard disk drive filler:
Watch the procedure. A video of the installation process is available:
• Youtube:
https://www.youtube.com/playlist?list=PLYV5R7hVcs-DbSYJFY74PoKmph7vgrkKH&playnext=1
• Youku: http://list.youku.com/albumlist/show/id_50952215
Figure 85. Hard disk drive filler installation
Step 1. Insert the filler in the hard disk drive in the drive bay and press it in place.
Install fillers in all empty hard disk drive bays. You can use either a four-bay filler or single-bay fillers in any
vacant bays.
Hard disk drive backplane replacement
Hard disk drive backplanes are in the upper and lower trays that are accessed from the front of the server.
The removal and installation procedures for backplanes in the upper and lower trays are different.
Remove a hard disk drive backplane (upper tray)
Hard disk drive backplanes in the upper compute tray or optional storage tray are accessed from the front of
the server. There are several types of hard disk drive backplane. Steps that are backplane specific are noted
in each procedure.
S002
CAUTION:
The power control button on the device and the power switch on the power supply do not turn off the
electrical current that is supplied to the device. The device also might have more than one power
cord. To remove all electrical current from the device, ensure that all power cords are disconnected
from the power source.
144
ThinkSystem SR950 Setup Guide

 Loading...


