• Do not mix standard 512-byte and advanced 4-KB format drives in the same RAID array because it may
lead to potential performance issues.
• Check the instructions that come with the drive to determine whether you have to set any switches or
jumpers on the drive. If you are installing a SAS or SATA hard disk drive, be sure to set the SAS or SATA
ID for that device.
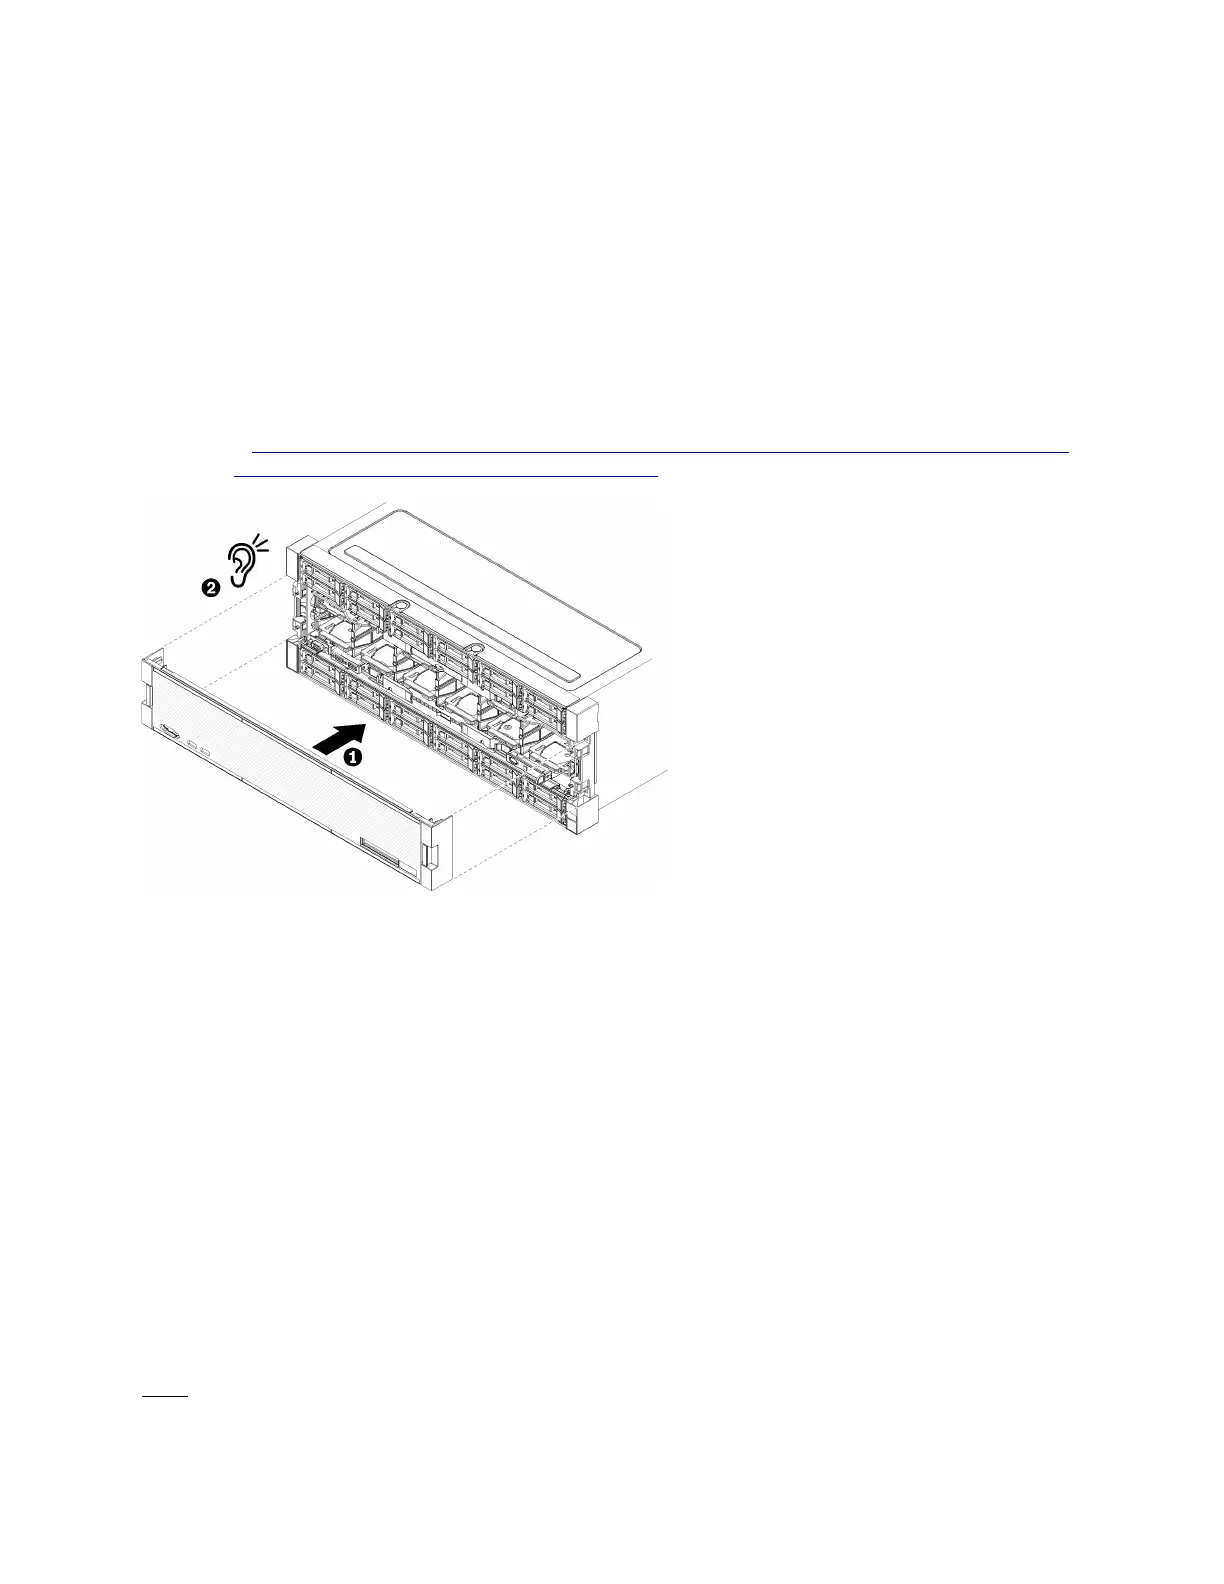
Install the front cover
Install the front cover by sliding the cover into position and pressing until it is fully seated.
Complete the following steps to install the front cover:
Watch the procedure. A video of the replacement process is available:
• Youtube:
https://www.youtube.com/playlist?list=PLYV5R7hVcs-DbSYJFY74PoKmph7vgrkKH&playnext=1
• Youku: http://list.youku.com/albumlist/show/id_50952215
Figure 33. Front cover installation
Step 1. Position the cover on the front of the server.
Note: Make sure that the pull tab on the operator panel, used to access the LCD system
information display panel panel, passes through the hole for the display panel on the front cover.
Step 2. Press and slide the cover toward the rear of the server until the release clips engage.
Install an adapter
Adapters are in the I/O tray that is accessed from the rear of the server.
Install the LOM adapter (slot 9) and other adapters that are installed directly in the I/O tray (adapters 5
through 8) before installing adapters that are in the I/O-tray risers.
Install a LOM adapter in slot 9
PCIe adapters in slots 5 through 8 and the LOM adapter in slot 9 are in the I/O tray that is accessed from the
rear of the server. With the I/O tray removed from the chassis, insert the adapter in the I/O tray.
S002
Chapter 3. Server hardware setup 65

 Loading...


