1. Install the lower fan cage. See “Install a fan cage (lower tray)” on page 137.
2. Install the lower compute tray or place it in the normal operating position; then, install the front cover.
See “Install the compute tray (fully removed)” on page 125 and “Install the front cover” on page 139.
Storage tray replacement
The storage tray is in the upper bay that is accessed from the front of the server. This optional device is used
only in storage-rich server configurations.
Remove a storage tray
The storage tray is accessed from the front of the server. Open the release levers to extract the storage tray,
pressing the release tabs when it stops to remove the tray fully from the chassis.
Attention: If you are removing a storage tray and do not plan to replace it, relocate or backup data that is on
the hard disk drives in the storage tray before removing it.
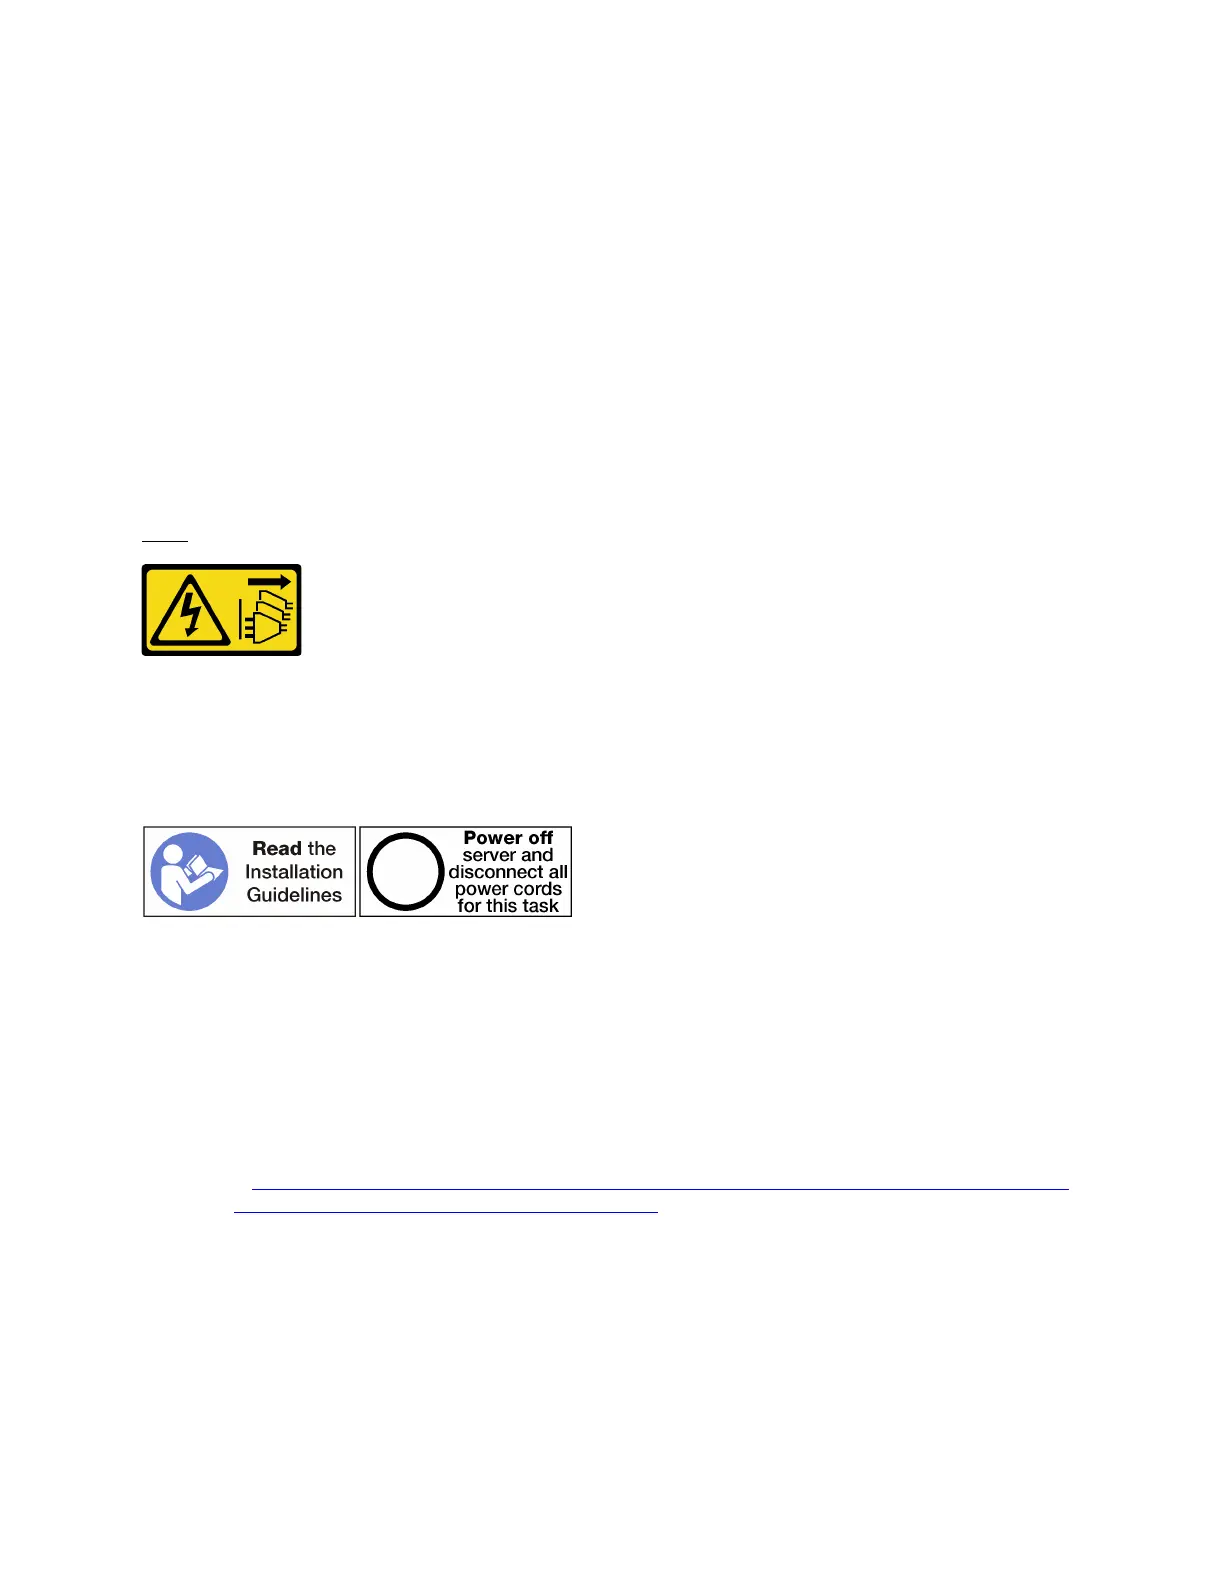
S002
CAUTION:
The power control button on the device and the power switch on the power supply do not turn off the
electrical current that is supplied to the device. The device also might have more than one power
cord. To remove all electrical current from the device, ensure that all power cords are disconnected
from the power source.
CAUTION:
Make sure that all server power cords are disconnected from their power sources before performing
this procedure.
Before you remove an optional storage tray, remove the front cover. See “Remove the front cover” on page
139.
Complete the following steps to remove a storage tray.
Watch the procedure. A video of the installation process is available:
• Youtube:
https://www.youtube.com/playlist?list=PLYV5R7hVcs-DbSYJFY74PoKmph7vgrkKH&playnext=1
• Youku: http://list.youku.com/albumlist/show/id_50952215
Appendix B. Component reference 187

 Loading...


