EasyManuals Logo

Lexmark E240n User Manual

Lexmark E240n
259 pages
To Next Page IconTo Next Page
To Previous Page IconTo Previous Page
Page #199 background imageLoading...
Page #199 background image
4511-xxx
Repair information
4-21
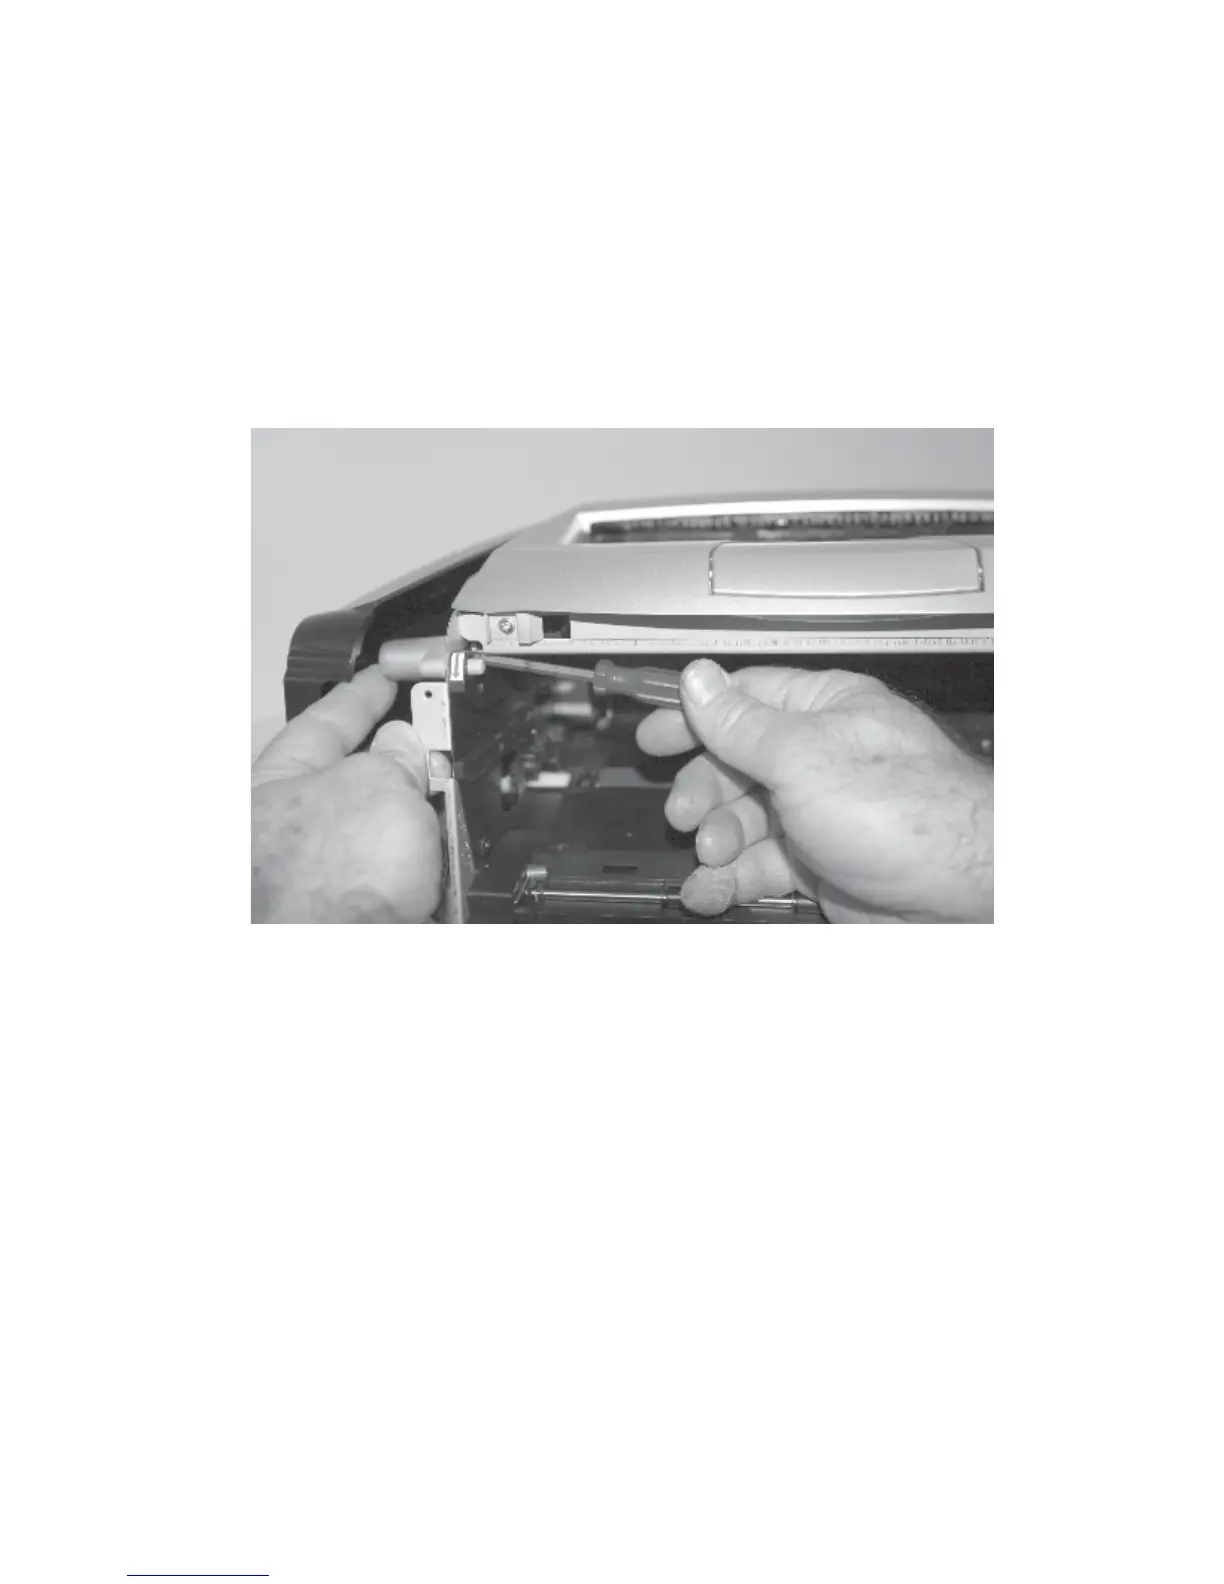
Door latch assembly removal
1. Open the front access cover.
2. Open the left side cover.
3. Locate the opening on the inside of the button.
The opening is partially covered by the front left edge of the printhead
metal frame.
4. Use a small shank Phillips screwdriver to remove the screw.
5. Restrain the spring as the latch is removed.

Table of Contents

Other manuals for Lexmark E240n

Questions and Answers:

Question and Answer IconNeed help?

Do you have a question about the Lexmark E240n and is the answer not in the manual?

Lexmark E240n Specifications

General IconGeneral
BrandLexmark
ModelE240n
CategoryPrinter
LanguageEnglish

Related product manuals