4511-xxx
Repair information
4-33
5. Slide the fuser out far enough to expose and disconnect the AC cable
connections.
You may have to remove the fuser to disconnect the cables. See
“Fuser removal” on page 4-28.
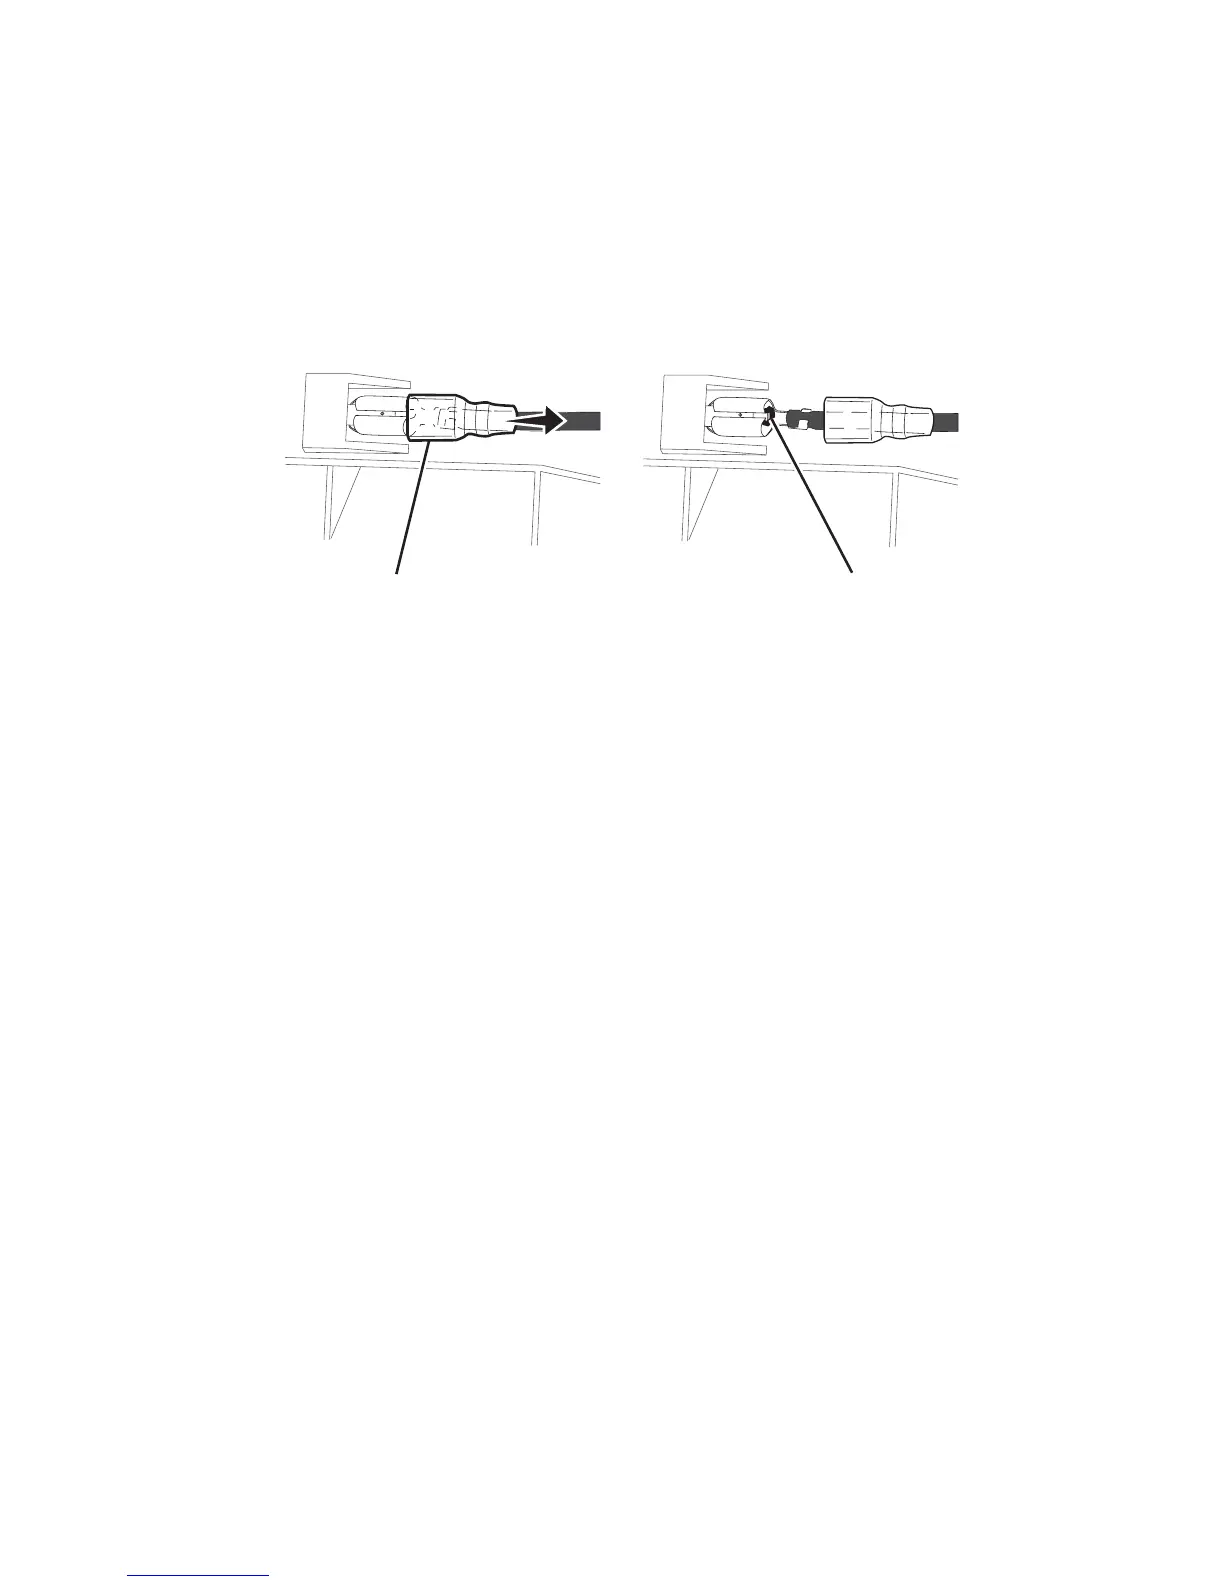
6. To disconnect the fuser power cables, slide the insulation (A) back to
expose the connectors. Press the tang (B) on the connector to
disconnect the cable connector.
7. Extract the fuser power cable from the LVPS/HVPS side.
Note: Be sure to slide the insulation back in place after reconnecting the
cables.
C
B