Trackit Mk3 User Manual
36
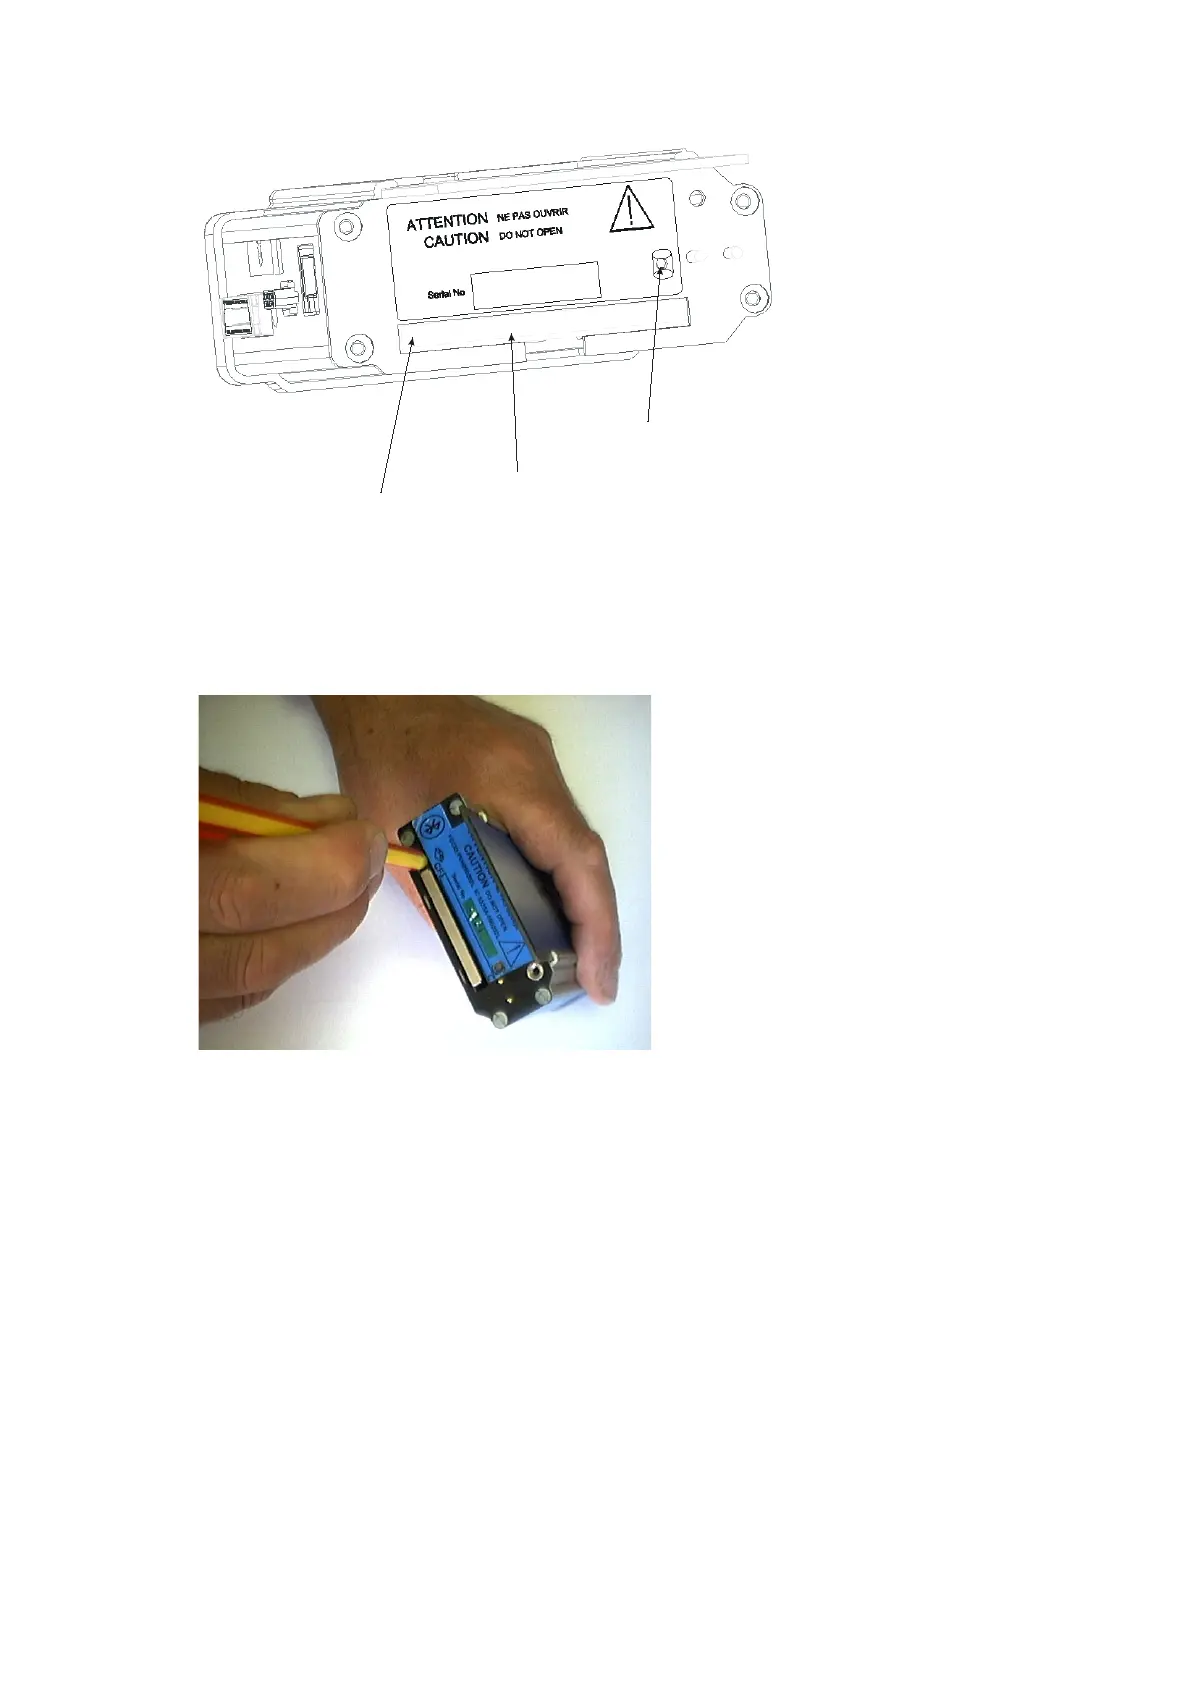
Figur e 2 7 Rem oving a nd re placing t he fla sh ca r d
3 When the yellow LED is not lit, remove the card by carefully pressing t he black ej ect butt on on
the left edge of t he card slot wit h a plast ic ball-point pen or sim ilar. Keep the pen st raight and
avoid pushing at an angle or insert ing too far into t he unit and causing dam age.
Figur e 2 8 Rem oving t he fla sh car d
CAUTI ON : Use only a pla st ic ba ll- point pe n or sim ilar t o ej e ct the f la sh ca rd. DO N OT
use t h e special Trackit Access Tool supplied w it h t h e un it or any sim ilar t hin, poin t ed
obj e ct for t h is pur pose , since it is possible t o slip an d da m age t he inside of t he unit.
4 Replace t he card with a blank one.
5 Refit t he rear Bat t ery box/ door, and screw it down wit h t he special t ool provided. See Figure 29.
CAUTI ON : do not ove r - t igh t e n t h e lock ing scr e w – finge r t igh t is all t h a t is re quired.
Card eject
button
Card access
LED
CF card
slot