Trackit Mk3 User Manual
48
Set up as follows:
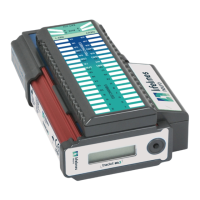
1 Connect t he pulse oxim et er ( see Figure 36) to the second 15- pin serial connector ( AUX con-
nect or) on t he side of the Tr ackit Mk3.
Connect ing t o t he Trackit recorder
1 Trackit recorder
2 Nonin XPOD pulse oxim et er
Figur e 3 6 Conn e ct ing the ox im et e r t o Tra ckit M k 3
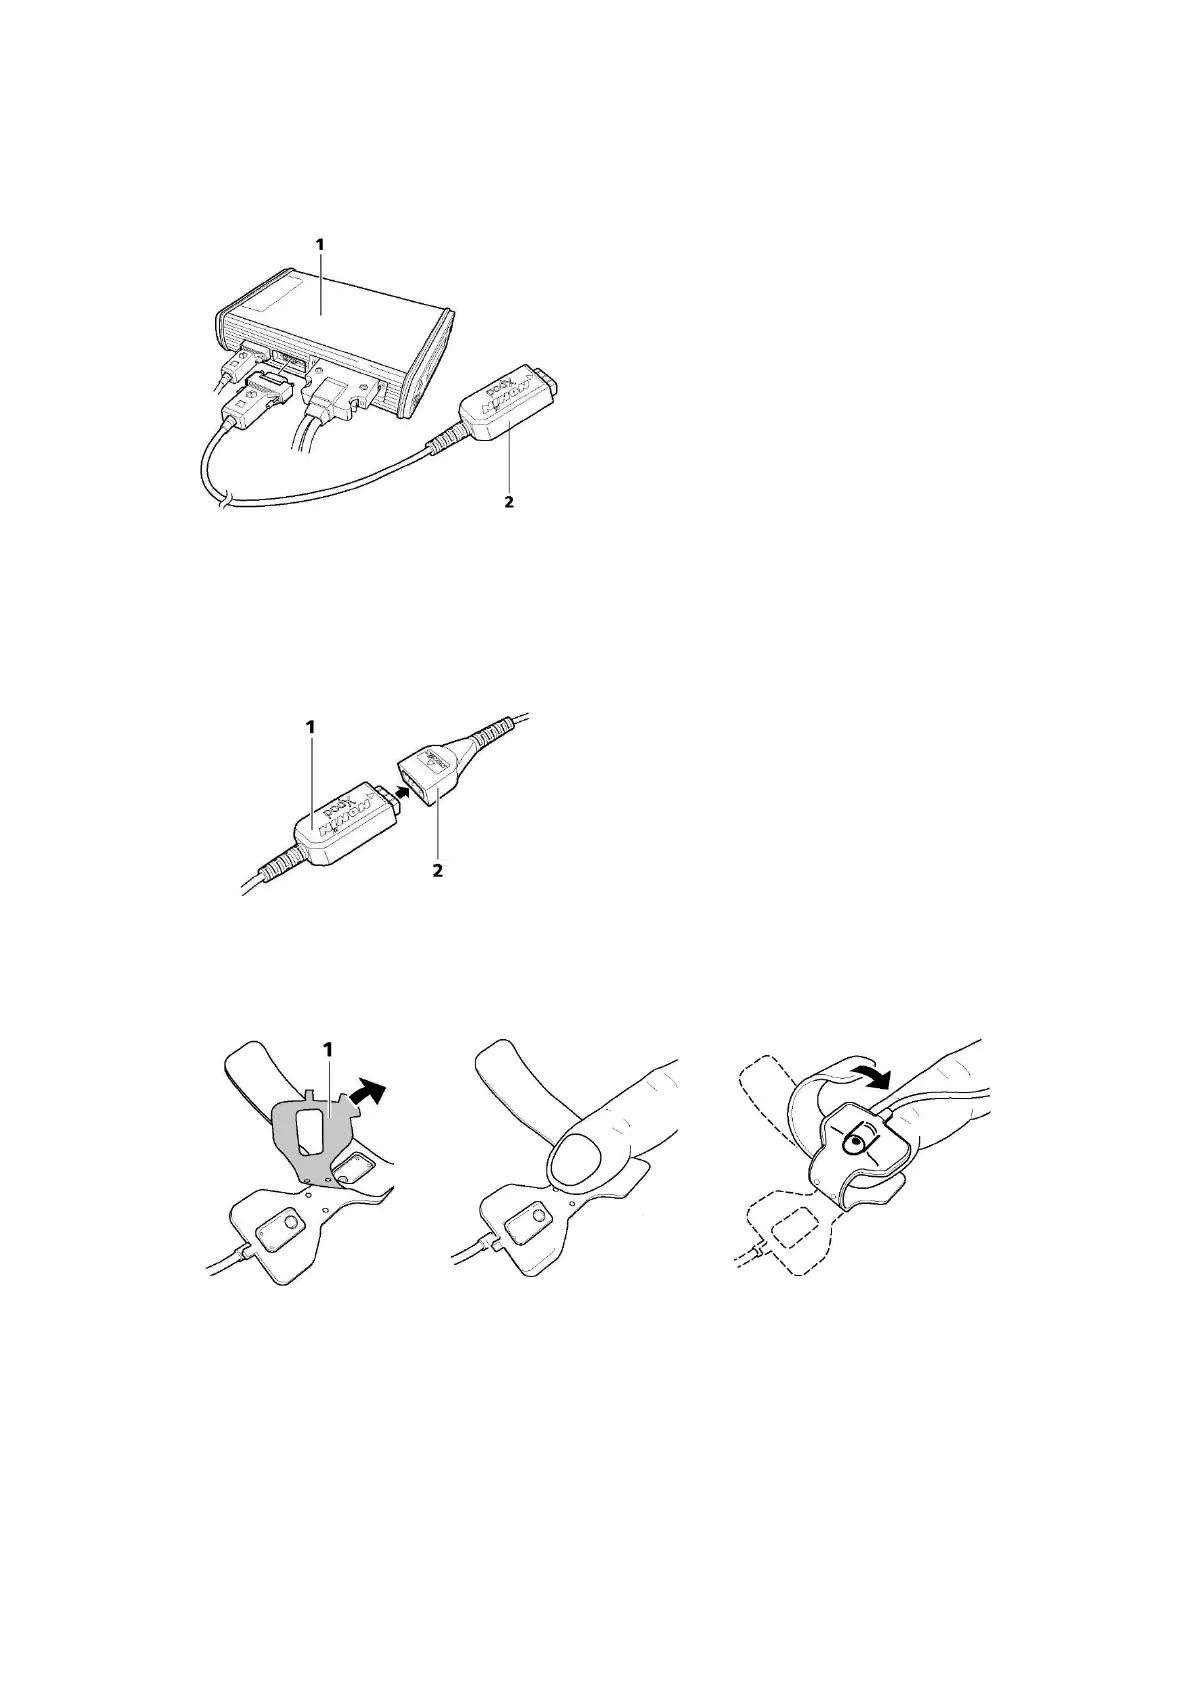
2 Connect t he oxim et er probe, which can be purchased from Nonin via t heir local dist ribut ors –
htt p: / / www.nonin.com / sensors.htm l.
1 Nonin XPOD oxim eter
2 Nonin 7000A oxim eter probe
Figur e 3 7 Conne ct in g t h e oxim et e r t o t he oxim e t e r pr obe
3 Rem ove t he paper backing from t he oxim et er probe (see 1 in Figure 38). At t ach t he probe t o
the index finger of the patient’s non- dom inant hand, as shown below.
Figur e 3 8 At t a ching t h e ox im et e r pr obe t o the finge r
4 I nclude t he SaO
2
signal in the am plifier set up using one of t he AUX inputs and creat e a record-
ing channel as per norm al.
5 Connect t he Tr ackit Mk3 to the host PC. Swit ch on, and click on Connect in t he Trackit Cont rol
Panel.
6 Observe t he display of SaO
2
and pulse rat e on the Trackit Cont rol Panel. Probe off, and XPOD
disconnect inform at ion is displayed.