SCPC System • Replacing components
66 CP_SEM_60-03-00.002
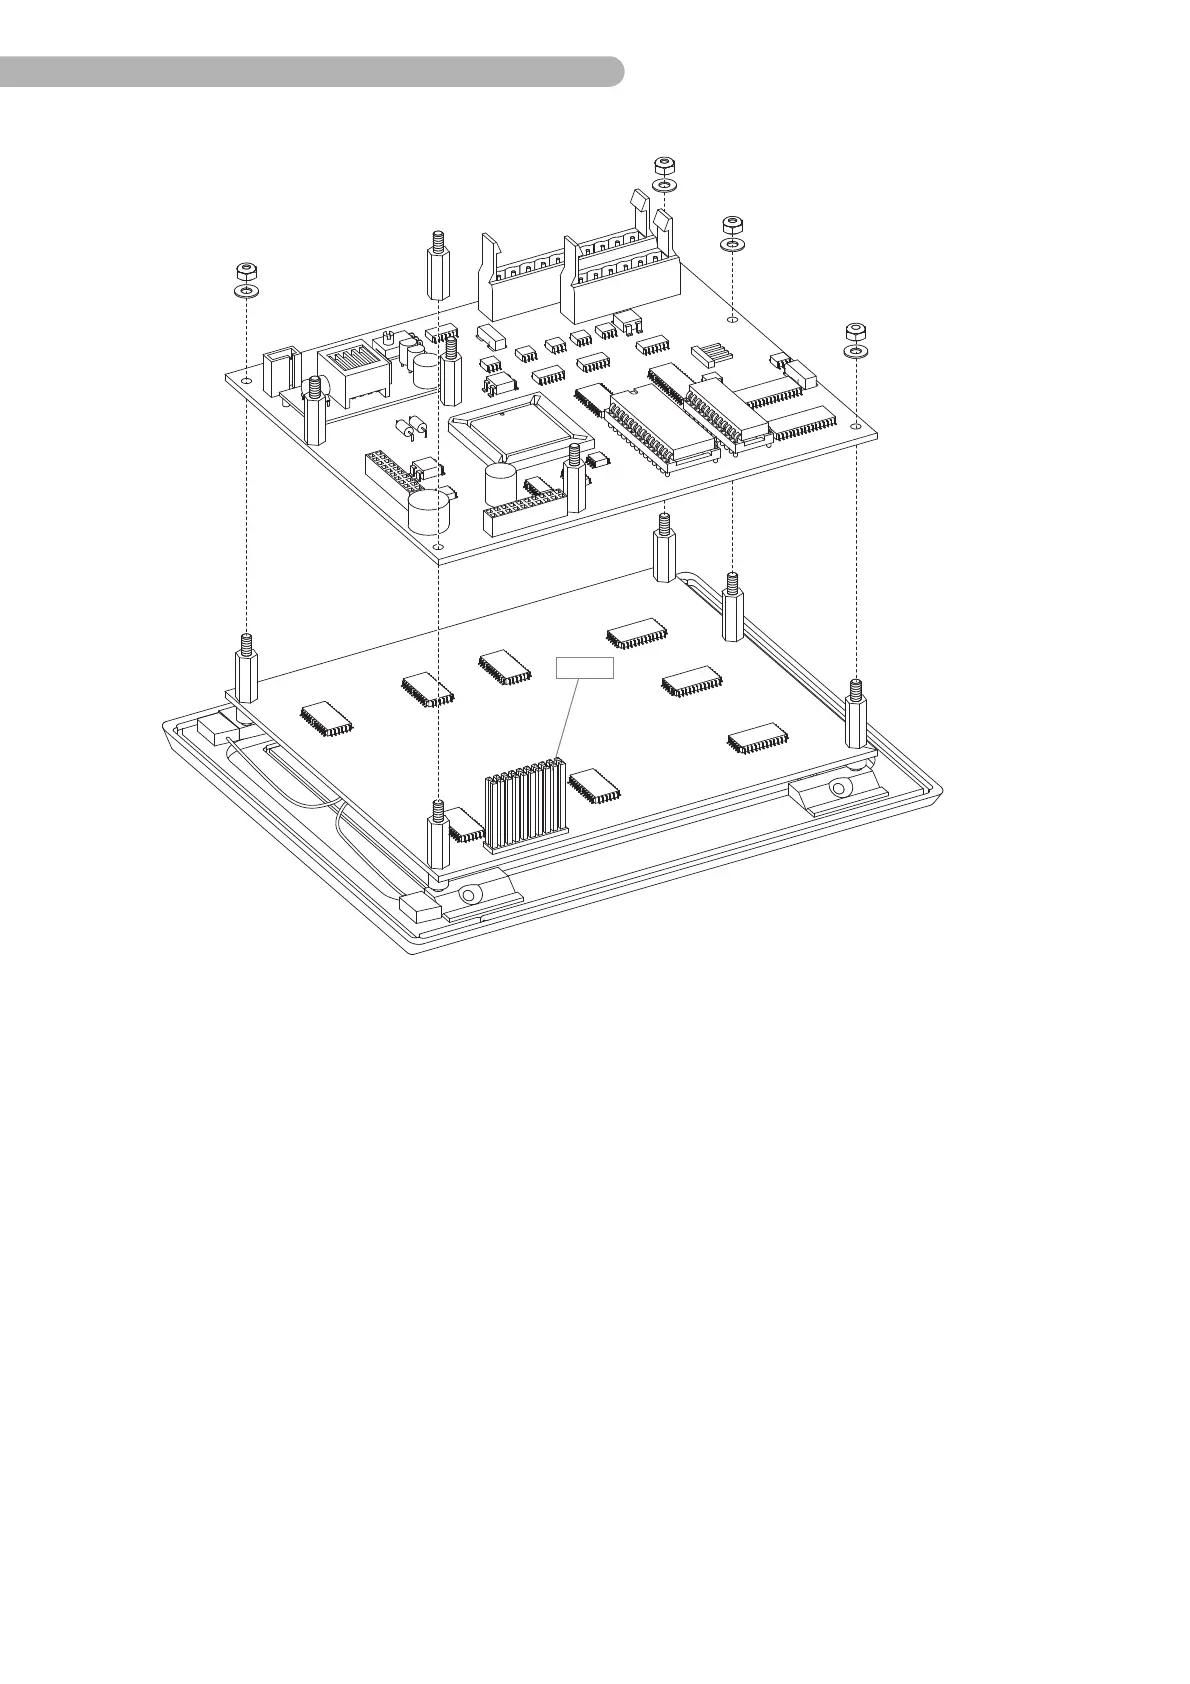
fig. 37: Removing the CPU board (2)
◗ Remove (only) the bolts indicated (size 5.5) and the four nuts (self-locking, size 5.5), including the
washers.
◗ Lift the CPU board carefully away from the bolts, keeping it vertical. Ensure that the contacts on
connector B 7 (display) are not bent.
◗ Assembly is done in reverse order.
Note the following during assembly:
Make sure to fix the wires for the backlight illumination to one of the stand-off bolts.
The wires should not come near the main CPU chip (processor) of the CPU board (EMI-sensitive!).