- 39 - Workshop Manual LDW CHD _ cod. 1.5302.345 - 6° ed_rev. 05
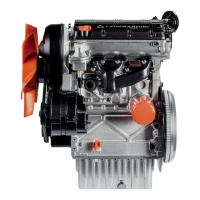
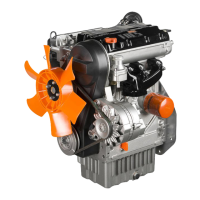
LDW 1503
1603
LDW 2004
2004/T
2204
2204/T
4
58
57
56
Cylinder head tightening for engines without hydraulic tappets
Useatorquewrench(ttedwithtoolforangulartightening).
It is recommended to replace the screws whenever the head is
disassembled.
Important
The cylinder head must never be retightened.
It is advisable to lubricate the lower part of the screws with
anti-seize of the type MOLYSLIP AS COMPOUND 40.
Disassembly / Reassembly
Assembling and tightening the cylinder head on engines with
hydraulic tappets
Important
Before re-assembling the cylinder head the tappets must be
removed from their housing and released.
This operation must be carried out using a pin 1.
Insert pin 1 inside the tappet and open the non-return valve.
The excess oil is released by turning the tappet upside down.
Rotate the crankshaft so as to position the pistons at half stroke
for three-cylinder engines.
For four-cylinder engines, place the piston of cylinder number one
at 150° after the top dead centre (in crossover stage).
Fit the head, insert the fastening screws and tighten them in the
order shown in gure 57 and to their respective torques (see
“Cylinder Head Tightening Stage).
Cylinder head tightening steps
Following the number sequence shown in the gure 57 bolts
should be tightened in four susequent steps with the following
torque values:
1st step = 40 Nm
2nd step = 70 Nm
3rd step = 100 Nm
4th steps = For bolts 10 R: Rotate wrench by 180° (in two
steps 90°+90°)
For bolts 12 R (present only in the TURBO
engines): perform a rotation of the key of 270° (in
three steps, 90° + 90°+ 90°).
Reassemble the complete pin inserting the seats of the rocker-arms on their respective rods and screw up the fastening screws
of the supports by hand.
Important
To avoid bending the push rods or damaging the tappets, the fastening screws of the rocker-arm pin supports must be
tightened gradually before reaching the nal torque.
This procedure will give time for the excess oil in the tappets to drain away.
Each time you start to tighten up the fastening screws of the supports, you can use the upper spring support cup of the valve spring
as an indicator to know how far to screw them up.
Thecupmustneverbecompressedsomuchthatittouchesthevalvestemoilsealingringttedontheguide.

 Loading...