8
Basic Setup
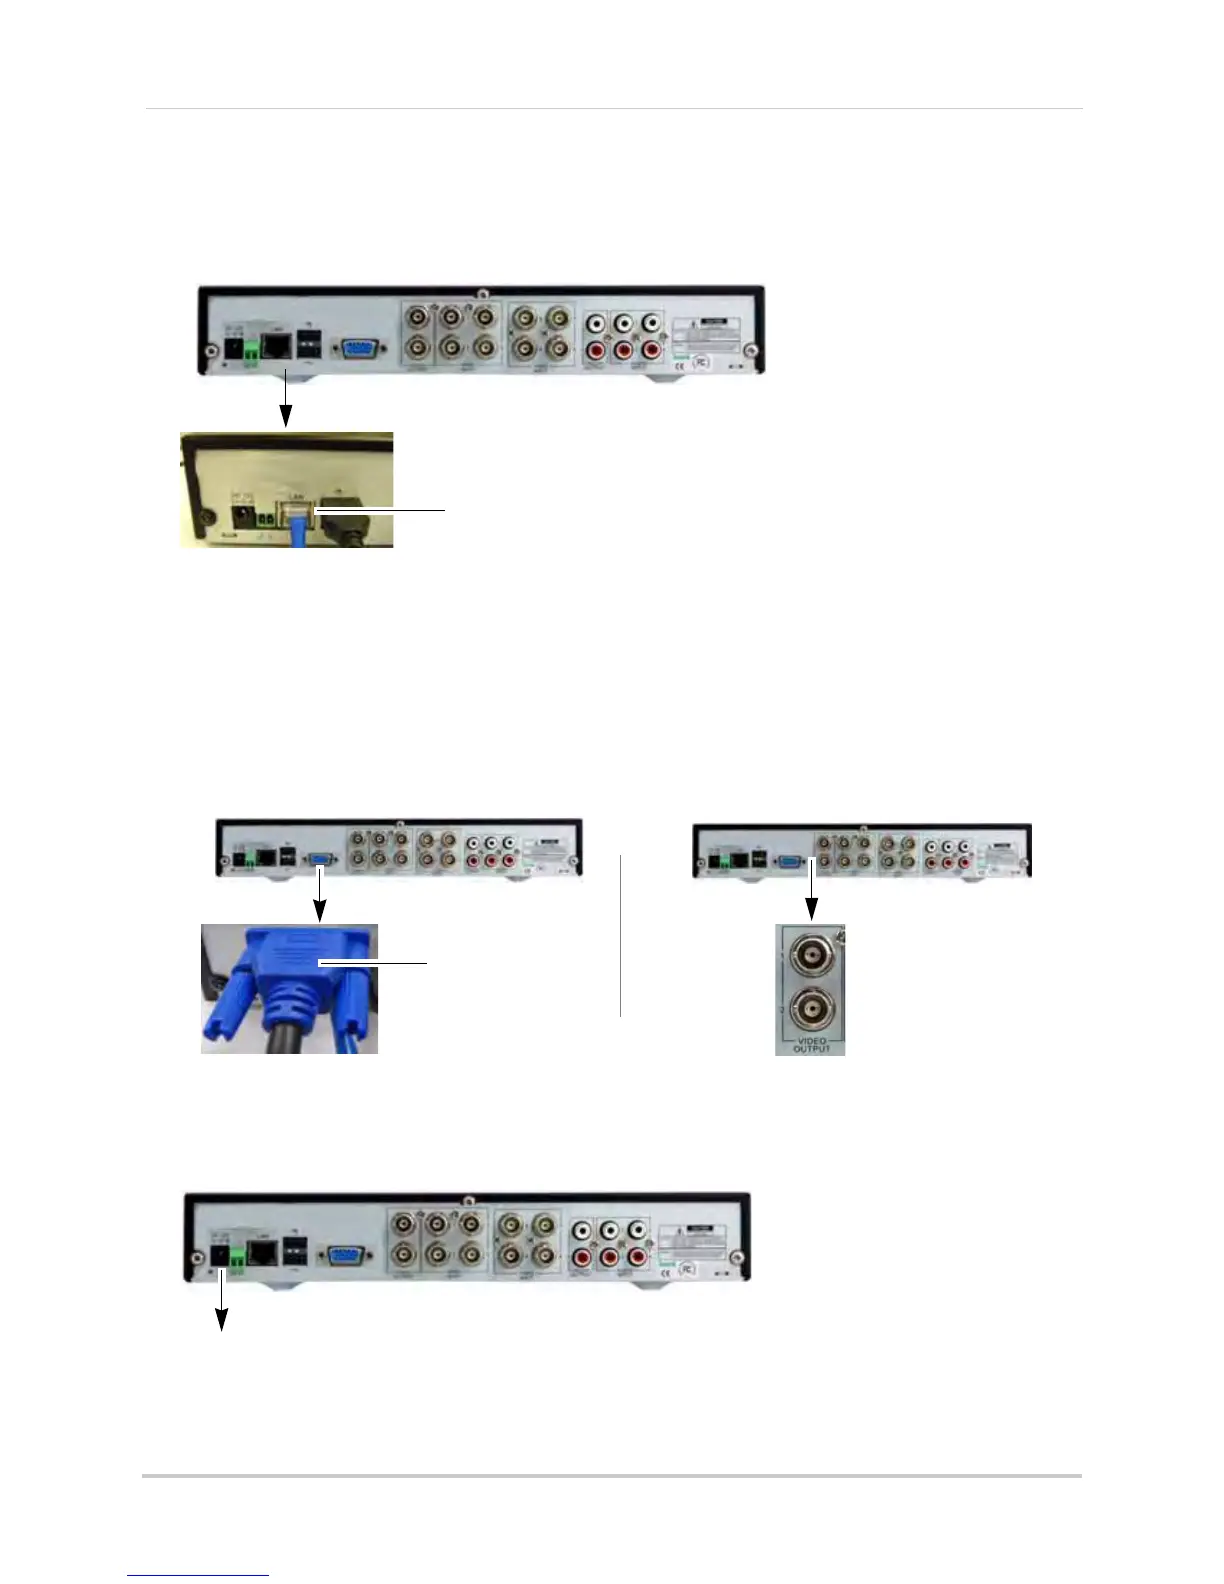
Step 3: Connect the Ethernet cable
• Connect the ethernet cable to the ethernet port on the rear panel of the system. Connect the
other end of the ethernet cable to a router on your network.
Step 4: Connect the display
• Connect the VGA cable (not included) from the monitor to the VGA port OR;
• Connect a BNC cable to the VIDEO OUTPUT BNC port using a BNC to RCA connector (not
included), and a RCA cable.
NOTE: If you have a monitor with DVI & VGA, you must use the VGA port. You cannot use a
DVI to VGA adapter.
Step 5: Connect the power adapter
• Connect the DC 12V connector to the system. Connect the end of the power adapter to a wall
socket or a surge protector.
*8-channel model shown
Ethernet Cable
VGA cable from
monitor
*8-channel model shown
TV Output
Connect a BNC to RCA
connector (not included) to
the VIDEO OUTPUT port
of the DVR
Connect a RCA cable between
the DVR and the television.
VGA Output
 Loading...