194
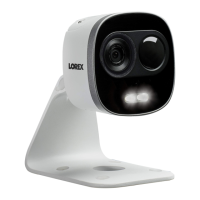
Wall or Ceiling Mounting
3. Attach the camera to the wall or ceiling using the included mounting screws. Adjust
the camera angle as necessary. See below for suggested stand configurations.
4. Secure the stand position by using a Philipshead screwdriver to tighten the screw
c
onnecting the camera to the stand.
5. Connect the power adapter cable and ethernet c
able (if connecting the camera using
ethernet) to the camera.