Drive Belt Inspection
Inspect belt for cracks, fraying or
abnormal w ear (uneven wear, wear
on on e side, missing cogs, cracked
fabric). If abnormal wear is noted,
probable cause could be pulle y mis-
alignment, excessive RPM with frozen
track, fast starts without wa rm-up pe-
riod, burred or rusty sheave, oil on
belt or distorted s pare belt. Contact
an authorized LYNX dealer.
Drive Belt R emoval
Open LH side pane l.
Remove belt guard, refer to BELT
GUARD REMOVAL/INSTALLATION.
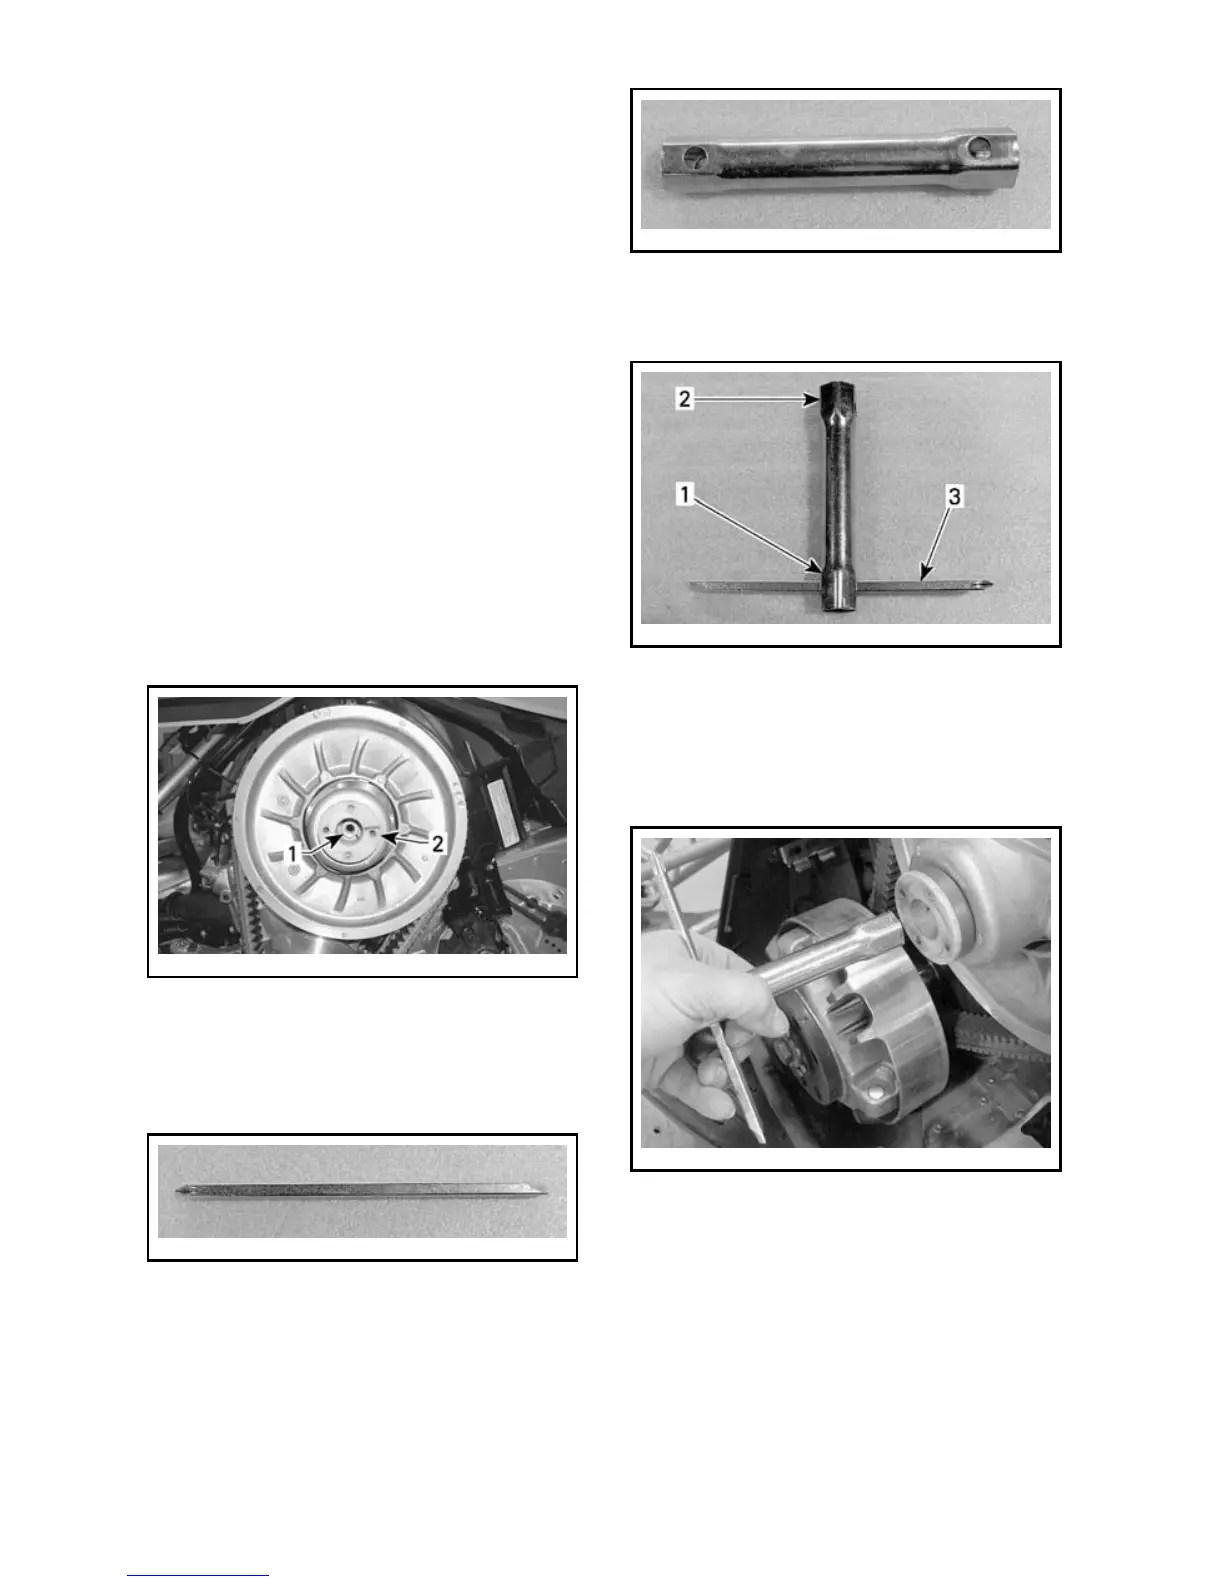
To open the driven pulley and remove
the drive belt, first, loo sen the locking
nut inside the driven pulley adjustment
ring.
mmr2008-042-003_a
DRIVEN P U LLEY
1. Locking nut
2. Adjustment ring
To loosen the locking nut, use the fol-
lowing tools from tool kit.
mmo2008-003-039
SCREWDRIVER P IN
mmo2008-003-040
WRENCH SOCKET 16/18 MM
Insert the screwdriver pin into the
16 mm wrench socket.
mmo2008-003-041_a
1. 16 mm end
2. 18 mm end
3. Screwdriver pin
Insertandsetthe18mmsocketend
on the locking nut inside the adjust-
ment ring.
mmo2008-003-043
INSERT TOOL
Loosen locking nut by turning the tool
counterclockwise (± 4 turns).
104
_____________________