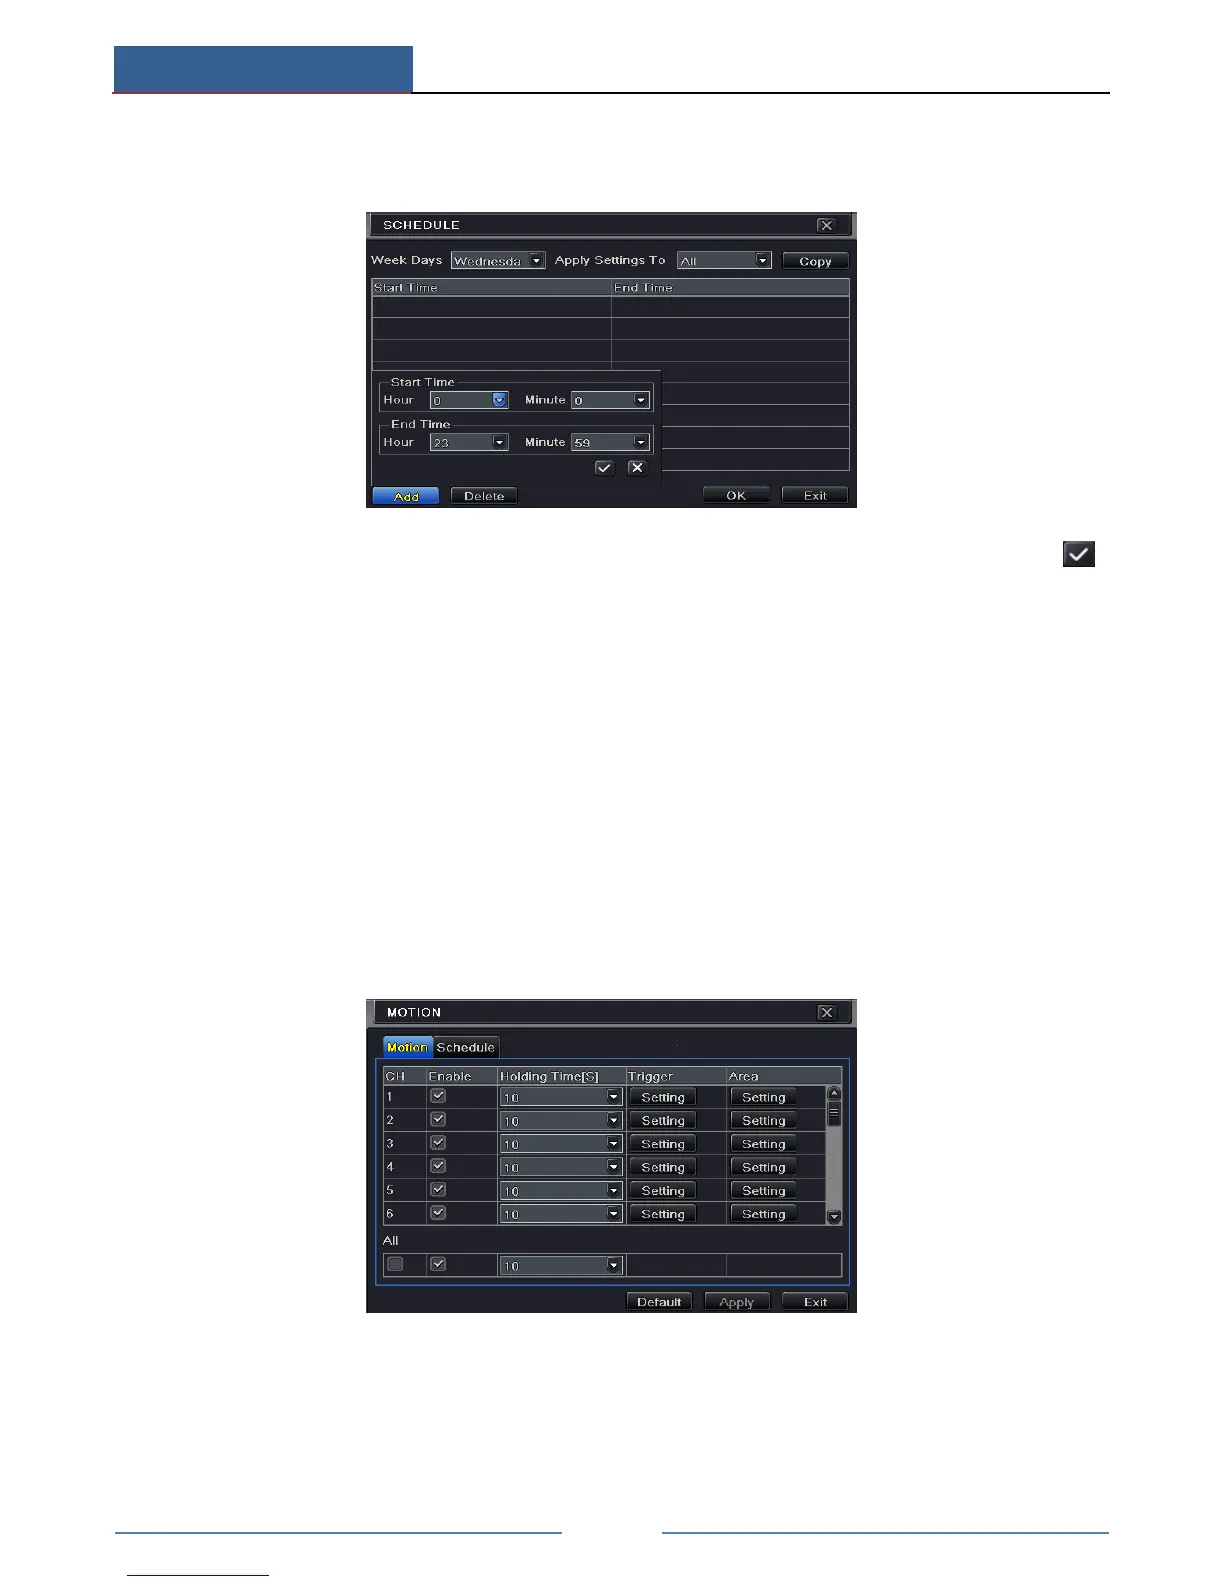
You can also set week schedule by double clicking in the gridding area. This will take you to
see a dialog box as below.
① Select a day and click “Add” button to schedule start time and end time. Then click
to save.
② Select other days and add schedule or copy settings from one schedule to the others
under the Apply Settings To item.
6.4 Motion Based Recording
Motion based recording means that the camera will be triggered to record when there is a
motion event detected. The setting steps are as follows.
① Go to Main MenuSetupScheduleMotion tab. Choose channel to set schedule for
motion based recording. The setting steps are similar to normal schedule recording (See
Chapter 6.3 Schedule Recording for details).
② Go to Main MenuSetupAlarmMotion interface. Enable motion alarm and set the
motion detection area (See Chapter 9.2 Motion Alarm for details).
③ Go to alarm handling setting by click “Setting” button under Trigger. Then go to “To
Record” tab. You can select the recording channel and click “OK” button to confirm the
settings.