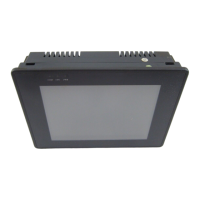
13. On the main screen of EasyBuilder, you should see the scaled meter display that you just
created move and/or change size. The scaled meter display is now complete.
4To create a numeric register on Window#11
1. From the Parts menu, click Numeric Data. The Create Numeric Data Object dialog box
appears.
2. Type Numeric Data in the Description box.
3. Click OK.
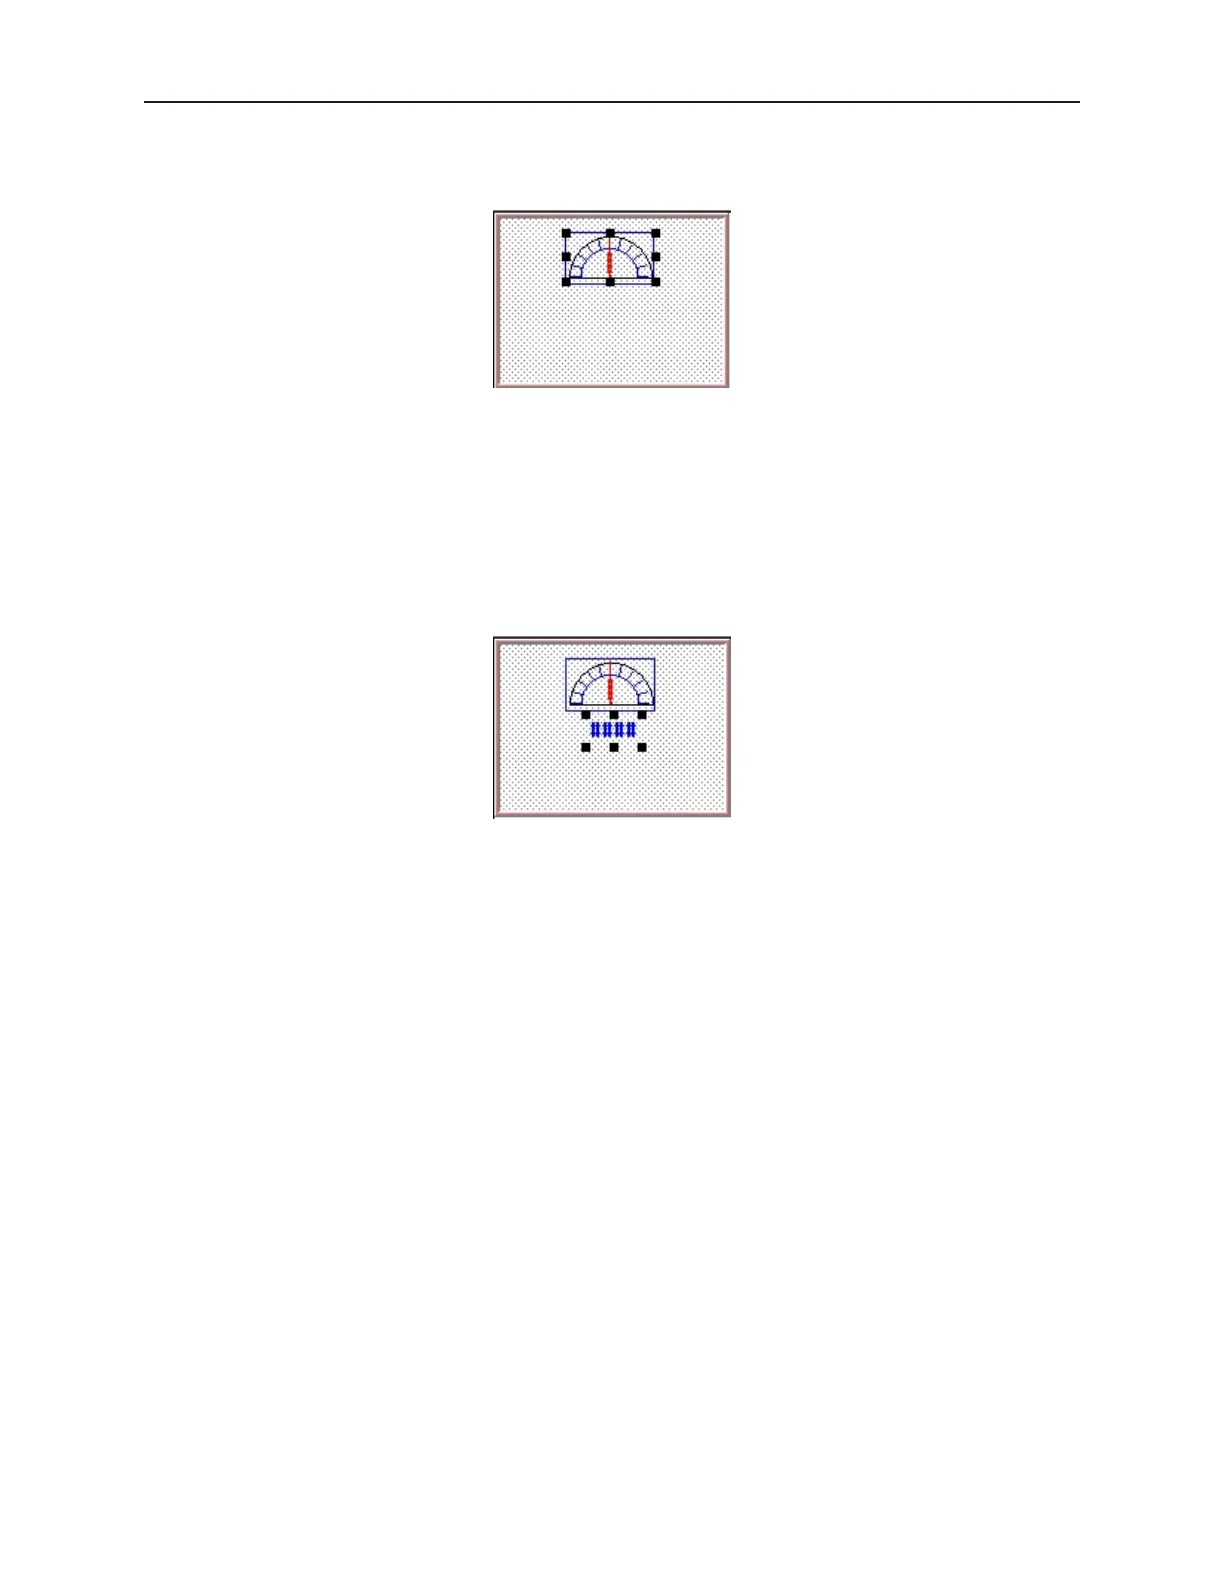
4. On the main screen of EasyBuilder, you will see a white rectangle outline that is attached to
your cursor in the work area. This represents the numeric register just created. Click to place
the numeric register on Window #11 somewhere underneath the scale meter. Four pound
signs “####” should appear.
4To create an increment key on Window#11
1. From the Parts menu, click Set Word. The Create Set Word Object dialog box appears.
2. Type Increment Button in the Description box.
3. Click on the pull down box of the Set Style Attribute and select JOG++.
4. Enter 1 in the Inc. value box.
5. Click on the pull down box of JOG Delay and select 0.5 second.
6. Enter 100 in the Attribute Upper limit box.
7. Click the Shape tab.
8. Click Use shape, then click Shape library. The Shape Library dialog box appears.
9. Click Select Lib… The Open dialog box appears.
10. Select button3.slb from the list of shape libraries. Then click Open.
11. Click button3 in the Shape library box.
12. Scroll through the selections to selection 21. Click the shape, then click OK. The shape
should appear in the Shape tab.
13. Click OK.
14. On the main screen of EasyBuilder, you will see a white square outline that is attached to your
cursor in the work area. This represents the increment key just created. Click to place the
increment key on Window #11.
15. Double-click on the increment key. The Set Word Object’s Attribute dialog box appears.
16. Click on the Profile tab.
17. Enter 19 for the X position. Enter 74 for the Y position.
18. Enter 31 for the Width. Enter 29 for the Height and click OK.
1010-1001a, Rev 02
24 Sil ver Se ries In stal la tion & Op er a tion Man ual