6
remove 2 screws 005G
(front side Legs 004G)
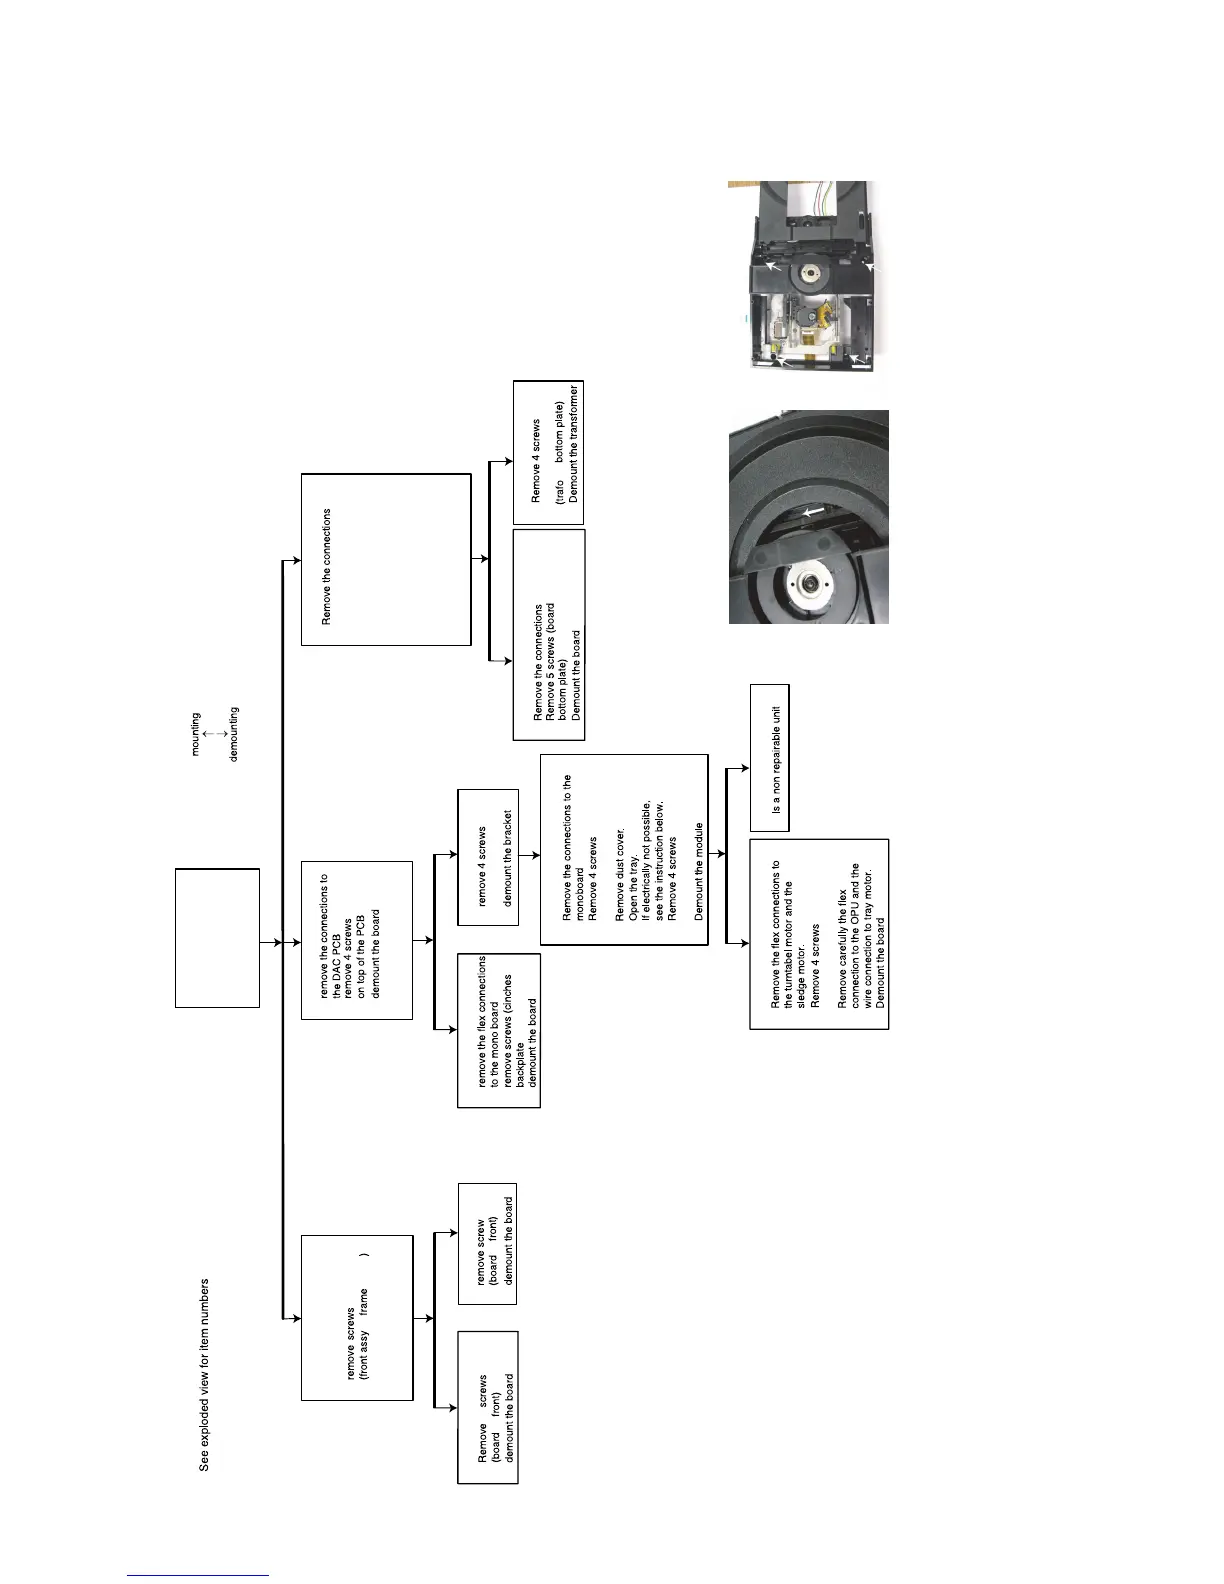
3.1.4. Mechanical- and dismantling instructions
DISMANTLING INSTRUCTIONS
Front assy(001B+PY16+PY26)
⇒
⇒
⇒
→
Top cover
⇒
A/V board PN16
⇒
⇒
⇒
DAC PCB PP16
⇒
⇒
⇒
Dust Bracket 023M
→
→
⇒
⇒
SACD Mono board PZ01
⇒
⇒
⇒
⇒
SACD MODULE (001M + PZ01)
⇒
⇒
⇒
⇒
⇒
⇒
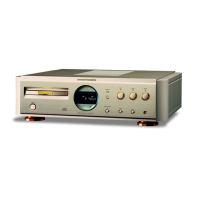
Loader VAL6011/04 : 001M
⇒
Switched mode power supply unit PZ03
Linear power supply PH16
⇒
⇒
⇒
⇒
⇒
⇒
⇒
⇒
Transformer L001
→
→
→
→
→
Display board PY16
⇒
⇒
→
ON/OFF BOARD PY26
→
⇒
⇒
open the tray and remove
tray front 046B
Remove 2 screws 5128
(board
Remove 2 screws 5128
(mains inled
⇒
Demount the board
⇒
Release the snaps of 2 spacers
012G(board
⇒
Remove 2 screws 5128
(voltage selector
frame)
backplate)
frame)
the
020M
5128
512812
(loader 001M frame 020M)
(dust cover on loader 001M)
5128
(mono board PZ01 loader 001M)
backplate)
5129 x 2 and 5126 x 2
→
5110 x 3 and 5128 x 2
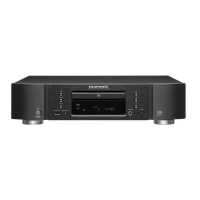
Manually opening of tray
When it is not possible to open the tray with the open/ close button,
the tray can manually be opened.
When no disc is loaded, unlock the tray by moving the slide from the left
to the right and pull tray outwards.
Remove 4 screws to remove loader.
Remove 001D and
Side cover 006D
005D x 8 at top
009D x 8 at both side
5128
5110