91
Applying a pre-created 3D tile
Applying a pre-created 3D tile
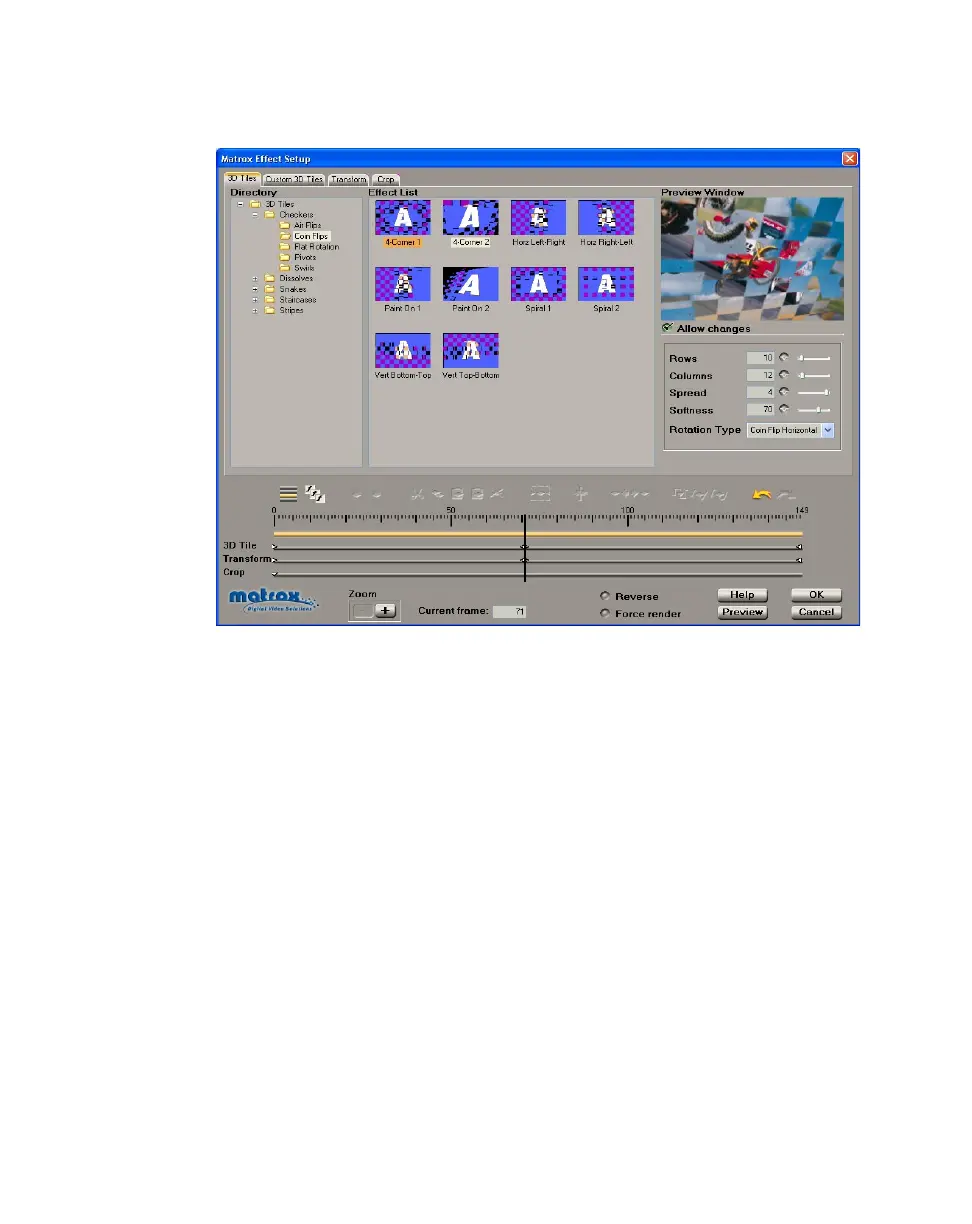
When you apply a Matrox 3D tile, the 3D Tiles page appears:
°To set up a 3D tile:
1 Choose the type of effect you are looking for in the Directory.
2 Click the particular effect you want from the Effect List.
3 To see a preview of your effect at any time, click the Preview button.
4 To change the settings for your selected 3D tile pattern, select Allow
changes
, then use the 3D tile modifiers as follows:
$ Rows Sets the number of rows in your 3D tile pattern.
$ Columns Sets the number of columns in your 3D tile pattern.
$ Spread Determines the number of tiles that rotate at the same time.
$ Softness Sets the softness on the border of your clip and on the edges of
the tiles.
$ Rotation Type Select a type from this list to change the orientation of
the 3D tile pattern.
5 If you want to apply custom settings to your effect, see “Creating a custom
3D tile” on page 92.
6 If you want to apply or change various transform settings, such as to change
your clip’s size, position, and rotation settings, see “Transforming your clip”
on page 149.