79
11921 Slauson Ave. Santa Fe Springs, CA. 90670 (800) 227-4116 FAX (888) 771-7713
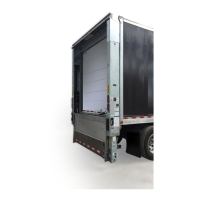
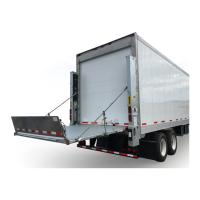
STEP 16 - FINISH WELDING LIFTGATE TO VEHICLE
METHOD 2 & METHOD 3 - WELD LIFTGATE TO BODY - Continued
5. Make sure platform is at ground
level to provide access to the
extension plate.
To prevent damage to Liftgate
components, welder ground
must be connected to Liftgate
extension plate.
CAUTION
NOTE: After welding top of exten-
sion plate, if you see a gap
between bottom of extension
plate & vehicle body sill, fi ll
the gap. To fi ll the gap, use
A-36 General Purpose steel
and the same welds shown
in FIG. 79-2.
6. Weld the top and bottom surfaces
of extension plate (FIGS. 79-1 &
79-2) to vehicle body sill with 2”
long welds centered every 8”.
7. Weld entire length (FIG. 79-2)
on the bottom of LH and RH end
blocks.
WELDING TOP OF EXTENSION PLATE
FIG. 79-1
LH END
BLOCK
RH END
BLOCK
FULL LENGTH OF
END BLOCK
1/8”
WELDING BOTTOM OF EXTENSION PLATE
FIG. 79-2
START AT CENTER.
ENDS MUST BE
WELDED. TYPICAL -
17 WELDS.
3/16”
2-5
CENTER
3/16”
START AT CENTER.
ENDS MUST BE
WELDED. TYPICAL -
17 WELDS.
2-12 1/2
CENTER
 Loading...