Service Manual 800 series Rev. 1/01.07.2019
40
Medisoft RAM Italia S.r.l. - All rights reserved
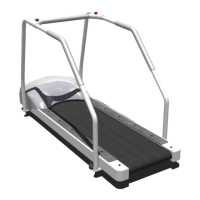
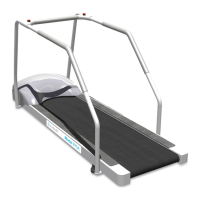
6.8 - Disassembling the sliding subsystem
Essential tools:
• Wrenches from 5.5, 10 and 13 mm
• Allen keys 3, 4, 6, 8 mm
• Screwdriver
• Cross-head screwdriver
Remove the plastic screw caps on the side plates of the treadmill, so that the screw heads are
easily reached.
Unscrew and remove the screws that secure the laterals plastics on the treadmill, then remove
them.
Use an 8 mm Allen wrench to loosen the screws that secure the rear roller to the frame. These
screws are located underneath, in the rear side of the treadmill (Fig.33).
With a 13 mm wrench remove the bolts tend running belt located at the foot of the treadmill.
Loosen the rod registration of the belt tensioner support , then remove the 2 screws that secure it
to the floor and remove it.
Use the 8 mm Allen wrench to unscrew and remove the screws that hold the front roller to the
frame, remove the transmission belt, then remove the roller.
Withdraw the drive belt from the engine pulley.
Use the 10 mm wrench to unscrew and remove the screws on the brackets at the foot of the
treadmill (Fig.43). Remove both brackets and set them aside.
Use the 8 mm Allen wrench to unscrew and remove the screws that secure the rear roller and the
protective plate to the frame. Set aside the protective plate and remove the rear roller.
Use the 3 mm Allen wrench to remove the left elbow of the emergency button.
With the 4mm Allen wrench and 13mm wrench, remove the handlebar left rear side.
Use the 5,5mm wrench to remove the protective cover of the main switch in order to access
internal screws.
At this point we remove the extension of the frame with 6mm Allen key and 17mm wrench, first
removing the screws that secure the motor box and then removing the screws that secure it to the
frame member (Fig. 44 - 45 ).
Lift the rear of the treadmill and put under the foot right-thick 3 or 4 cm (Fig. 47).