GASOLINE ENGINES BRAVO MODELS
Page 61 of 116
13. Installing Audio Warning Horn:
a. Select a location for audio warning horn which meets all of the following:
• Horn can be easily heard yet is out of sight.
• A location which is accessible for installation or maintenance.
• A location where horn will not get wet.
• A location such that the PURPLE wire can be connected to an “I” terminal (terminal with
PURPLE wire attached to it) on one of the gauges or to a 12 volt source on switched side
of ignition switch.
WARNING
Horn is not external ignition proof, therefore, DO NOT mount horn in engine or fuel
tank compartments as this would be a fire or explosion hazard.
b. Select a desired location and secure to wire bundle with sta-strap provided.
c. Connect PURPLE wire from horn to any PURPLE wire terminal on instrument gauge
or ignition switch. Tighten connection securely (refer to Wiring Diagram).
d. Connect TAN/BLUE wire from horn to TAN/ BLUE wire from instrument harness
(refer to Wiring Diagram).
e. Place the small (transparent) decals on the bottom of the water temperature gauge
and the oil pressure gauge.
f. Select the decal labeled “All units equipped with gear lube monitor having low oil
level switch” from the sheet included and install this decal on the instrument panel
or other appropriate location in easy view of the operator.
75430
ALARM INDICATES LOW
OIL OR OVERHEATING
APPLY THE PROPER DECAL TO THE DASHBOARD
OR OTHER APPROPRIATE LOCATION:
AUDIO WARNING HORN WILL SOUND WHEN:
1. ENGINE OIL PRESSURE IS TOO LOW
2. ENGINE TEMP. IS TOO HIGH, OR
3. DRIVE OIL LEVEL IS TOO LOW
TO TEST AUDIO WARNING HORN:
TURN KEY TO “ON” POSITION (ENGINE OFF)
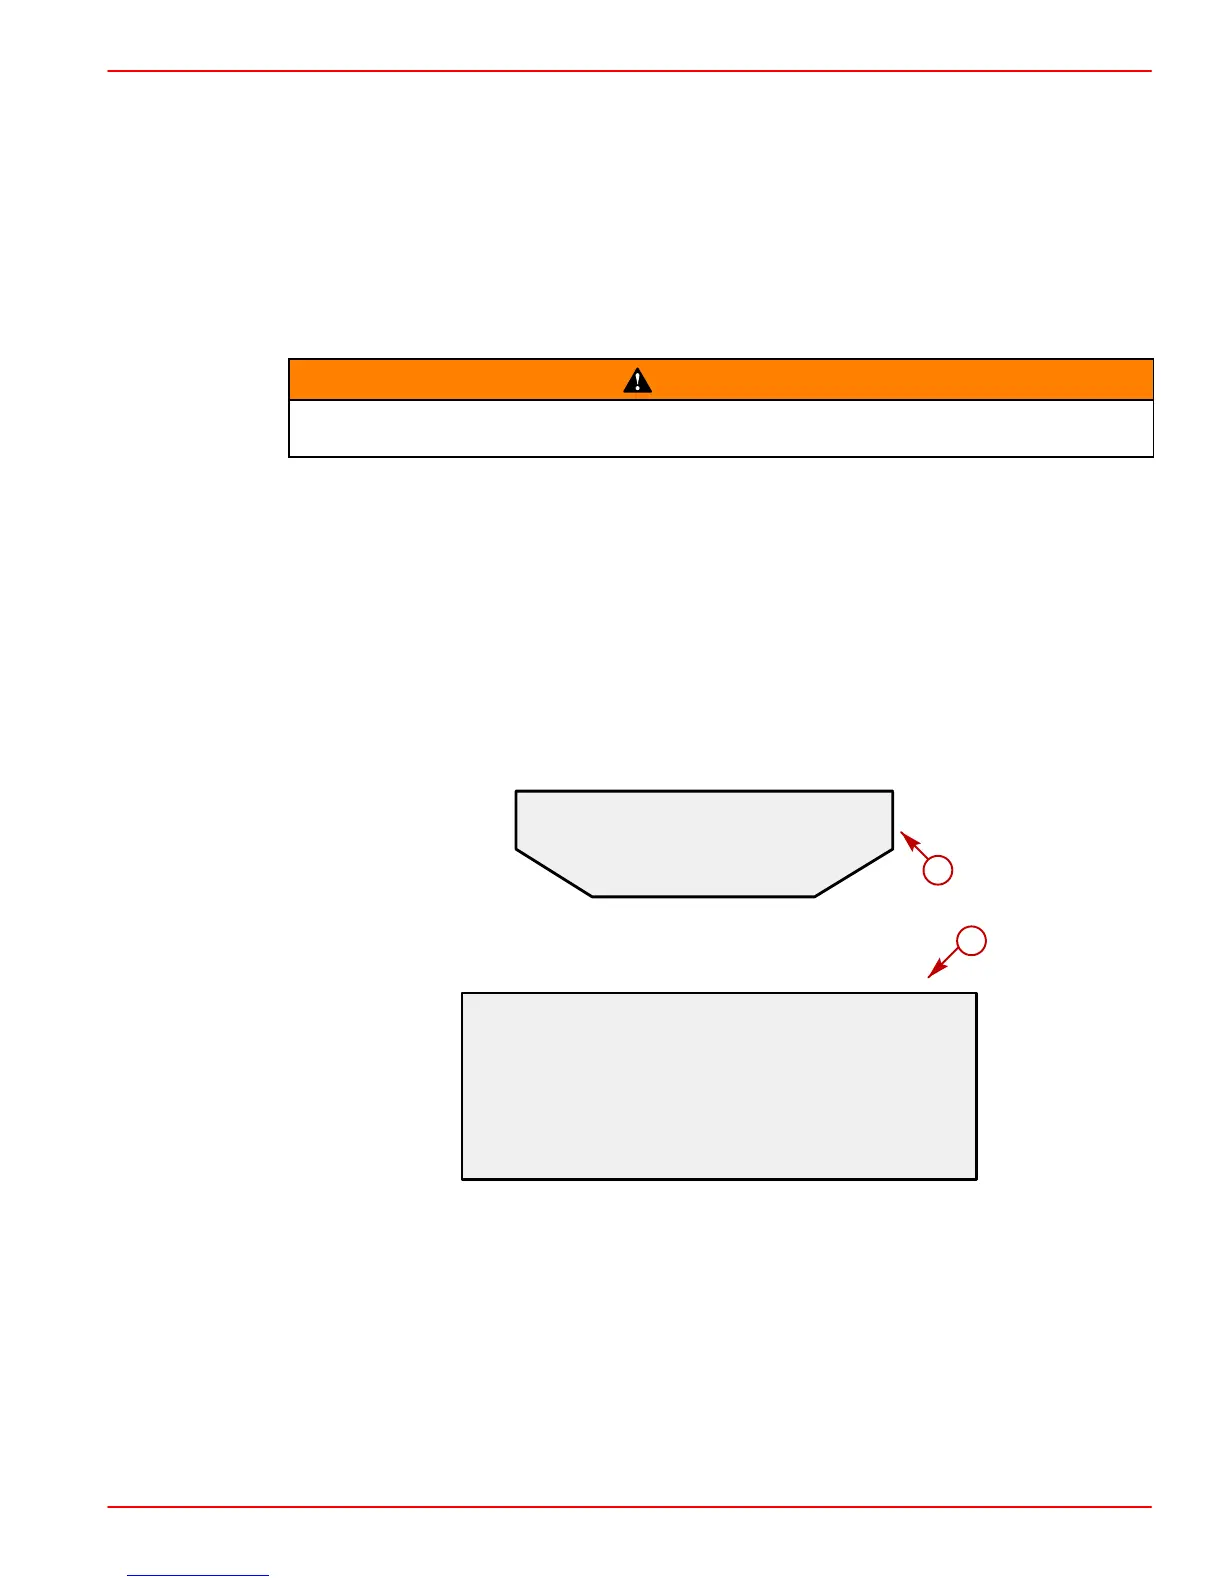
a
b
Choose Appropriate Decal for Your Package
a-Small Decal (Transparent)
b-Larger Decal
g. Test audio warning system during “Predelivery Preparation” section.
 Loading...