Pneumatic Circuit System Problems Repair and Troubleshooting
5 - 56 046-001141-00 A5/A3™ Service Manual
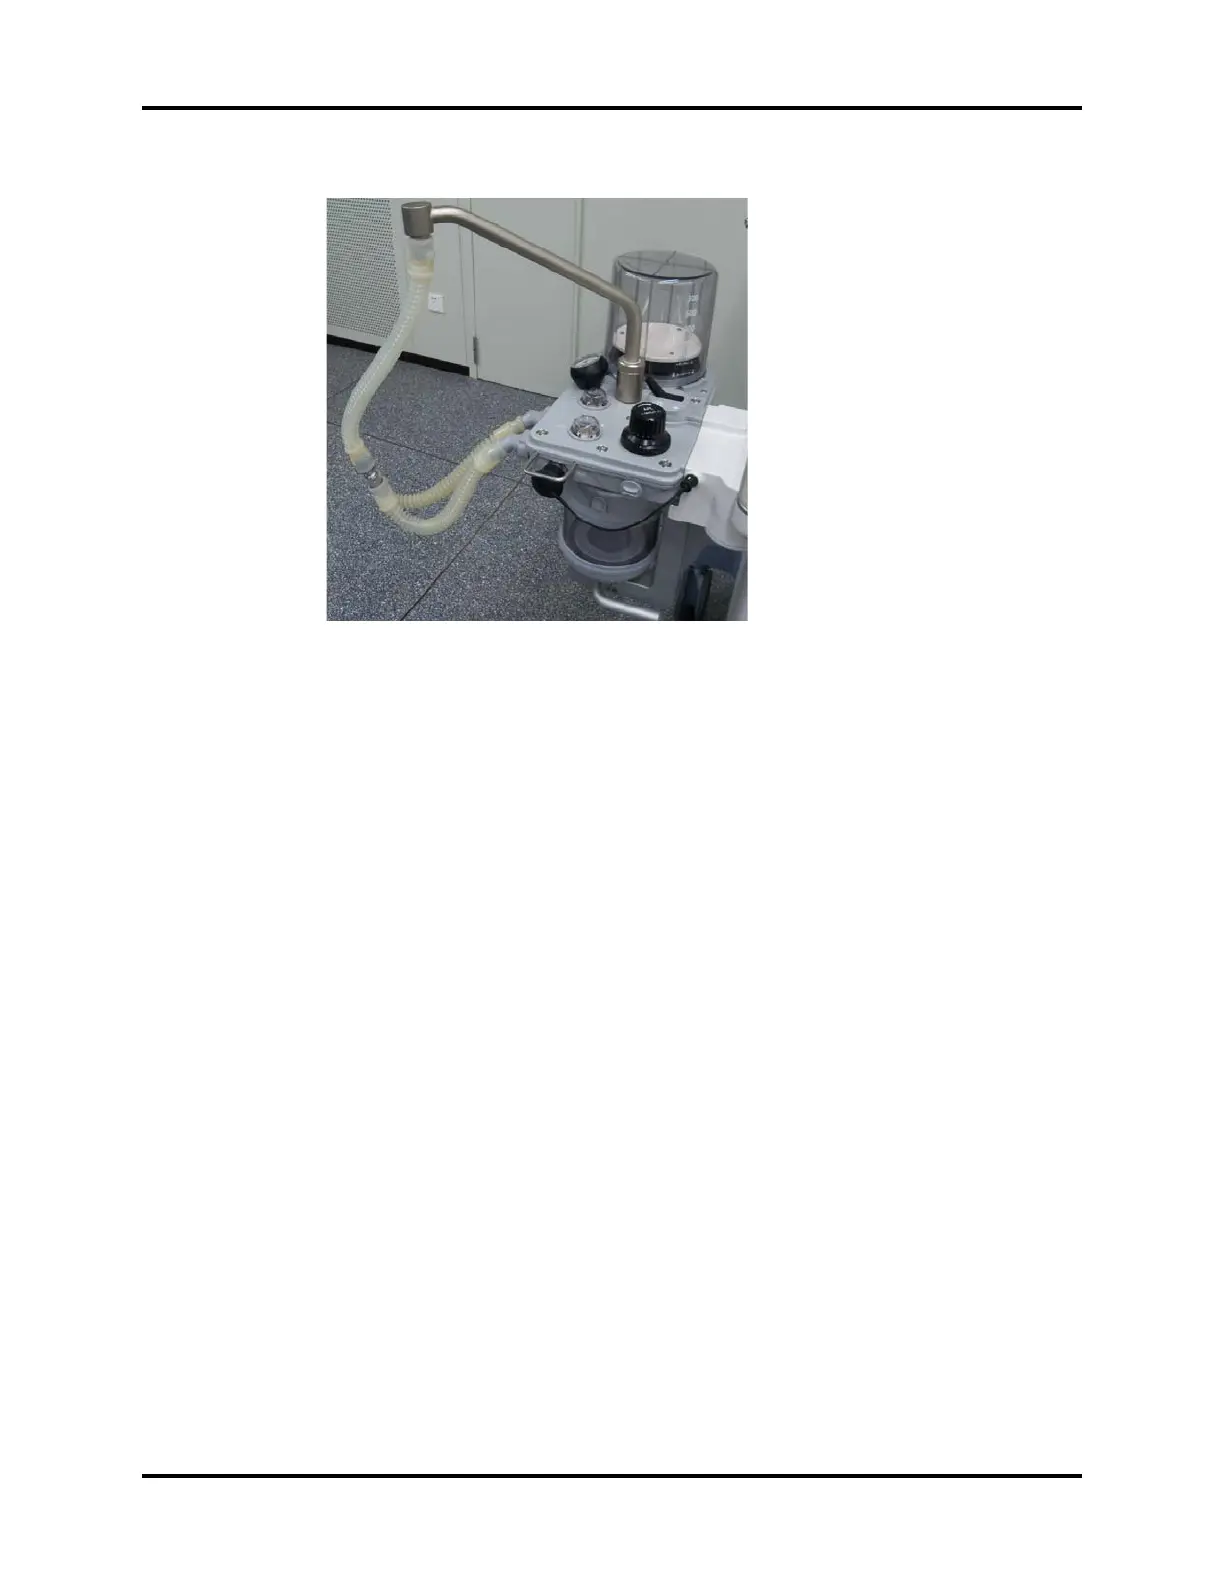
FIGURE 5-59
6. Turn on the O2 flow regulator and adjust O2 flow to 0.2L/min,
7. Push the O2 flush button to let the reading on the Paw pressure gauge rise to 30cmH2O.
8. Stop O2 flushing. If the reading on the Paw pressure gauge falls under 30cmH2O, this test is
failed.
9. If the reading on the Paw pressure gauge rises rapidly, to prevent defective APL valve from
damaging the Paw pressure gauge, note to turn off the O2 flow regulator timely to prevent
the over range of the Paw pressure gauge (The test which involves O2 flow regulator turned
off due to this reason is considered to be passed).
3. Check the bellows housing and the Manual position of the Auto/Manual ventilation switch
Tools required:
• Anesthesia machine calibration device (quantity: 1)
• Circuit adapter test fixture (quantity: 1)
• Injector (quantity: 1)
• Ø6 silicone tube (quantity: 2)
• PU tube (6X300) (quantity: 1)
• Y piece (quantity: 1)
Test procedures:
1. Remove the bellows.
2. Mount the bellows housing properly.
3. Set the Auto/Manual ventilation switch to the Manual position
4. Remove the breathing system.
5. Mount the circuit adapter test fixture onto the breathing system.
6. Connect the Ø6 silicone tubes and PU tube (6X300) to the injector connector, pressure
sensor (of the anesthesia machine calibration device) connector (positive pressure end), and
No.2 connector to which drive gas corresponds on the circuit adapter test fixture by using a Y
piece, as shown below.