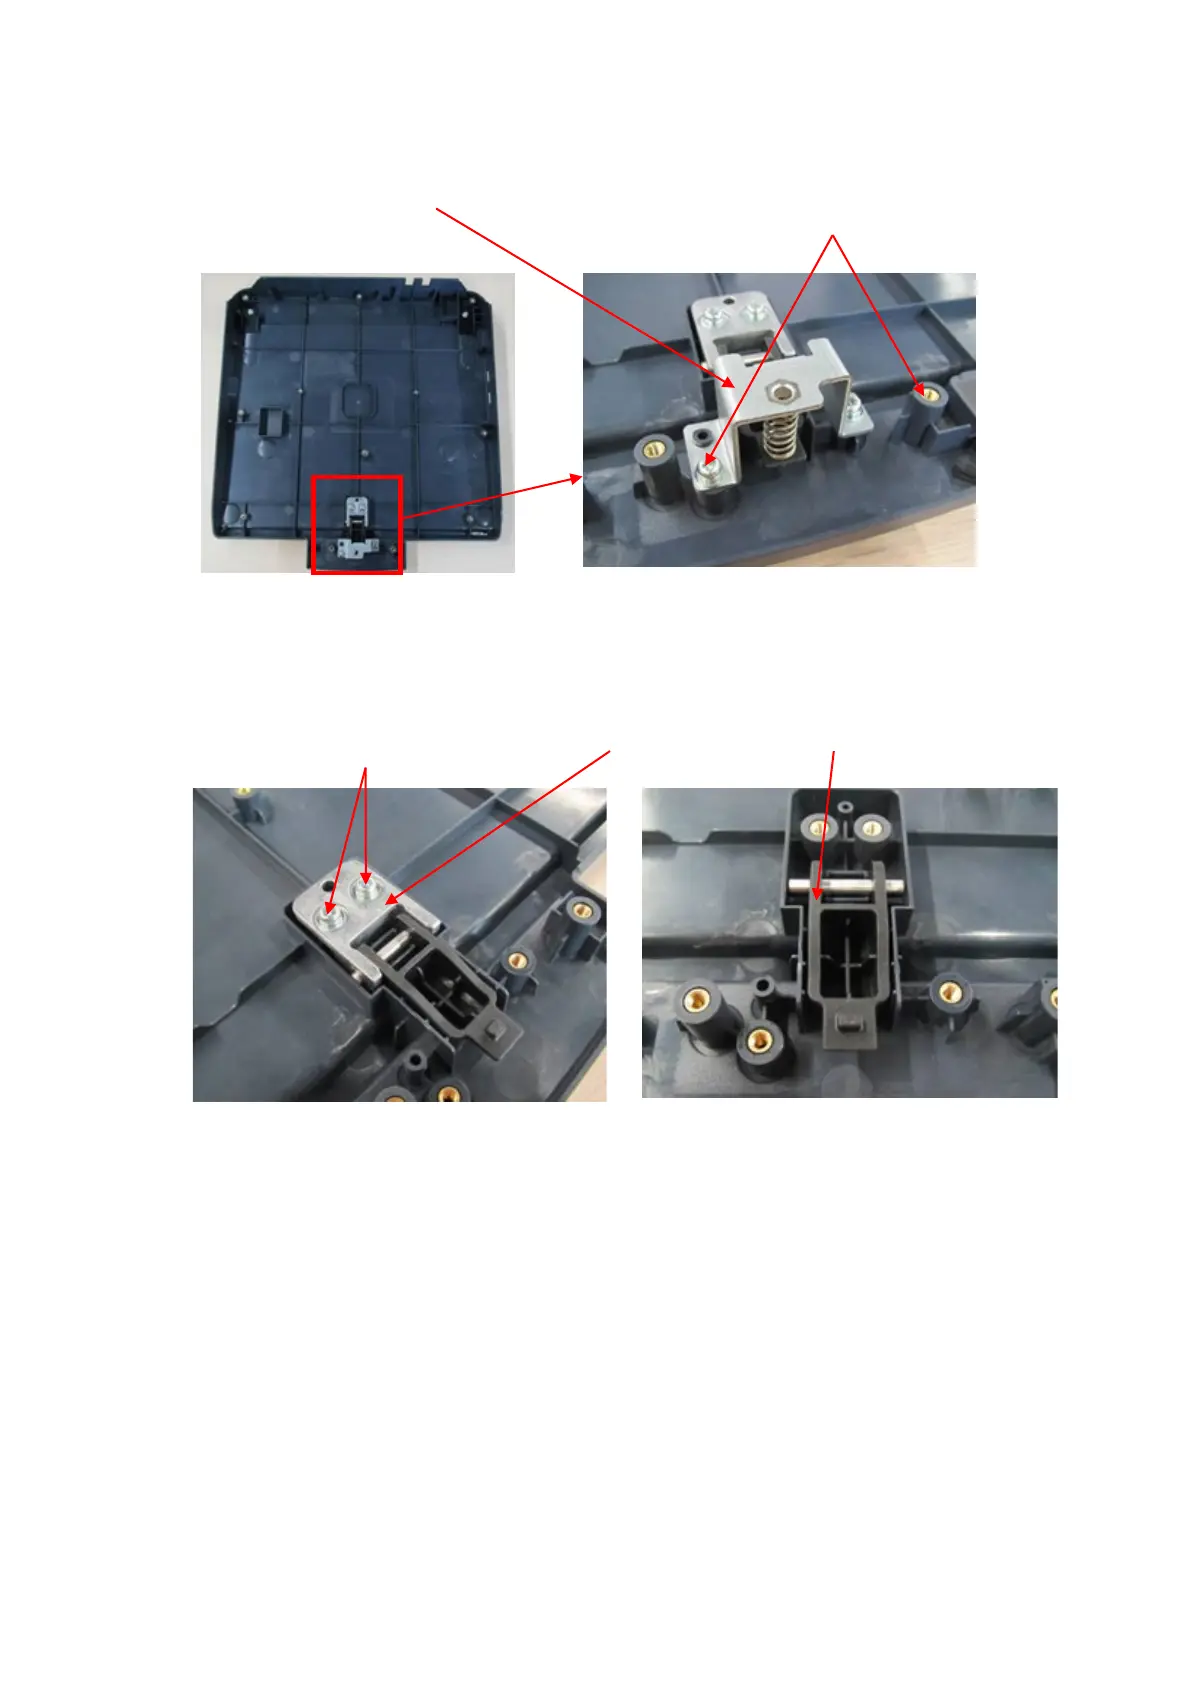
8-34 Structure and Assembly/Disassembly
Unscrew 2 screws (M4 X 12 cross panhead screw) on the fixing base of the pivot, and remove
the fixing base of the pivot, then take out the rotatable clasp.
8.3.5 Spring Assembly
1. Remove the assembly of trolley panel cover. See Chapter 9.3.2.3 for details.
2. Remove LED board, USB board, fixing bracket of power supply cable, etc.
Unscrew 2 screws (M3 X 8 cross panhead screw) on LED board, and take out LED board.
Unscrew 4 screws (M3 X 8 cross panhead screw) on USB board, and take out USB board.
Unscrew 1 screw (M4 X 12 cross panhead screw) on wiring fixation, and then take out the
wiring fixation.
Unscrew 2 screws on the fixing bracket that outlet line passes through (M4 X 12 cross panhead
screw), and remove the bracket.
M4X12 cross panhead
Fixing base of
the pivot
M4X12 cross panhead screw (2
Fixing bracket for the spring