3-8 System Installation
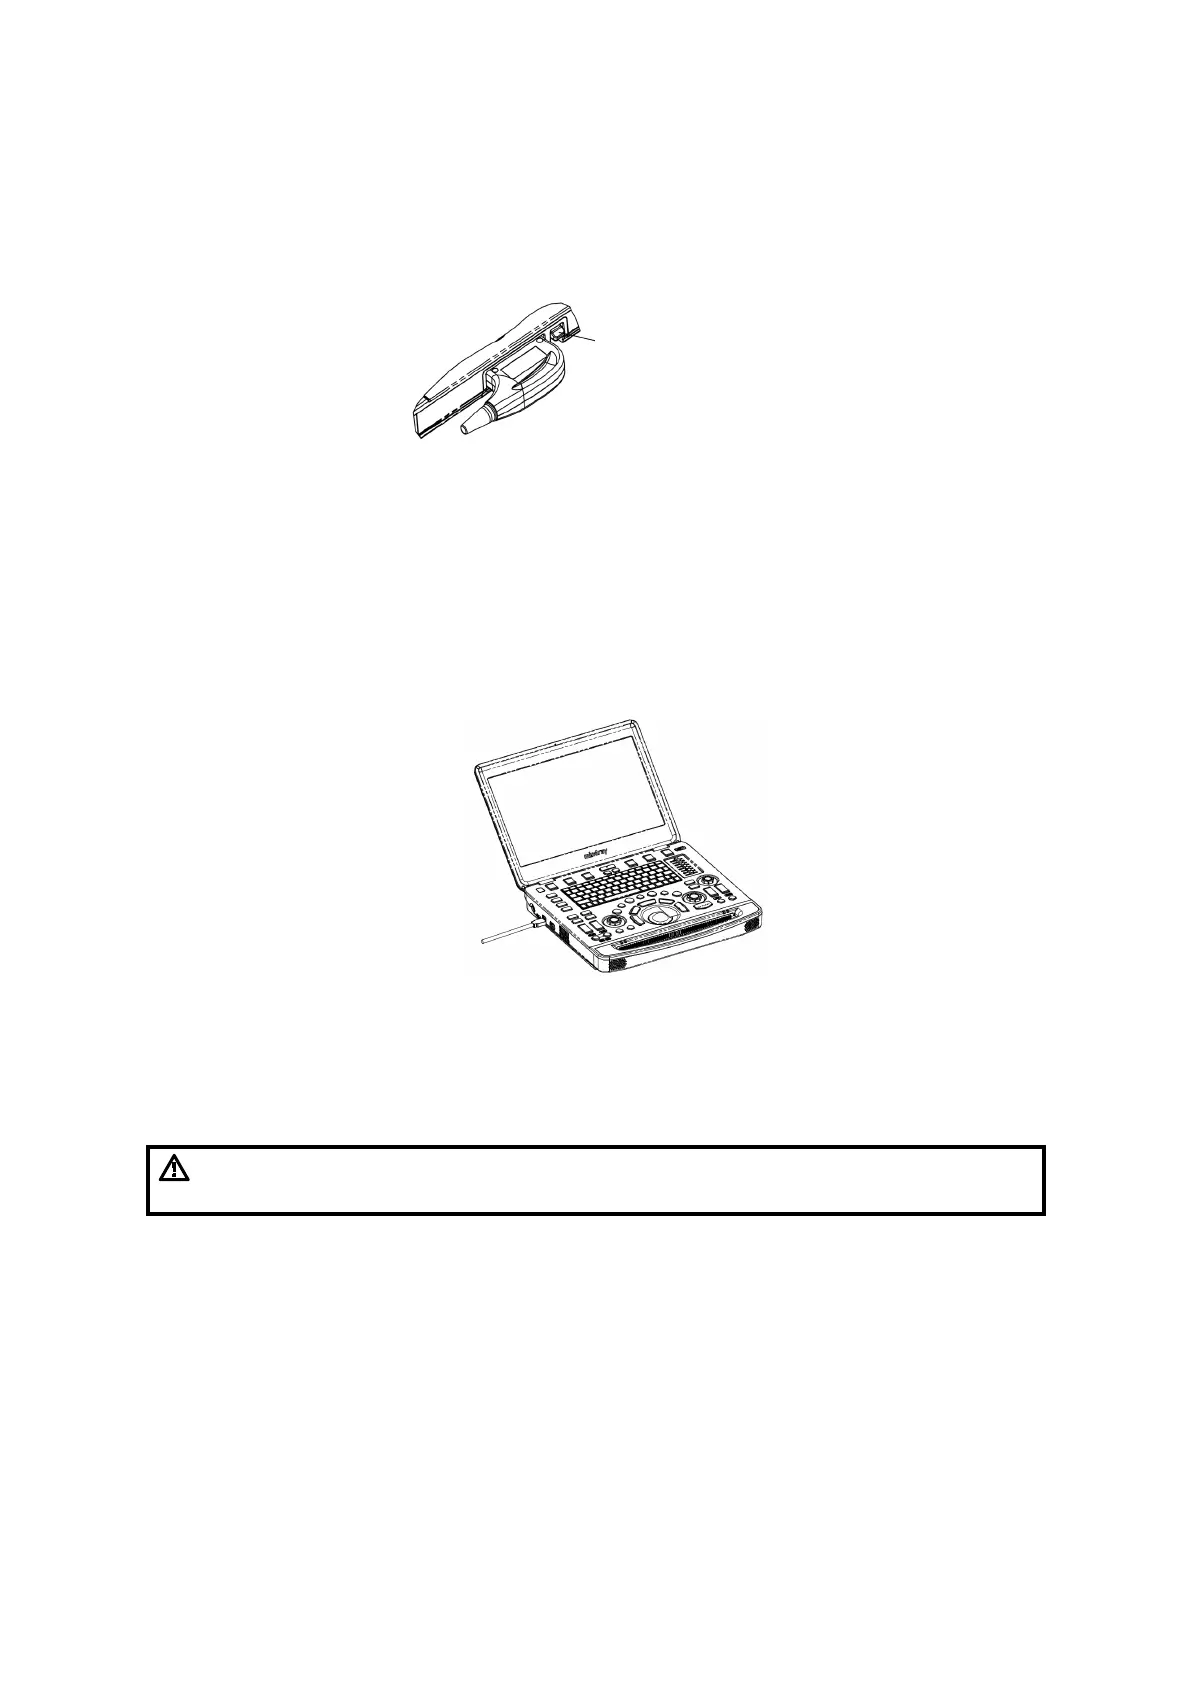
Keep the cable end of the probe to the right side of the system, and insert the connector into the
port of the system, and then press in fully. See the figure below.
Toggle the locking lever to the top position.
Place the probe properly to avoid being treaded or wrapping with other devices. DO NOT allow the
probe head to hang free.
3.4 Installing Peripherals
Please see Chapter 2.1.4 for the device model that the system supports.
3.4.1 Connecting the Footswitch
The system supports footswitch of USB port type. As shown in the following figure.
You can set the functions of the footswitch in the [Key Config] page. Refer to Operator’s Manual for
footswitch setup.
3.4.2 Connecting/Removing a USB Memory Device
DO NOT directly remove a USB memory device; otherwise, the
USB device and/or the ultrasound system may be damaged.