94
QAS-2X8 Splitter Configuration - QX-mini and FX-3500 - Two Stage
13.3.2 QX-mini Configuration
Note: Until the QX-mini Master is connected and configured, missing device
troubles can be ignored.
Create Job
1. Open the MGC ECS configurator.
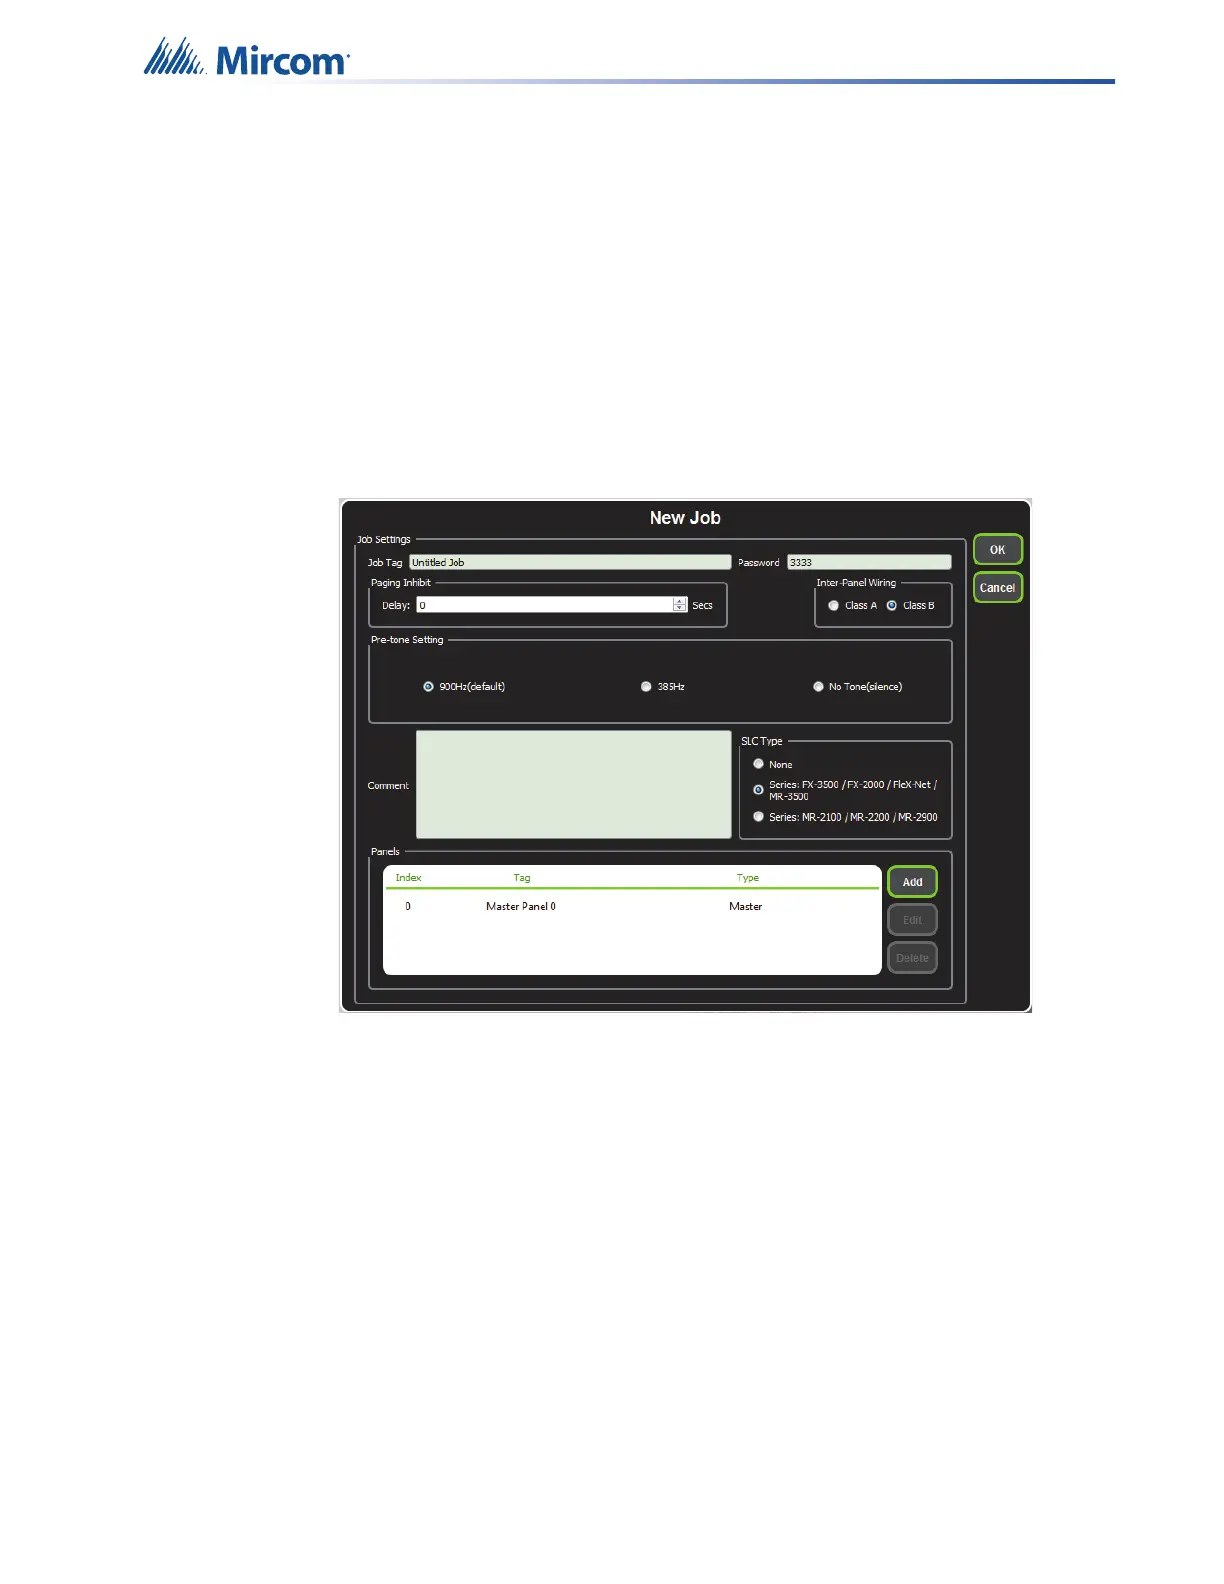
2. Open an existing job or create a new job.
3. Select a unique password that will be assigned to the job.
4. In the “Edit Job” or “New Job” window, under “Paging Inhibit”, select the time of the
paging inhibit delay as per the requirements.
5. Under “Inter-Panel Wiring”, select either Class A or Class B.
6. Under “SLC Type” select “Series: FX-3500/FX-2000/FleX-Net™/MR-3500”.
Figure 134 New Job window
7. Click “Master Panel 0” and then click “Edit”.
The Panel Wizard opens.
8. In the Panel Wizard, click “Next” until the window shown in Figure 135 appears.
9. For each reporting function, select the address that corresponds to the FACP address.
Table 1 lists example addresses. See section 13.4 for details on the reporting functions.
For example, address 104 for common trouble on the QX-mini corresponds to 204 on
the FX-3500 in Table 1. When the AP Start address was set in the FX-3500 Configurator
(as shown in Figure 132), the module address range became 201 to 299.
10. Select “Two Stages” under “Stages”.
 Loading...


