Chapter 2
Preparing Your Radio for Use
This section provides simple instructions to prepare your radio for use.
2.1
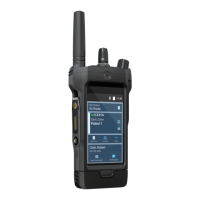
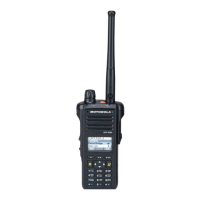
Turning On the Radio
Procedure:
1 Press and hold the Power Button to power on the radio.
After a short time, the red, yellow, and green LEDs light up. The display shows the following:
• Current zone and channel text
• Codeplug Alias
• Menu items on the home screen
The backlight turns on to the last selected dim level.
NOTE:
If Fail ##/## appears on the display, the radio is unable to function until the condition
is corrected.
If Error ##/## appears, some non-critical data has been changed. If the display goes
blank, or if the unit appears to be locked up, see Radio Care on page 14 for more
information.
If Ch mismatch appears, it means that:
• The Control Head has been connected to an incompatible transceiver, or vice versa.
• The wrong mixture of control heads (for example, O5 control head and E5 control
head) is connected to the transceiver.
If SW/HW MISMATCH appears, it means that the control head has been connected to the
transceiver with an incompatible software version. To resolve this, update the transceiver
software with a version that supports the connected control heads.
If your radio does not power up, contact your system administrator.
2 To turn off the radio, press the Power button after the LEDs light up.
2.2
Adjusting the Volume
Procedure:
1 To increase the volume, rotate the Volume Knob clockwise.
2 To decrease the volume, rotate the knob counterclockwise.
MN006147A01-AE
Chapter 2: Preparing Your Radio for Use
18