MTR3000 Maintenance and Disassembly/Reassembly: Disassembly and Reassembly – General 14-5
14.6 Disassembly and Reassembly – General
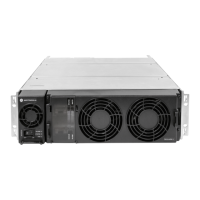
Station modules suspected of being faulty must be replaced with known good modules to restore the
base station/repeater to proper operation. The following are typical procedures to remove each of
the base station/repeater modules.
1. Power cord (and battery backup power, if used) and all external cables must be disconnected
before opening up base station/repeater. Label each removed cable as required to ensure it
is properly reconnected.
2. Take the proper grounding precautions as stated in Section 14.4 on page 14-3.
3. When disassembling base station/repeater, retain all screws for reuse.
The following tools are required for disassembly and reassembly the base station/repeater:
• Small Flat Blade Screwdriver
• Torque
Drivers (T10, T15 and T20). Refer to Section 14.10 on page 14-17 for the different
size fasteners of screw torques.
•Cable Ties
• Hand-held tool/Side Cutters to cut Cable Ties
If a unit requires more complete testing or service than is customarily performed at the basic level,
send the base station/repeater or FRU to a Motorola Service Center.
The following disassembly procedures should be performed only if necessary.
14.7 Disassembly and Reassembly – Detailed
14.7.1 Front Bezel Disassembly and Reassembly
1. Remove the base station/repeater front bezel from its chassis locking clip by carefully pulling
it forward (Refer to Figure 14-1).
Figure 14-1 Removing Front Bezel
2. Replace the base station/repeater front bezel by inserting one of the front bezel locking clips
into corresponding latch on the base station/repeater housing, and carefully pressing the
panel on the opposite side until the second locking clip snaps into place.
Chassis
locking clip

 Loading...


