MULTIPLEX
7.17 Installing the receiver in the model
If you intend to fly a MULTIPLEX RTF or RR+ model,
the receiver is installed in the correct manner as
standard. If you wish to fly a different model, you must
install an M-LINK receiver as described in the corre-
sponding MULTIPLEX operating instructions. Please
pay particular attention to the aerial deployment:
• Do not shorten or extend the aerial or its feed
cable! If you need a longer or shorter aerial lead,
please contact the MULTIPLEX Service Depart-
ment, or a MULTIPLEX Service Centre.
• Install the receiver in the model in such a way that
the aerial is as far away as possible from any
conductive material.
• If your model’s fuselage is made of electrically
conductive material (e.g. carbon fibre), then the
aerial must be installed in such a way that the ac-
tive part (the final 30 mm) is located outside the
model.
• Do not deploy the aerial parallel to servo leads,
high-current cables or electrically conductive parts
(e.g. pushrods).
All other information can be found in the instructions
supplied with your receiver.
7.18 The SMART SX as Pupil transmitter
The SMART SX transmitter is prepared as standard
for use in a wireless Trainer system; the Teacher
transmitter can be any MULTIPLEX M-LINK transmit-
ter fitted with a multi-function socket. The MULTIPLEX
Trainer Stick can be plugged into this socket on the
Teacher transmitter. A SMART SX transmitter will
detect the presence of the stick, and switch automati-
cally to Pupil mode. If you are using a PROFI TX
transmitter with integral COPILOT, the same functions
can be used just as conveniently. Once again, please
refer to the instructions supplied with the systems
mentioned above for more information.
Trainer mode operations in conjunction with a MUL-
TIPLEX Cockpit SX transmitter.
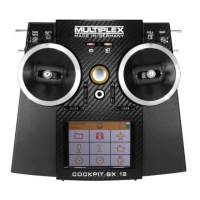
Trainer mode operations in conjunction with a MULTIPLEX
PROFI TX transmitter, with Trainer module.
7.19 Firmware Update / settings for future RR+
models
New firmware updates can be loaded into the memory of
the SMART SX transmitter. This enables you at any time to
bring the transmitter up to the latest technical standard. The
settings for future RR+ models can also be loaded into the
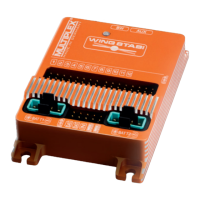
transmitter. You will need a USB adapter with Uni connect-
or (see Chapter 5, Accessories) to connect the SMART SX
transmitter to a PC (see Chapter 5).
The settings for future RR+
models or a firmware update is
carried out under menu control
with the help of the MPX-
Launcher PC program. This
software is available on our website (www.multiplexrc.de)
as a free download. Take a look at the site, as you may
already find that a new firmware update is available for the
SMART SX transmitter.
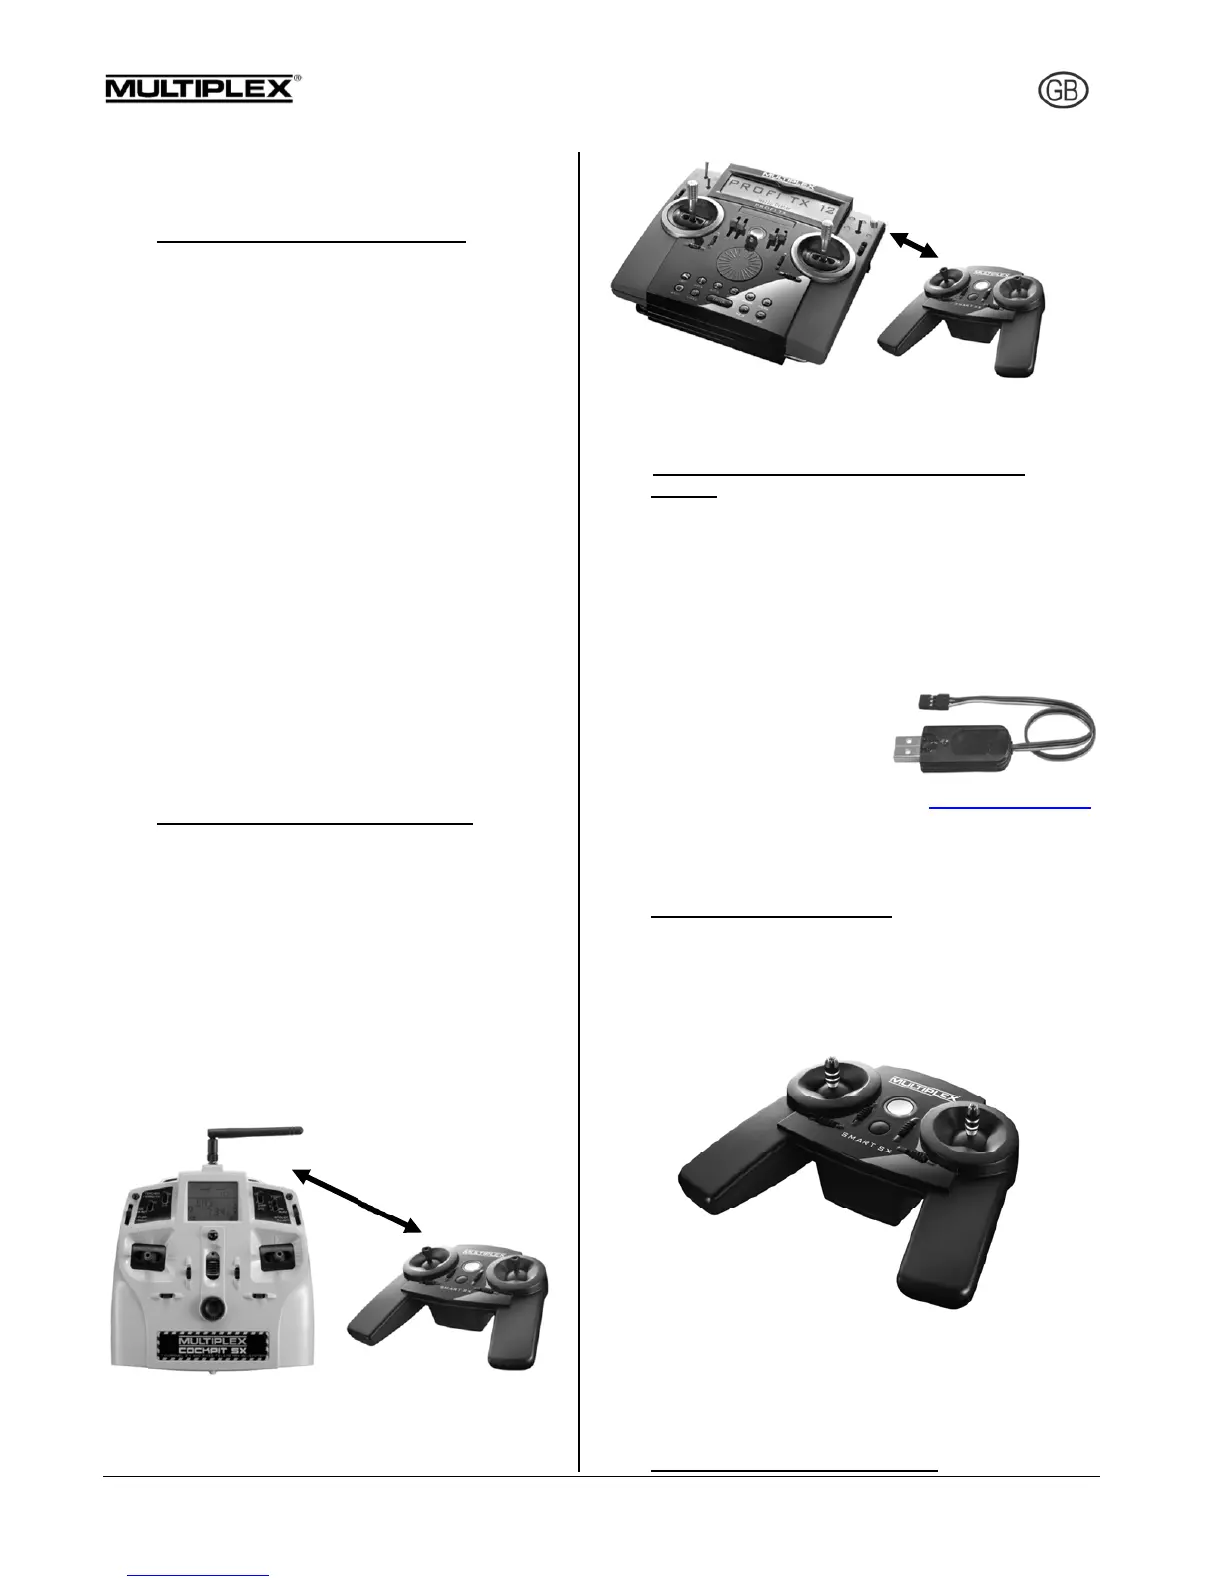
7.20 Installing aluminium sticks
A set of optional aluminium stick tops can be fitted to the
transmitter. These upgrade items are available in the fol-
lowing colours: black (# 7 3305) and orange (#7 3306). The
following figure shows the transmitter with black aluminium
sticks.
This is the procedure for fitting the new stick tops: the plas-
tic stick top is a simple push-fit, and can easily be with-
drawn; simultaneously twisting it eases the process. The
aluminium stick top can now be slid into place, and retained
by tightening the grubscrew on the side.
7.21 Speech output of telemetry data
Wireless Trainer
data transmissi-
on
Wireless Trainer
data transmissi-
on