CHAPTER 2 INSTALLATION
– 103 – NWA-008841-001 Rev.5.0
90ch2001.fm
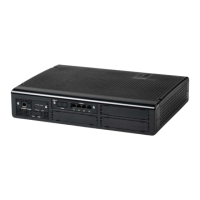
19-inch Rack Mounting Installation
• Check the site for installing the PBX with the work drawing to verify that the
required floor space is ensured and that service entrances and ducts for trunk/
extension cables, power cables and grounding conductors have been properly
worked at correct positions. See “Floor Space” and “Cable Hole Location”.
Page 84, Page 85
• Detach the SIDE COVER and SIDE PANEL of the Module for 19″RACK
BRACKET (A) mounting. For 19″RACK BRACKET (B), this procedure is not
required. See “Detaching SIDE COVER/SIDE PANEL”. Page 104
• Mount the 19″RACK BRACKET (A) to the PIM. See “Connection of
19″RACK BRACKET (A)”. Page 106
• Mount the PIM with the 19″RACK BRACKET (A) to the 19-inch RACK. See
“Mounting PIM to 19-inch RACK”. Page 107
• Mount the 19″RACK BRACKET (B) to the bottom-stack Module. See “Con-
nection of 19″RACK BRACKET (B)”. Page 108
• Mount the 19″RACK BRACKET (A) to the top-stack PIM. See “Connection
of 19″RACK BRACKET (A)”. Page 106
• Mount the modules with the 19″ RACK BRACKET (A) and (B) to the 19-inch
RACK. See “Mounting Multiple-Module to 19-inch RACK”.
Page 109
NOTE: The BATTM cannot be installed in the 19-inch RACK.
• Carefully review every step above to check that all necessary screws have been
properly placed and tightened.
Start
Checkup
before installation
One PIM
Multiple-Module
Checking
Detaching
Side Cover/Side Panel
End
Configuration
Configuration
JULY/1/2006
INSTALLATION OF MAIN EQUIPMENT

 Loading...