56
NESS RADIO
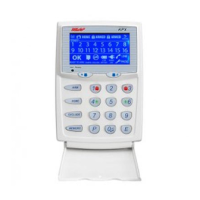
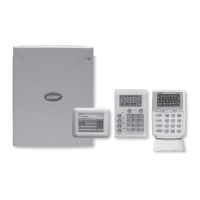
NESS D8 (V4.7) CONTROL PANEL – INSTALLER MANUAL
RADIO DEVICE PROGRAMMING
Each of the 8 zones of the D8 can be a radio zone. Once programmed, zones can
accept both Radio Devices and normal zone inputs simultaneously.
The optional 100–200 Ness Radio Interface is required for Radio Devices to
operate.
A Radio Device is any type of Ness transmitter including Radio PIR, Radio Reed
Switches, Radio Smoke Detector.
PROGRAMMING RADIO DEVICES
Up to 8 Radio Devices can be assigned, (one per zone).
PROGRAMMING SEQUENCE – NO RESTORALS
Suitable for 100–663 Radio PIR, 100–665 Radio Pendant, 100–203 Radio Smoke
Detector.
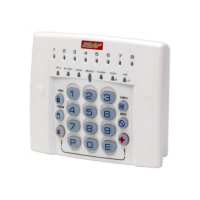
Select a zone using P01E – P08E
The ARMED light will be ON if a Radio Device is already programmed to the zone. Press 0E to delete.
Press 1E
The READY light will turn ON to indicate that the zone is ready to accept the Radio Device.
Trigger the Radio Device
A. If the Radio Device is accepted, the READY light will turn off, the ARMED light will turn on and 3
beeps will sound.
B. If the READY light stays on and a warning beep sounds, the Radio Device is already assigned to
another zone and must be cleared from that zone fi rst.
C. If SUPERVISED SIGNALS have also been successfully recognised, the TAMPER light will turn ON.
EXAMPLE: To program a Radio PIR on zone 1:
P01E 1E Trigger the Radio PIR (or simply connect the battery)
PROGRAMMING SEQUENCE – WITH RESTORALS
Suitable for 100–662 Radio Reed Switch.
Alarm the reed switch, ie., move the magnet away from the switch
Leave the reed switch in the alarm condition and wait until radio transmission has stopped.
Select a zone using P01E – P08E
The ARMED light will be ON if a Radio Device is already programmed to the zone. Press 0E to delete.
Press 1E
The READY light will turn ON to indicate that the zone is ready to accept the Radio Device.
Restore the reed switch (place the magnet next to the switch)
A. If the Radio Device is accepted, the READY light will turn off, the ARMED light will turn on and 3
beeps will sound.
B. The MEMORY light will turn on to indicate that this device sends Restorals.
C. If the READY light stays on and a warning beep sounds, the Radio Device is already assigned to
another zone and must be cleared from that zone fi rst.
D. If SUPERVISED SIGNALS have also been successfully recognised, the TAMPER light will turn ON.
EXAMPLE: To program a Radio Reed Switch with Restorals on zone 2:
Alarm the reed switch P02E 1E Restore the reed switch
P01E ~ P08E
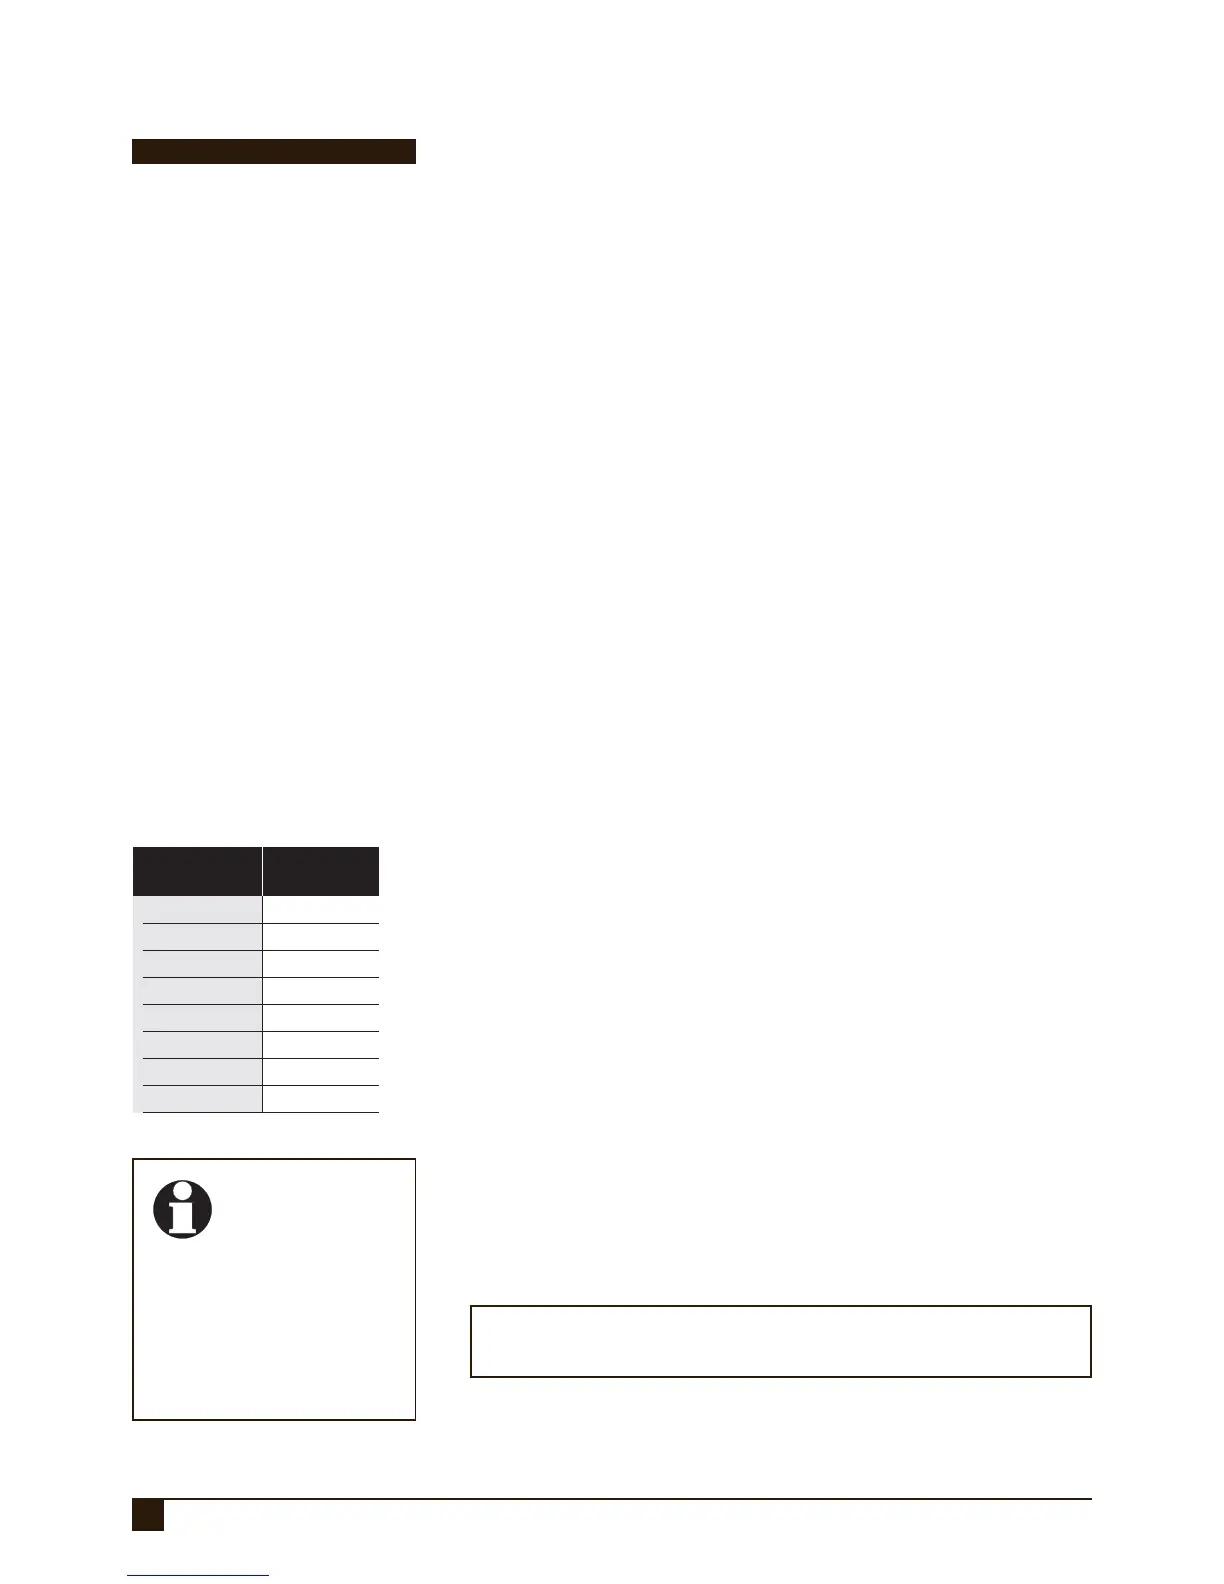
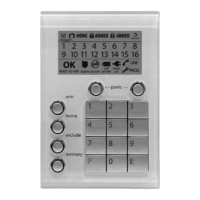
PROGRAM MODE LEVEL:
Installer, Remote by PC
FACTORY DEFAULT:
No Radio Devices programmed
NOTES:
• Radio Device programming is done by
‘learning’ the code by radio.
• Radio Devices codes can only be deleted
by keypad.
• Some Ness Radio Devices send separate
Alarm and Restore signals.
• Ness Radio Keys can be programmed
to operate on radio zones, but they are
normally used to operate Radio Codes as
described on page 57.
• Late model Ness Radio PIRs (100–663)
and Radio Reed Switches (100–662)
send Supervision signals.
SUPERVISION RELATED OPTIONS:
P65E Supervised Radio Zones
P66E 1E–8E Radio Supervision Alerts
P67E Radio Supervision Time
P75E 12E Radio Supervision Fail Report
• RELATED OPTIONS:
P09E–P10E Programming Radio Keys
RADIO DEVICES – OPTION TABLE
DELETING A RADIO DEVICE:
Use P01E to P08E to select the zone
Press 0E to clear the device (3 beeps will sound)
TIP:
To prevent confl icting
radio signals when
programming Radio
Devices, disable each device once
you have fi nished programming it.
(Remove the battery or open the
RADIO link).
Remember to enable all the devices
when programming is completed.
ZONE OPTION No
Zone 1 P01E
Zone 2 P02E
Zone 3 P03E
Zone 4 P04E
Zone 5 P05E
Zone 6 P06E
Zone 7 P07E
Zone 8 P08E