54
NESS RADIO
NESS D8 (V4.7) CONTROL PANEL – INSTALLER MANUAL
RADIO QUICK START
PROGRAMMING RADIO KEYS:
Select which User Codes 2–8 will be Radio Codes (P09E–P10E)
Select the User Code (P12E–P25E)
Press 1E
The READY light will turn ON to indicate that the User Code is ready to accept the Radio Key
Press the OFF button on the Radio Key to be programmed
If the Radio Key is accepted, the READY light will turn off and 3 beeps will sound
PROGRAMMING RADIO DEVICES (Radio PIRs etc):
Select a zone to which the Radio PIR will be assigned (P01E–P08E)
Press 1E
The READY light will turn ON to indicate that the zone is ready to accept the Radio Device.
Trigger the Radio Device
If the Radio Device is accepted, the READY light will turn off, the ARMED light will turn on and 3
beeps will sound.
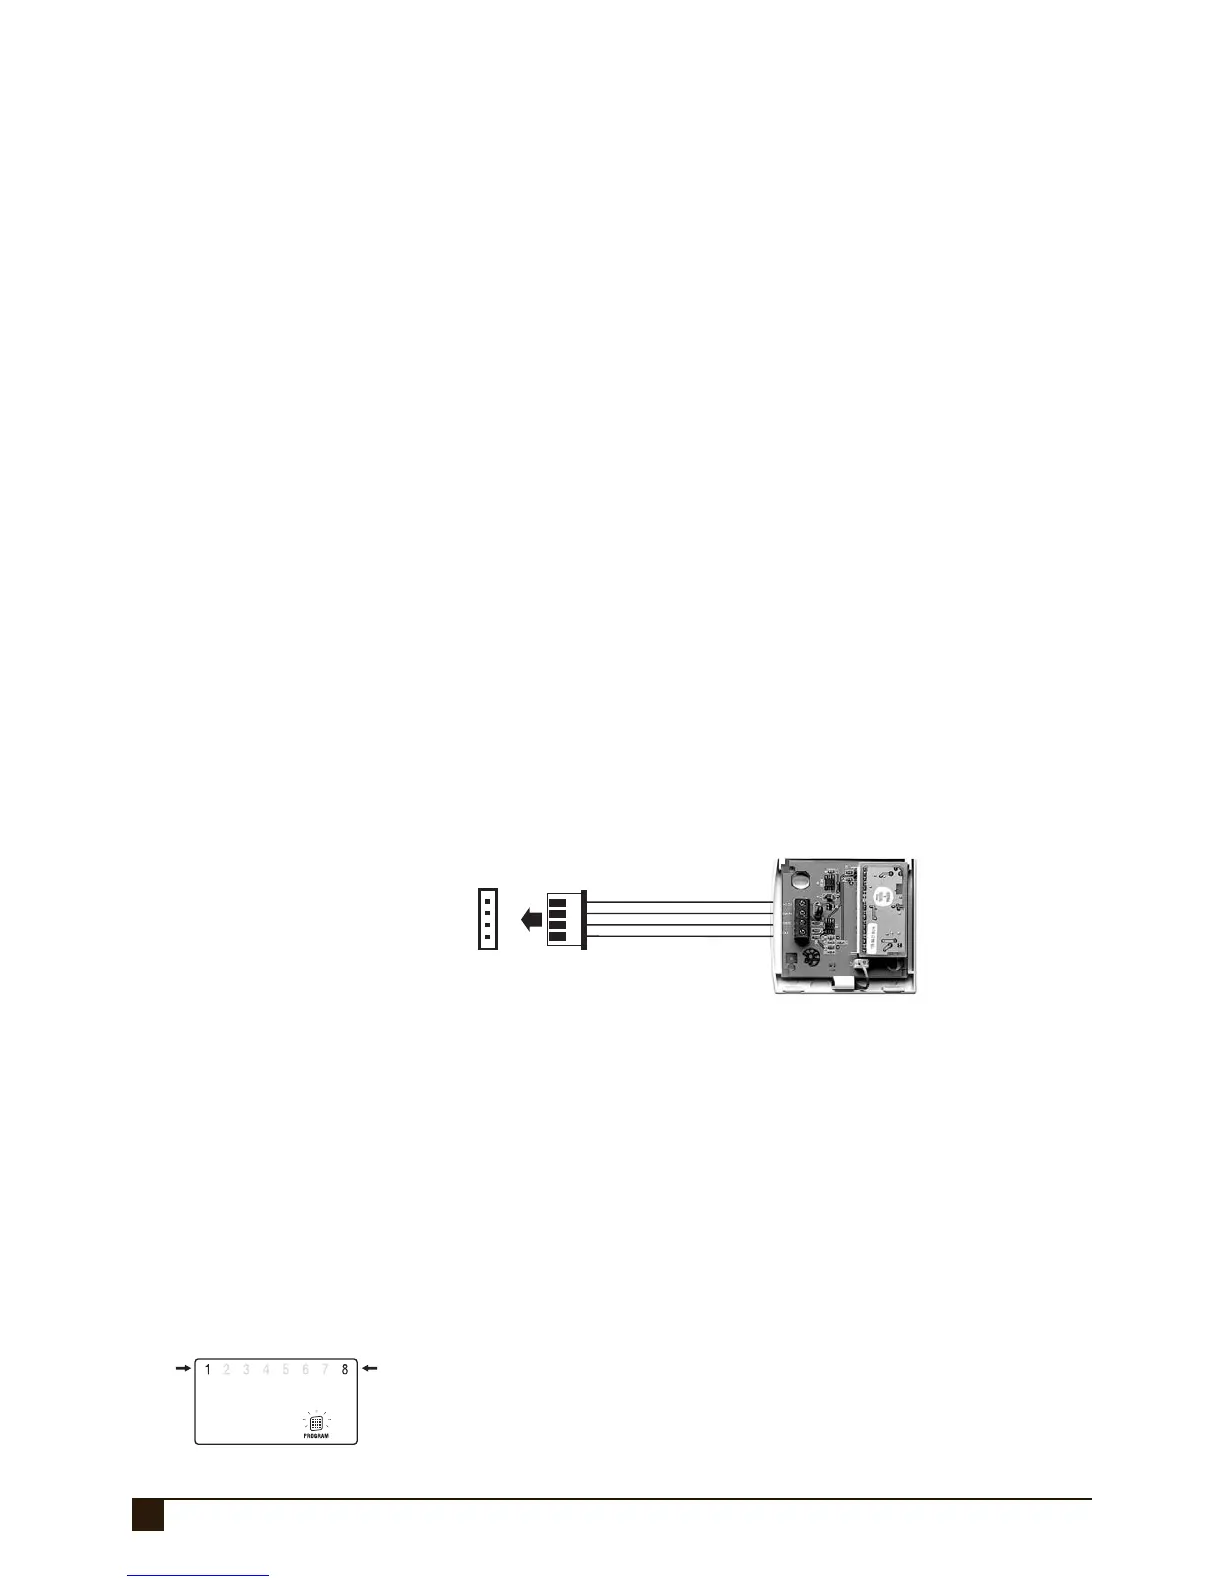
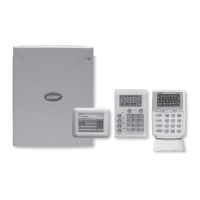
NESS RADIO INTERFACE
The Ness Radio Interface (100–200) is the optional radio receiver required to enable all radio
functions. Connection to the control panel is via a 4 wire loom and plug supplied with the
Ness Radio Interface.
If the Ness Radio Interface is correctly installed, the D8 keypad will fl ash the RADIO light
ON when any radio signal is detected (from both programmed and non-programmed radio
devices).
+12VRED
J2
RECEIVER
DATA
WHITE
RSSIBLUE
OVBLACK
NESS RADIO INTERFACE
Part No. 100–200
NESS D8
CONTROL PANEL
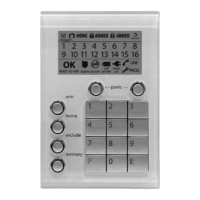
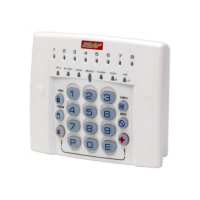
SIGNAL STRENGTH
The Signal Strength test can be used to test the radio signal from any Ness radio
device. The strength of the radio signal received is displayed on the zone lights
1~8 and beeped by the keypad.
The higher the number displayed (and beeped) the stronger the signal received.
TEST SEQUENCE:
Enter the option for the radio device to be tested
For Radio Keys: options P12E~P25E. For all other radio devices: options P01E~P08E
Press 3E
Trigger the radio device
• One of zone lights 1~8 will turn ON to indicate the signal strength from the transmitter
• The Signal Strength display remains on until another command is entered
• To clear the display and re-test the transmitter, simply press 3E again (or 4E to test any other
transmitter)
NOTES:
• The Ness Radio Interface is normally
installed inside the control panel box.
• In cases where radio reception needs to
be improved, the Radio Interface can be
installed up to 50 metres away from the
control panel. (Use 14/0.20 cable)
• If the Radio Interface must be installed
inside a metal enclosure, the antenna
wire should protrude outside the
enclosure.
• For best performance, the antenna wire
should be kept straight and not coiled,
shortened or extended.
NOTES:
• Signal strength of Radio Keys can be
tested in USER PROGRAM Mode or
INSTALLER PROGRAM Mode.
• Signal strength of all other Radio Devices
is tested in INSTALLER PROGRAM Mode.
• PRESS 3E to test the signal strength of
the selected transmitter ONLY. (Other
devices will be ignored).
• PRESS 4E to test the signal strength of
ANY Ness transmitter (including unpro-
grammed devices).
WEAK
SIGNAL
(1 beep)
BEST
SIGNAL
(8 beeps)