HOME
TitleShort-Hidden -75
©
National Instruments Corporation
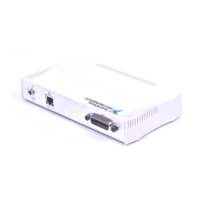
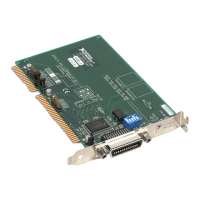
PXI-GPIB Installation
Next
Step
75
PXI-GPIB Installation
PRINT THIS TOPIC!
Your computer needs to be off while you install your interface. To print this topic, select File»Print,
select the Pages radio button, and print pages 75-77.
Caution
Electrostatic discharge can damage several components on these GPIB boards. To avoid
electrostatic damage when you handle the board, touch the antistatic plastic package to a metal
part of your system chassis before removing the board from the package.
Complete the following steps to install your PXI-GPIB:
1. Make sure that your PXI or CompactPCI chassis is turned off. Keep the PXI or CompactPCI
chassis plugged in so that it remains grounded while you install the PXI-GPIB.
2. Choose an unused PXI or CompactPCI 5 V peripheral slot. For maximum performance, the
PXI-GPIB has an onboard DMA controller that can only be used if the board is installed in a slot
that supports bus arbitration, or bus master cards. National Instruments recommends
installing the PXI-GPIB in such a slot. If you install the board in a non-master slot, you must
disable the PXI-GPIB onboard DMA controller using the board-level call
ibdma. Refer to the
NI-488.2 Online Help for a complete description of
ibdma.
3. Remove the filler panel for the peripheral slot you have chosen.
4. Touch a metal part on your chassis to discharge any static electricity that might be on your
clothes or body.
5. Insert the PXI-GPIB into the selected 5 V slot. Use the injector/ejector handle to fully inject the
device into place. Figure 19 shows how to install the PXI-GPIB into a PXI or CompactPCI
chassis.
!
 Loading...